Another playtesting of my ruleset. Initially, I thought of testing the optional 3D rules this time, but first I wanted to test an idea I had for Shields mechanic, slightly different from what I've been doing so far and that looked promissing, so I left 3D stuff for another day.

Turned out the new Shields rules played astonishing well. I finally feel completely confortable with them. They are now exactly how I wanted them to be but never figured out how to do until then.
This game had the Romulans facing a Dominion battle group over the control of an important sector in the Alpha Quadrant, during the Dominion War.
Now, I don't need to be a huge fan of the Romulans (which, in fact, I am!) to admit they saved the Alpha/Beta Quadrant Powers on that war. Without them entering the war, the "mighty" Federation would be a mere reference on the pages of history by now...
Here again, they proved their value against the invaders.
It was a 1500 point game, and lasted 3.5h, in which 6 game turns were played.
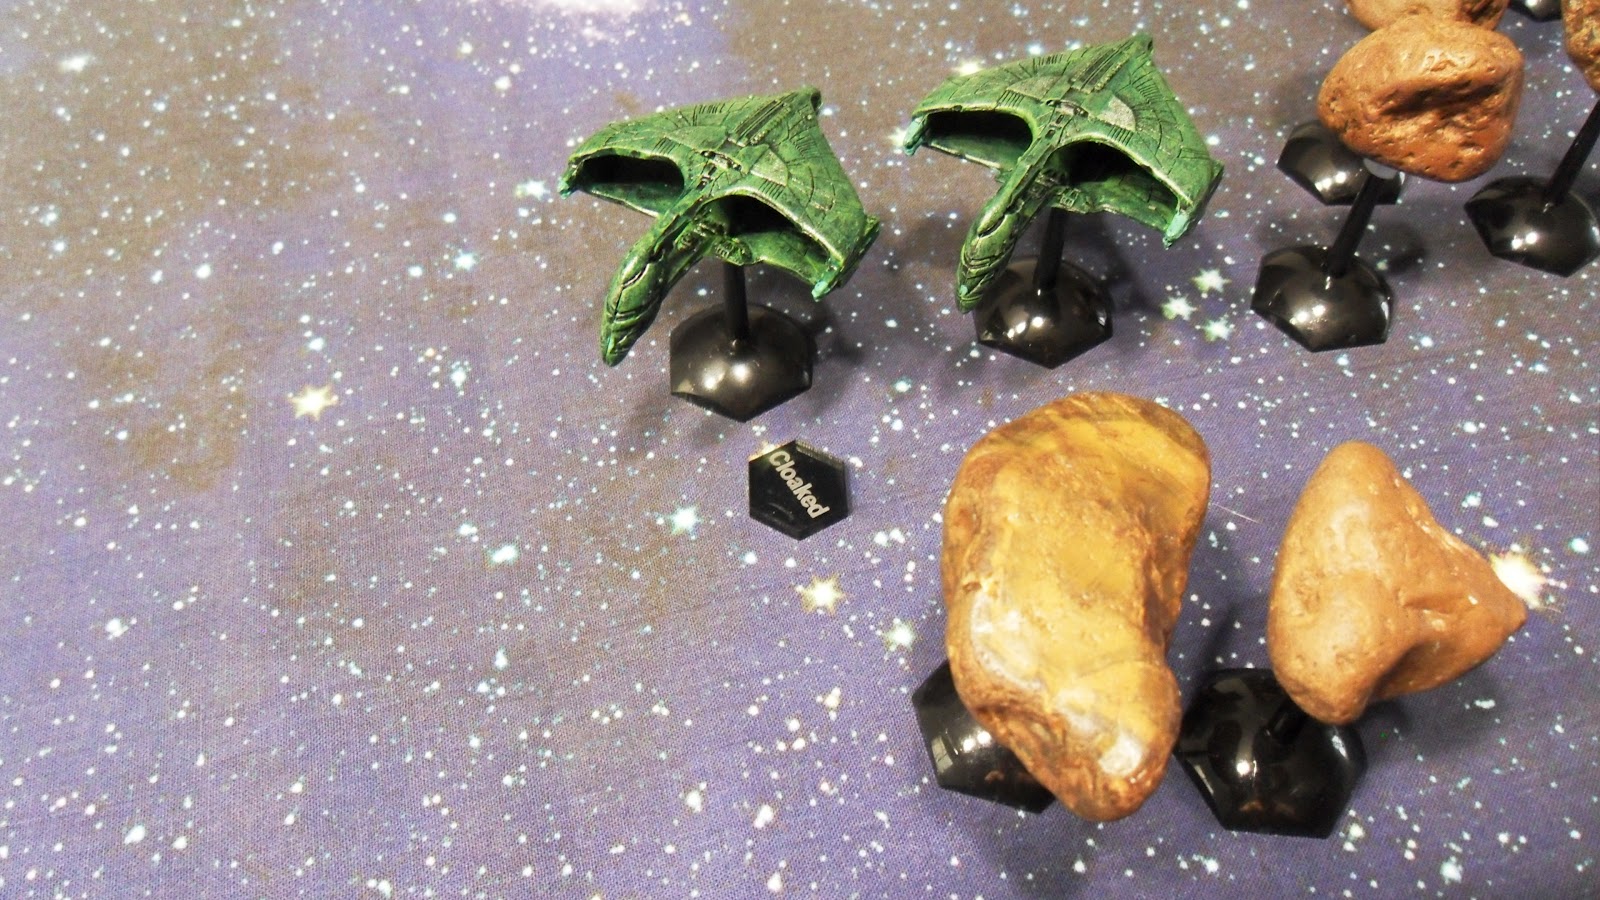
Before we start talking about the actual Battle Report, let me show you guys the tokens I use on Pax Stellarum, all from Litko:

The "Activated" tokens are used to track which ships have been activated in each phase, so I don't end up moving/shooting double times with the same unit, or forget to move/shoot with it at all. Really useful when you play with about a dozen ships per side.

Tractor beam tokens, to remind that a ship is under beam control by another ship.

"Move" tokens are used whenever I have a terrain feature, such as planets, asteroid fields, that move every turn. This token indicates the direction of that movement. I place a die next to it to indicate the number of inches the terrain moves every turn.

"Cloaked" tokens are self-explanatory...

Energy tokens have several uses. The may, for instance, indicate that a ship has powered its hyperdrives up, and is preparing to leave the board.

And here we have the critical hits tokens. I have 2 of each, for a total of 20 tokens for 10 different criticals. I'll be needing a couple more for Sensors, a feature just recently incorporated to my Critical Hit Table.
Note that the Life Support System's tokens have a typo, and were printed as "LLS". Litko is already arranging replacements for those.
I'll be soon adding a few more tokens for my collection, because they're just too much fun (!).
Now, for the battle:

The Romulans had 5 Warbirds and 7 scouts. The Jem' Hadar had a Dreadnought, 2 battlecruisers, 12 attack ships and 2 Breen Cruisers.
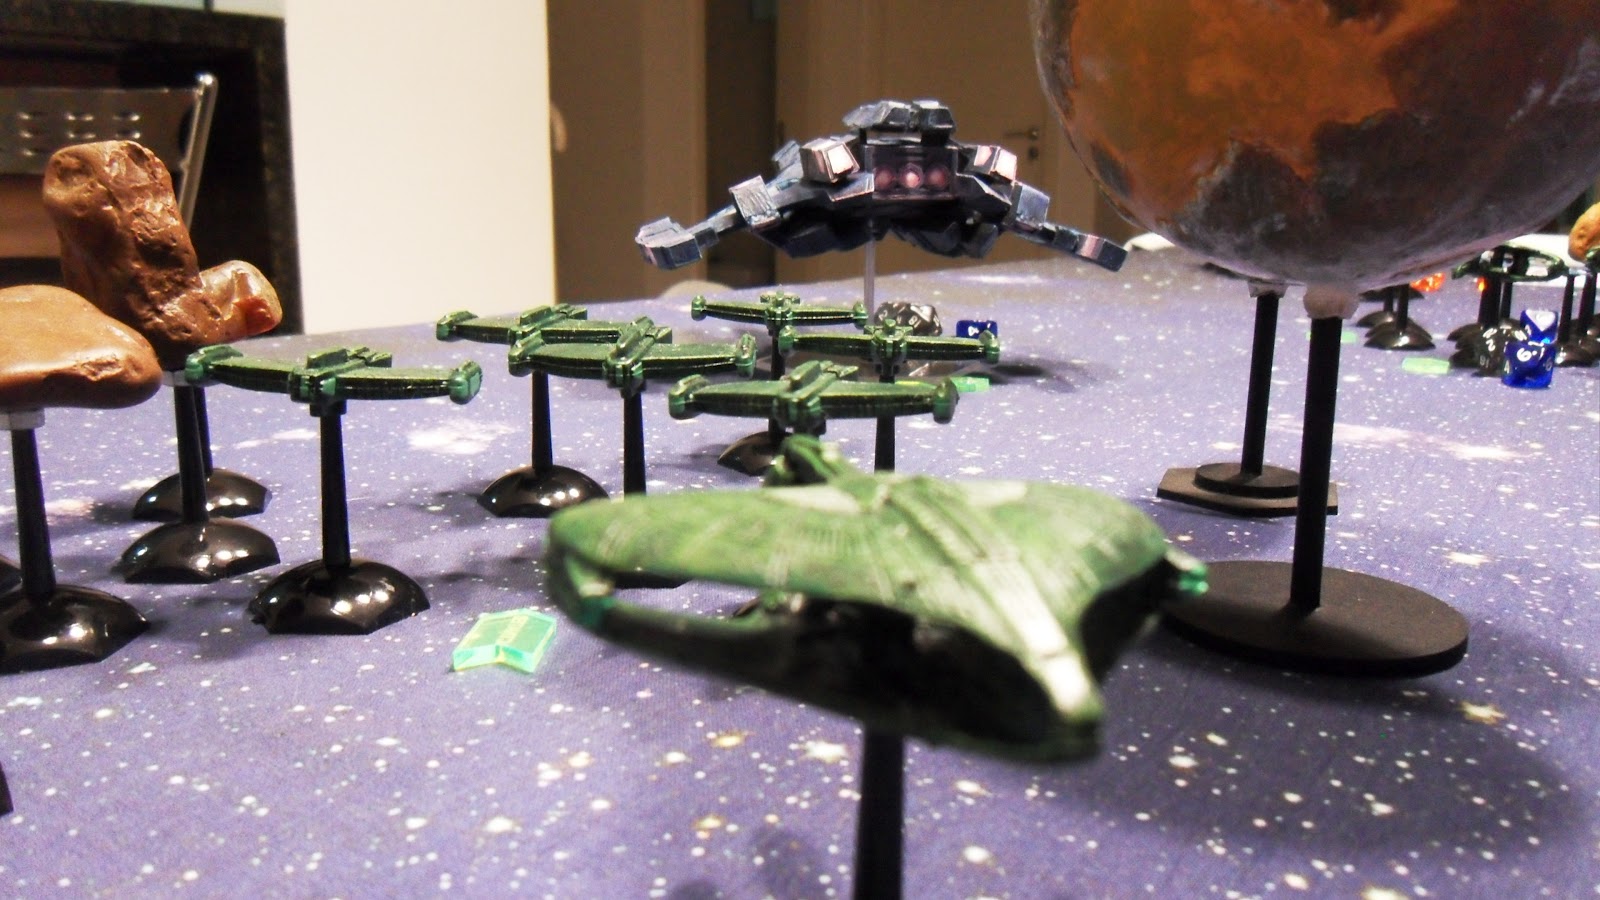
Cloaked Warbirds
Warbirds are tough. Mainly on their prow arc. Now, 2 warbirds firing through their front arc on the same target is cowardice...

The Battlecruiser found that out the worst way...

Meanwhile, a squadron of attack ships maneuvered to attack another Warbird Squadron from their rear, at the romulan right flank. The romulan scouts maneuvered to try assisting the warbirds.

The D'Deridex Squadron on the romulan left flank went for another kill, eliminating the remaining battlecruiser escorting the Dreadnought. The attack ships and Breen cruisers were by then in position to start punishing the romulan hulls.

The Dreadnought redirected energy to thrusters and changed course to bear its broadside to the romulan left flank, leaving its rear at the mercy of the enemy. My tactical mistakes on the Dominion side would begin to cost too high...

The dominion finally began damaging the enemy. Here, a D'Deridex has lost 5 hull points (of a total of 13), and had its Shields reduced to 33% (2D6, from its initial 6D6).

Another Warbird Squadron is under enemy fire, while maneuvering to bring its prow weapons to bear against the Dreadnought.

All 5 Warbirds converge to the Jem' Hadar Flagship, and the concentrated enemy fire power is too much for its Shields, that drop to 66%. Several hull points are lost, and a critical hit on engines severely limits its (already not impressive) maneuvering capabilities.
But the Dreadnought don't need much maneuvering to kill enemies. It bears sufficient fire power on most arcs, and massive fire power in a couple.
A D'Deridex chases the Dreadnought, following a wave of allied scouts.
After a couple of turns, I realised I had forgoten to place one of the scouts in play, so I decided to treat it as Reserve, and rolled for its entry on the game by Hyperspace jump.

After the Scatter Roll, the scout managed to enter the game exactly were it intended to, just behind the Breen Cruisers.

The Dreadnough succeeds at destroying some scouts with its stern torpedoes' fire. The romulans also get some hits from the attack ships, trying desperatedly to protect the Flagship.

The behemoth also cripples a D'Deridex with its Starboard Batteries of Polaron Cannons, reducing its Shields to 16.7% and damaging its port side weapons' system.

Not long after that, the Warbird would be destroyed by a swarm of attack ships.

But the Dreadnought was at very bad shape, it fixed its Engines, but got additional critical hits on its Bridge and Life Support Systems. Also, its Shields were down to 11.1%, and hull points were at mere 4, from initial 35.

The inevitable happens, and a D'Deridex finishes the enemy Flagship

Soon after, another Warbird blows up the only remaining Breen Cruiser, leaving only the attack ships on the Jem' Hadar side.

The romulan forces close in to concentrate fire on one of the squadrons of attack ships, as they are very fast and hard to hit. The enemy realises the battle is lost and jumps into hyperspace, leaving the sector under romulan control.
Overall, the system is showing less and less bugs every time I play, as I imediatelly fix anything I see is not playing out well.
I realised I probably gave the Dreadnought too weak defenses. It wasn't the beast I expected it to be.
The Special Orders add lots of tactical possibilities for players, and I'm enjoying coming up with more of them. So far, there are 7 of them.
The game is playing quick enough, If we consider the number of ships and amount of detail involved.
I'll be testing some minor changes to modifiers that I believe may make to-hit rolls even faster.
*End of Transmission*
Nice report. Great paint job on your minis!!
ReplyDeleteHow exactly does the shield mechanic in your rules work?
ReplyDeleteSamulus, check here, on the Star-Ranger forum:
ReplyDeletehttp://www.star-ranger.com/forum/viewtopic.php?f=30&t=8342
I wrote few basic lines about it.
Thats a pretty elegant system, not too many shield points to track either which is nice. I think I prefer it to the shields negate damage rulesets e.g. BFG and Colonial Battlefleet.
ReplyDeleteSamulus, it is simple indeed. I use a D10 next to any ship that have got shields currently under its maximum.
ReplyDeletePax Stellarum requires no book keeping, its all done with tokens, and as you can see from the pics on this Batrep, few ships ever need more than 1 or 2 tokens at any time.