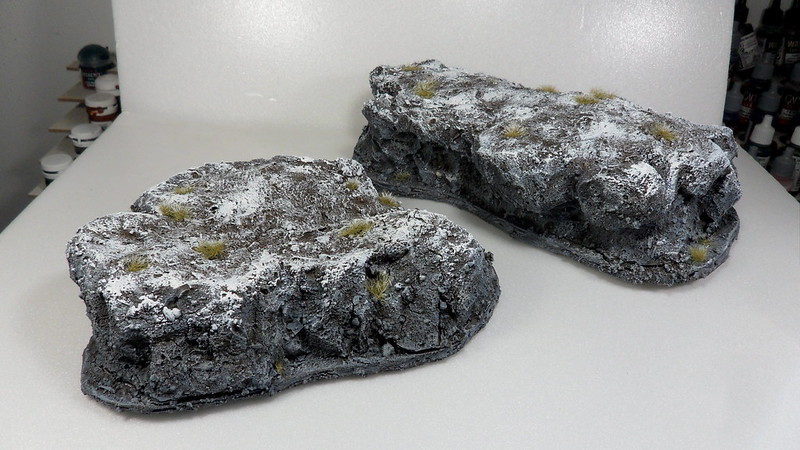
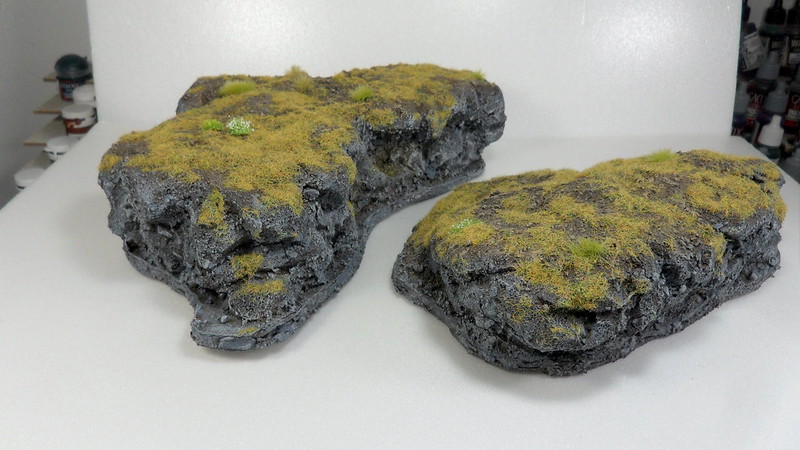
Last week I worked on several cliffs for our gaming club. I did a little tutorial for those of you readers that might be interested in expanding your collection of terrain with very little investment, and to a great result.
The materials used are:
- Thick cardboard
- Expansive Foam (polyurethane)
- Paper glue and gardening dirt (for the texture)
- Paints and flocking
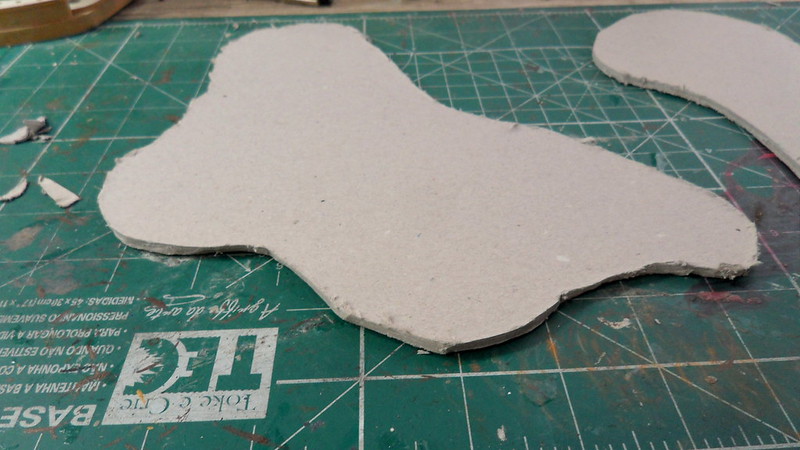
First, I cut the cardboard in some random shape. I did 7 pieces in total, and made them all distinct in both size and shape.
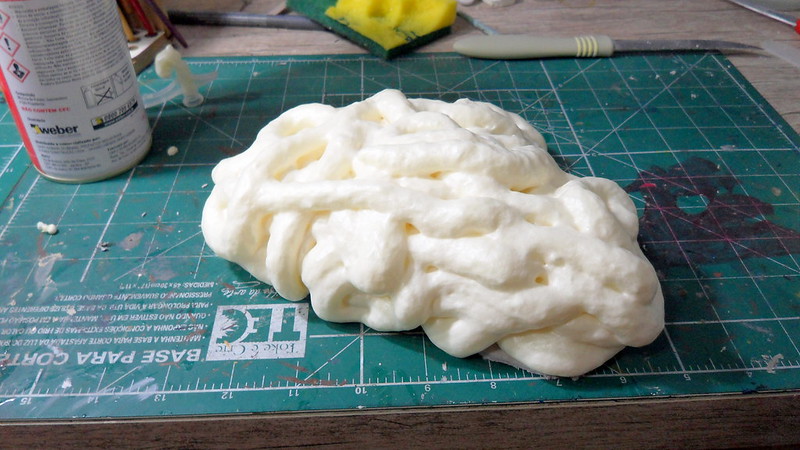
Next, I applied the expansive foam. As the name suggests, the product inflates quite a bit. Once dry it ends up ocuppying an area about 3x larger. The borders of the foam are dry enough to start working on after about 40min. Its not necessary to apply glue to the cardboard, just use the foam right over it, and it will stick to the cardboard as it dries.
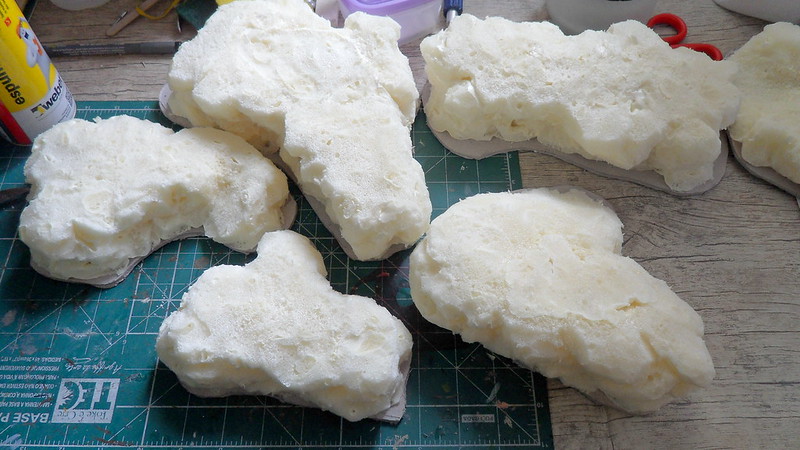
What we do then is probably the only step in this tutorial that actually requires some skill. We need to carve the foam into the shape we want our cliffs/hills to have. As can be seen below, I did them with mostly vertical borders and plain top, which allow for easy placement of models.
It's important to carve away all the original surface of the foam, for it has a very polished finish, and the texture can't get a hold on that.
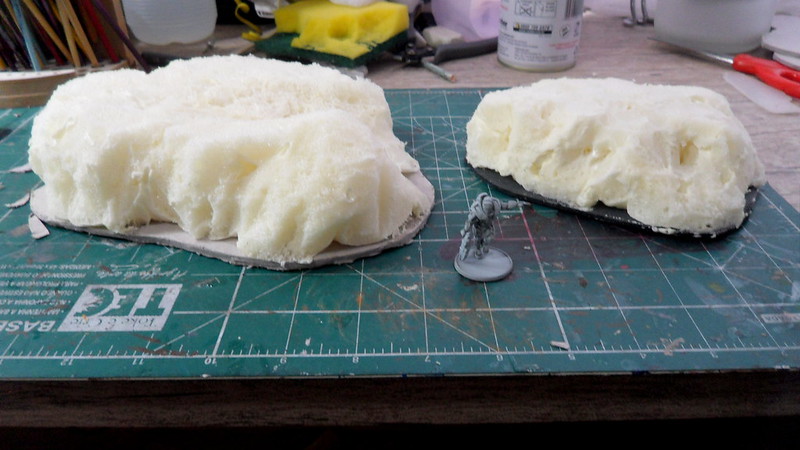
(The WIP cliffs next to an also WIP scifi soldier, for size comparison)
Once all the carving is done and we're happy with the shape of our pieces, it's time to apply the texture. I've already made a tutorial on how to do the texture, so you can take a look at that here.
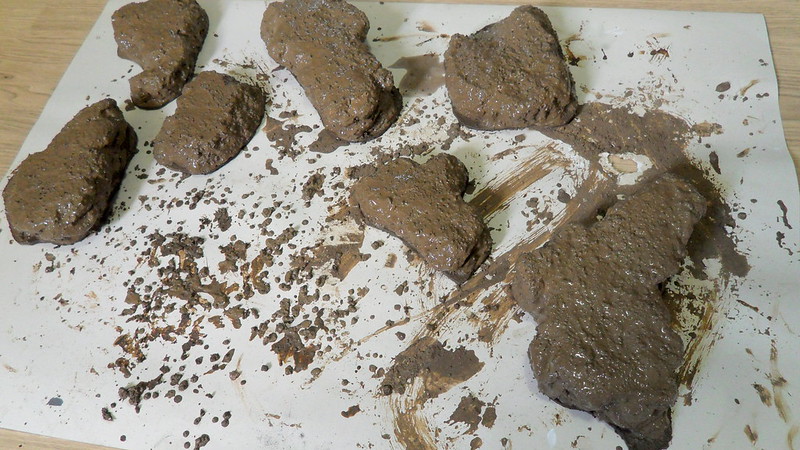
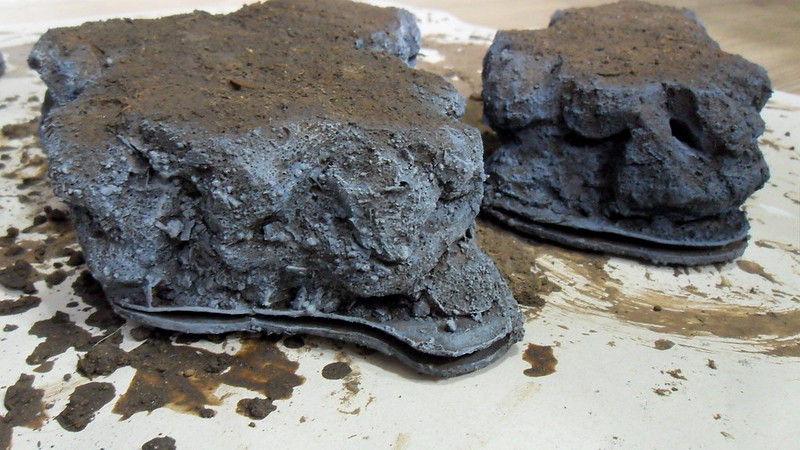
I then let it dry over a day. Usually, for 28mm models, a period of 24h is enough for the texture to be completely dry, but those cliffs take a lot more of the material, so it won't be all dry in a day. But it's dry enough for us to scrape off the top a bit, so to remove the better part of the debris, to keep it plain so the models can sit firmly on it.
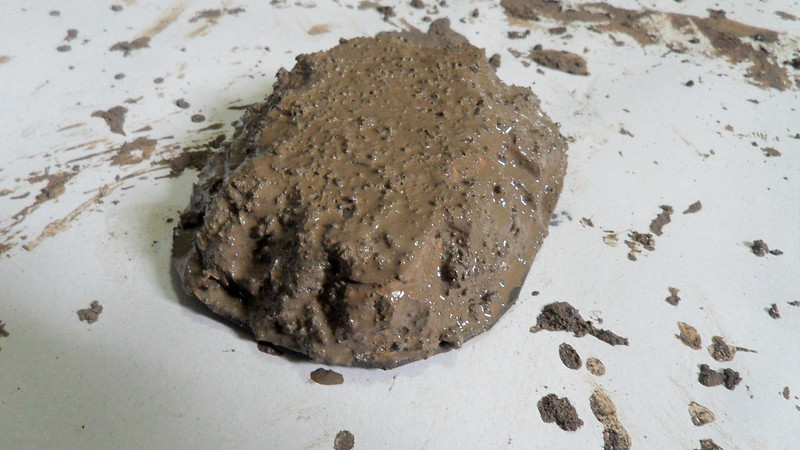
The pic below shows a cliff right after the texture was applied, and we can see the little pieces of thick dust all over the top. You can leave it there if you wish, but it's better to scrape them off, your models will be more stable on there this way.
The drying proccess brings us to the biggest issue with this technique. The texture is humid, and it causes the foam and cardboard to shrink as it dries. This makes the whole piece bend onwards and deform.
There are some ways to deal with that. One is to put some heavy weight sitting over the borders of the cliff while it dries. A heavy book or two are probably a good option. The weight used over the cliff must be substancial, otherwise it will bend. Nature finds a way, trust me.
In order not to get wet texture on the book, you may put a sheet of paper beneath. As you can imagine, having something in contact with the wet texture is probably going to mess with it a bit, but you can go back to it once its dry and put some more texture over and correct whatever doesn't look good enough. Since it's going to be only a limited spot, it won't cause further bending, so there is no need to worry about weight on it on this second step of texture.
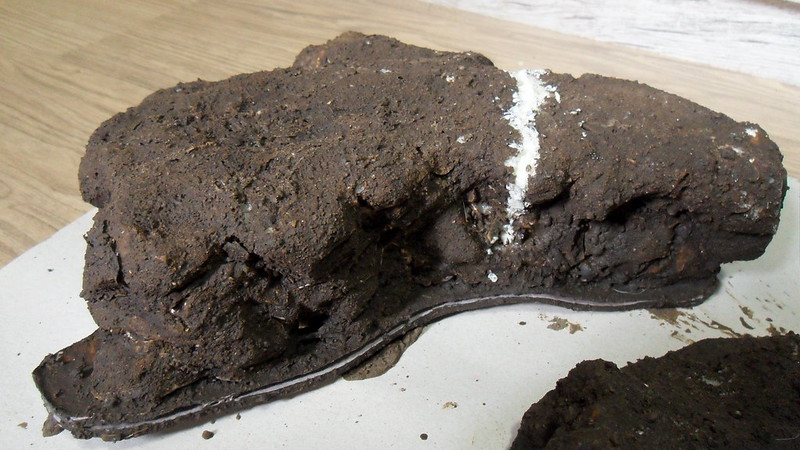
If you don't use weight on the cliff, you'll have to straighten it up later the hard way. The cliff below, for instance, I had to fracture and fill will foam again, to correct it. You can notice that the upper layer of the cardboard detatched from the rest, also. this you can fill with epoxy and then paint over, as I did. It's not advisable to use foam to fill such small gaps, as you're probably going to make a lot of mess.
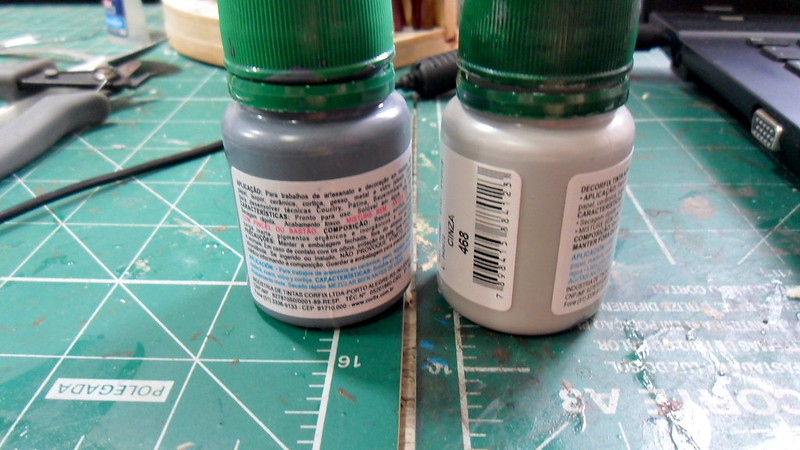
Once all correcting is done, we're ready to paint the cliffs. I used 2 layers of grey drybrush on the sides, to represent stoney surface.
Below you can see the result of the drybrush, as well as the split cardboard I mentioned previously. The reason I hadn't fixed it before painting was because I thought I'd manage to simply glue it back to place easily. I was wrong. I had to fill the gap with epoxy and then paint over it and drybrush. To mimic the brown undercoat of the texture,
I used Vallejo MC Leather Brown, and then used the 2 layers of grey drybrush as well. By the way, the Leather Brown is also used before the drybrush on any areas of the cliff where we notice the texture didn't cover well enough. There are a lot os bubbles in the foam, and sometimes the texture doesn't penetrate there, and you only notice it once it dries, so you can fix that by simply painting that spot brown.
I used Vallejo MC Leather Brown, and then used the 2 layers of grey drybrush as well. By the way, the Leather Brown is also used before the drybrush on any areas of the cliff where we notice the texture didn't cover well enough. There are a lot os bubbles in the foam, and sometimes the texture doesn't penetrate there, and you only notice it once it dries, so you can fix that by simply painting that spot brown.
The cliff on the left received both the medium and the light grey drybrush, the one on the right had only the first layer, the medium grey, so you can notice the difference, and how the light grey really makes the color pop.
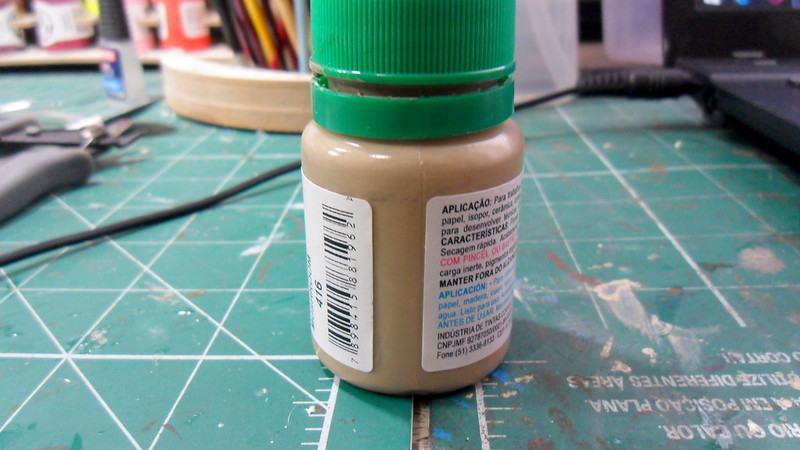
For the top of the hill, I used a single layer of drybrush with light beige, as pictured below. I didn't do this step on the snow hills. These I wanted to keep very dark soil.
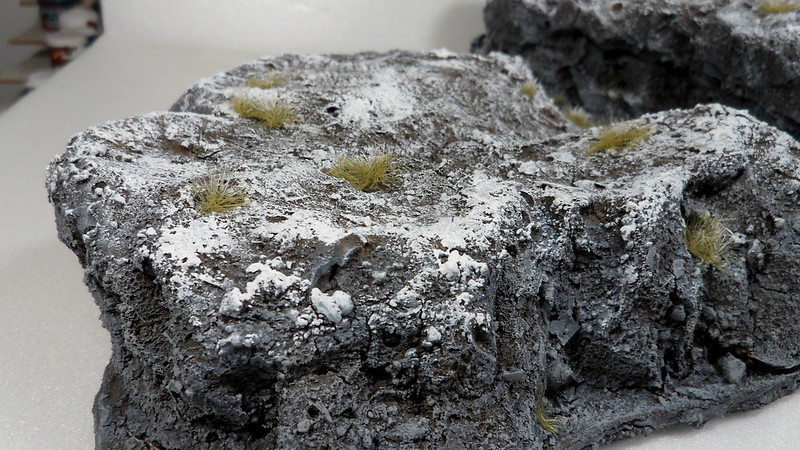
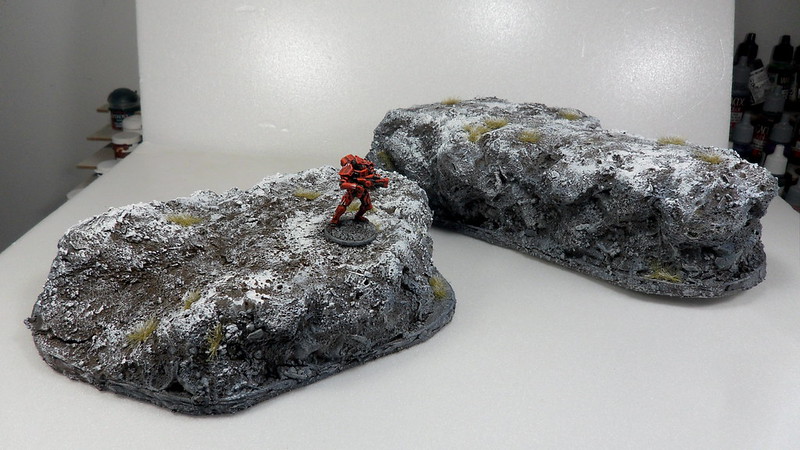
On the green hills/cliffs, after the beige drybrush I applied flocking. In the winter cliff, I represented the snow with white drybrush, and then added a few tuffs. The white drybrush must be random, more accumulated on some areas and scarce on others. If you do it too uniform, it won't look natural. Vallejo Model Color Foundation White is the ideal paint to do this step, as it has a very thick consistency.
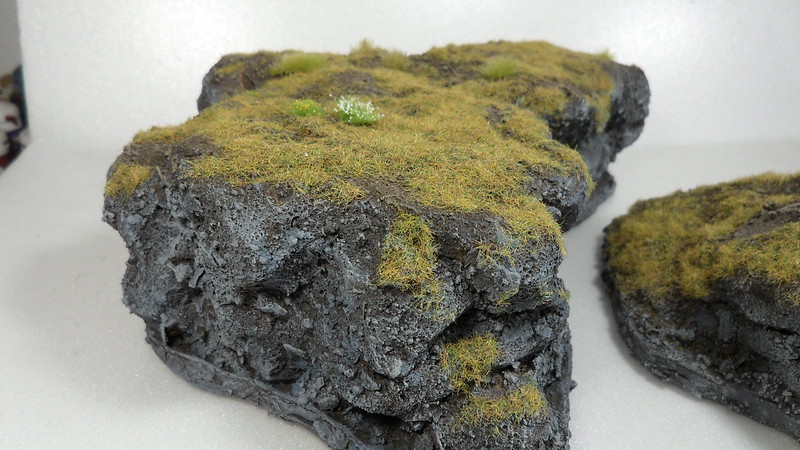
The flocking on the green hills also has to be applied without uniformity. I do this by drybrushing paper color randomly over the top of the hills and a few areas of the stone borders, and then spilling flocking over it 2 or 3 times, to get a good coverage.
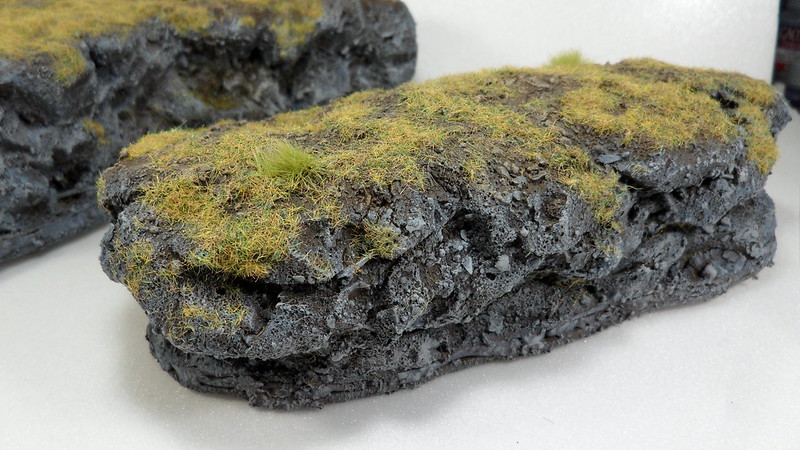
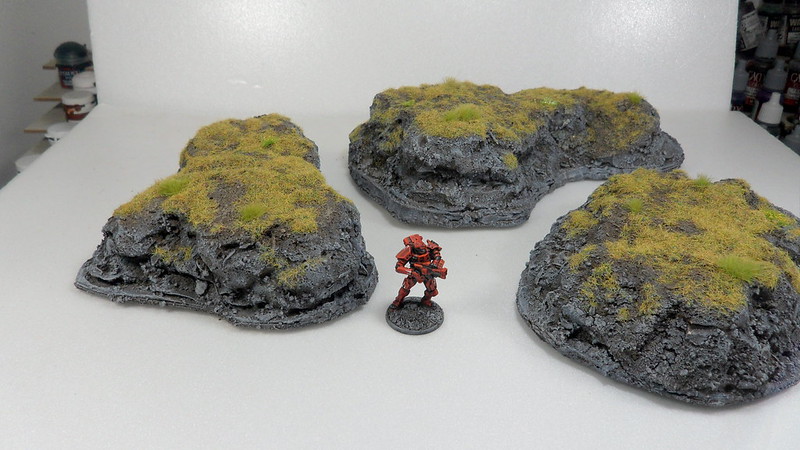
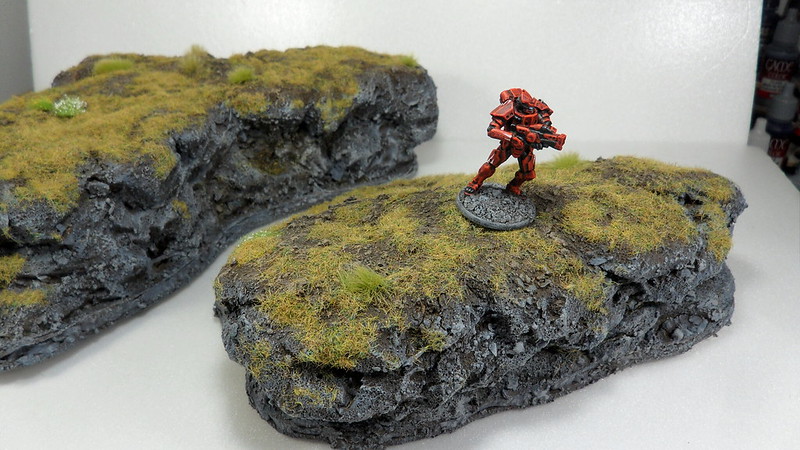
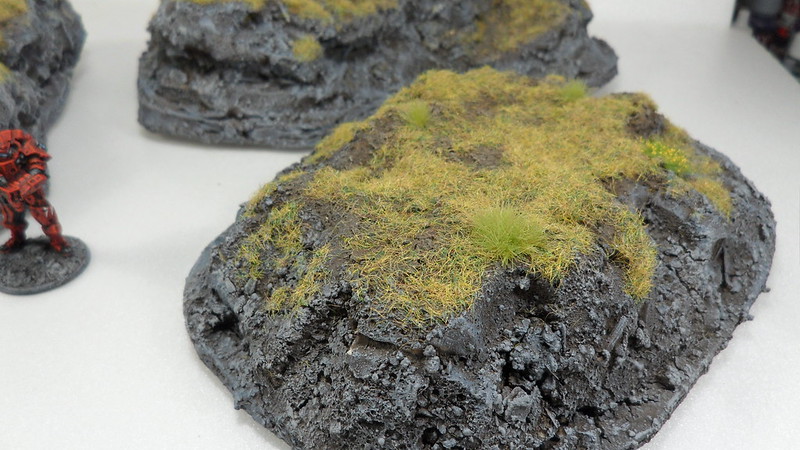
Below, you can see the final results of the cliffs, with an Algoryn trooper for scale.