Thursday, May 28, 2015

Grenadiers for my french Line Regiments

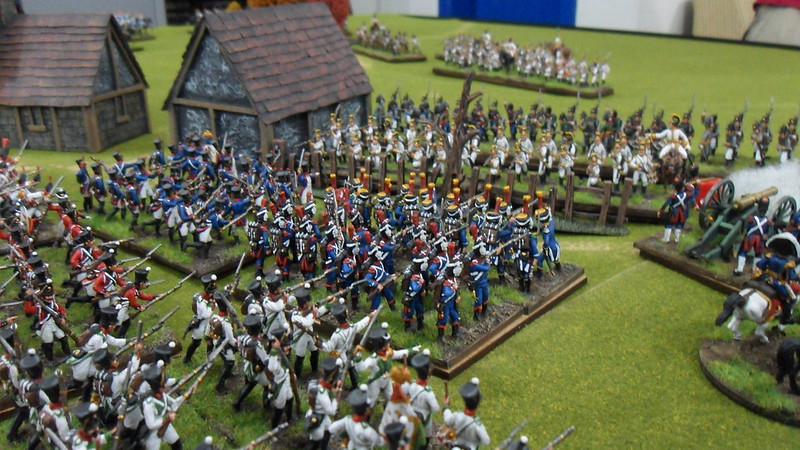
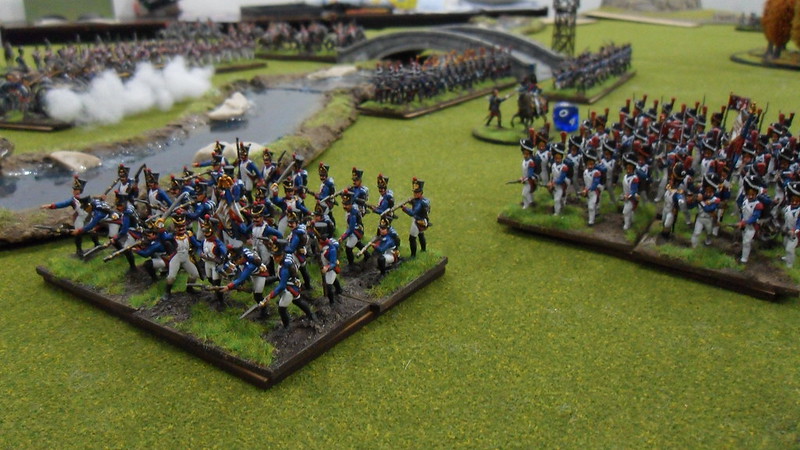
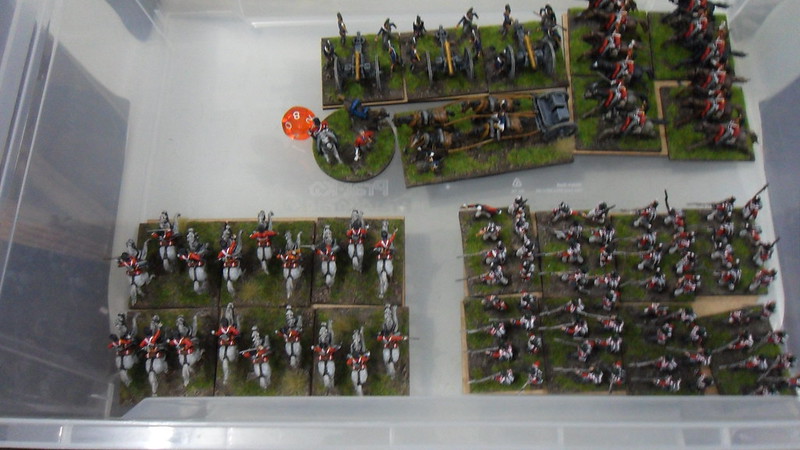
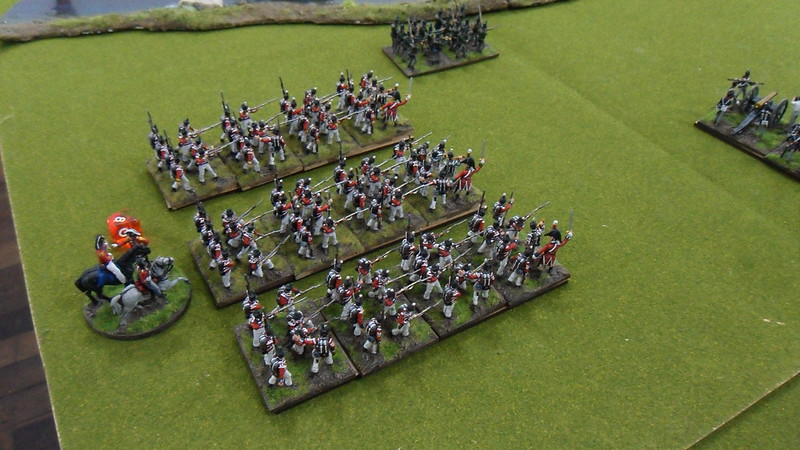
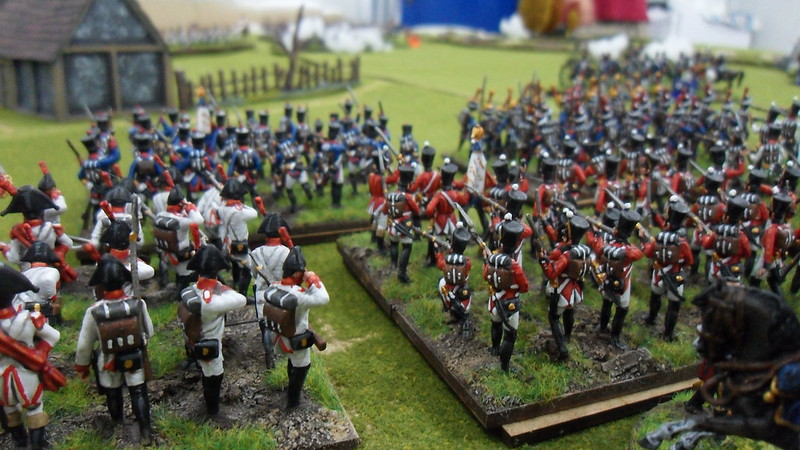
Up until now, my regiments of french line infantry have been represented solely by fusiliers (Italeri), but I've been planning to add grenadiers and voltigeurs to each unit, thus making my regiments more accurate.

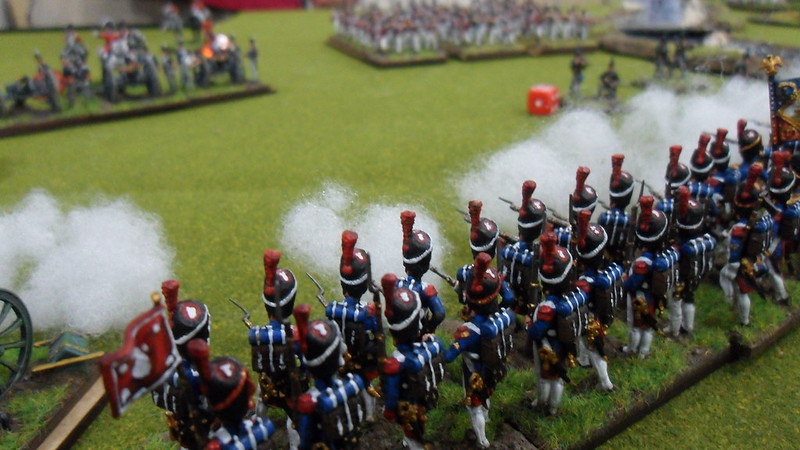
That being, I just finished 5 new bases to distribute among my existing reigments, each composed by 4 fusiliers and 4 grenadiers. I used Zvezda Old guards to proxy line grenadiers, with the appropriate colors adjusts, as these sculpts mix pretty well with my Italeri fusiliers.

SAM_8650

SAM_8651

SAM_8652

SAM_8654

SAM_8655

SAM_8656

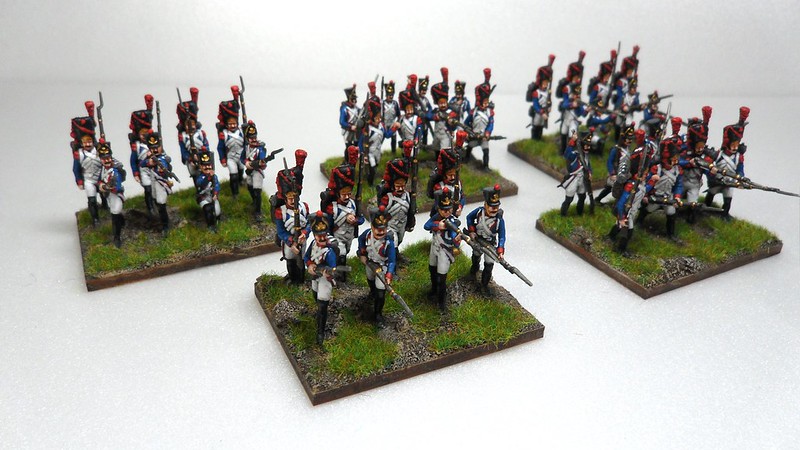
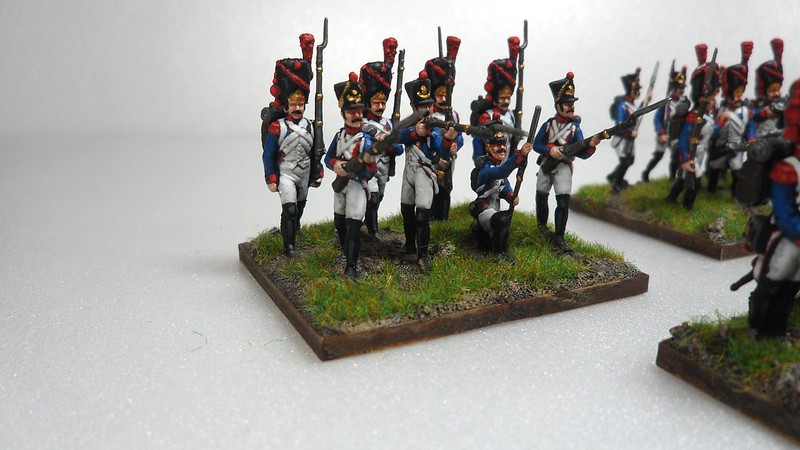
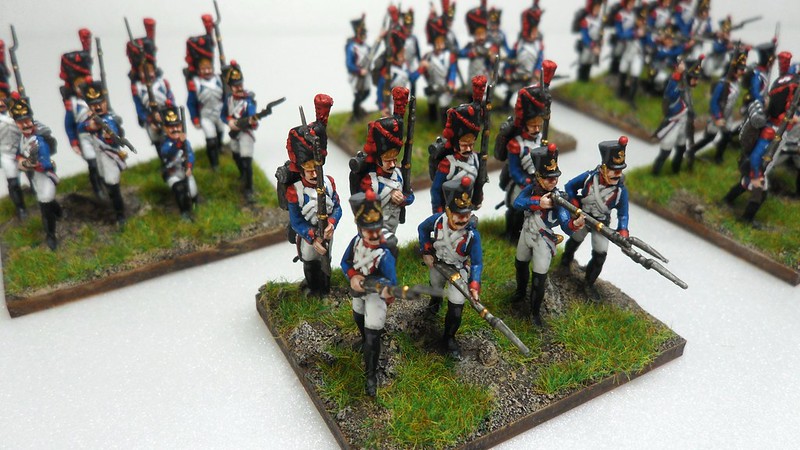
The reason I did just half a base of grenadiers is one of proportion. With a single company out of 6 in a battalion being of grenadiers, a full base of them would be excessive. This representation I did is 1/8, instead, not exactly accurate, either, but looks better this way.

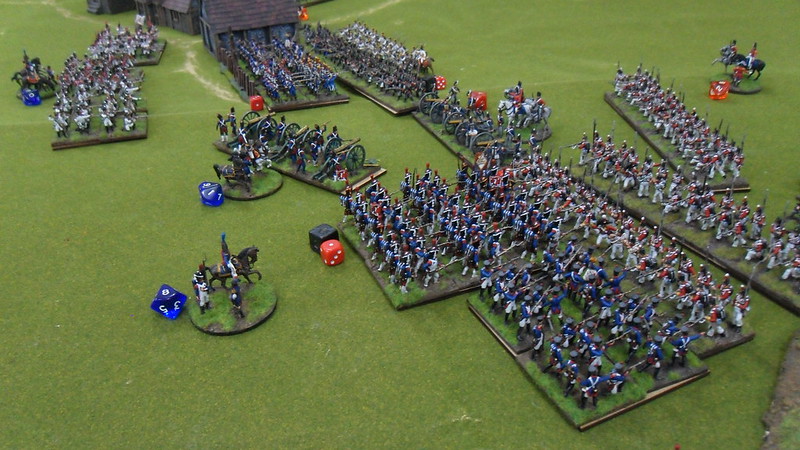
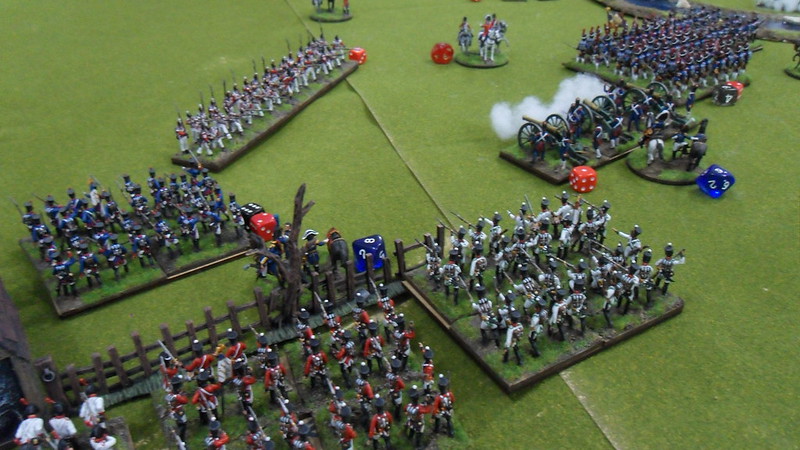
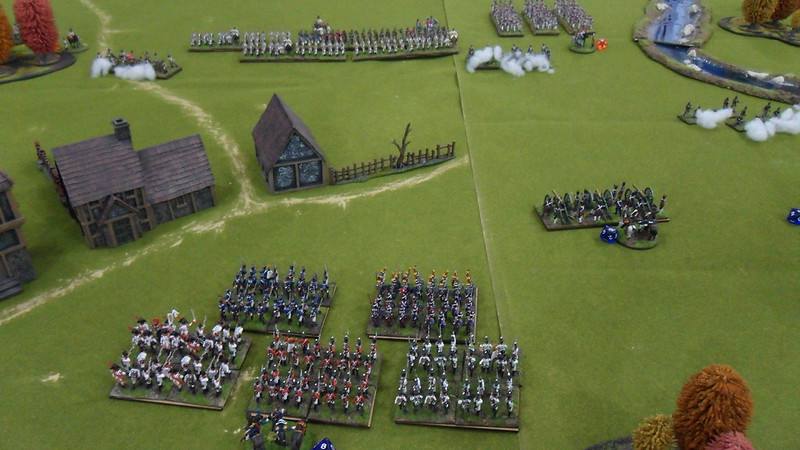
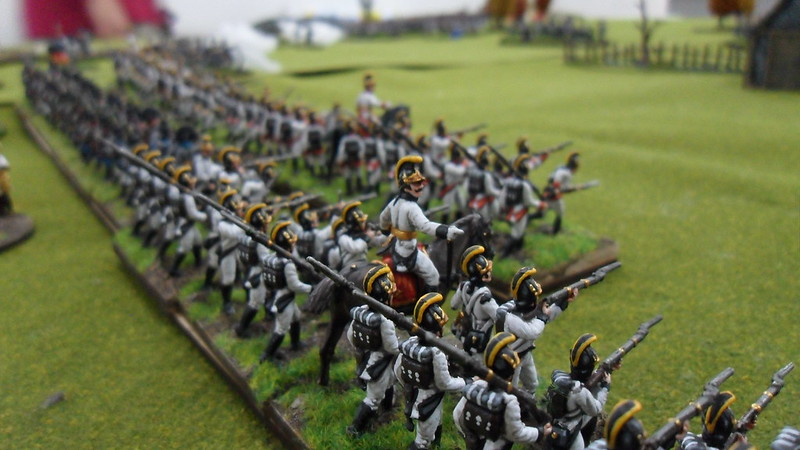
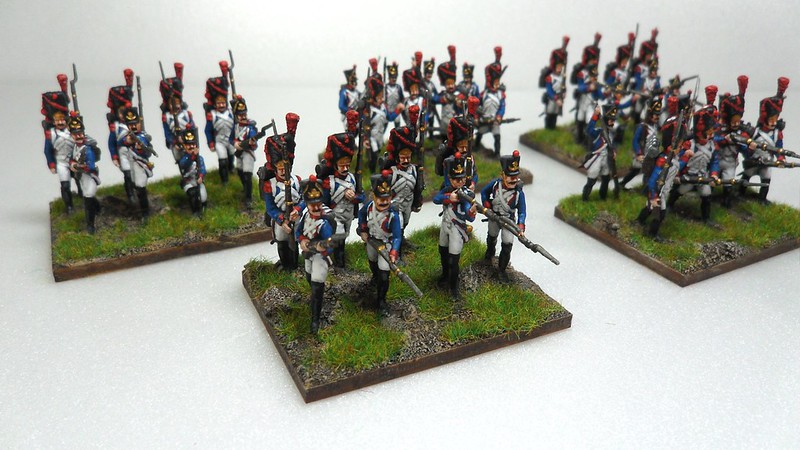
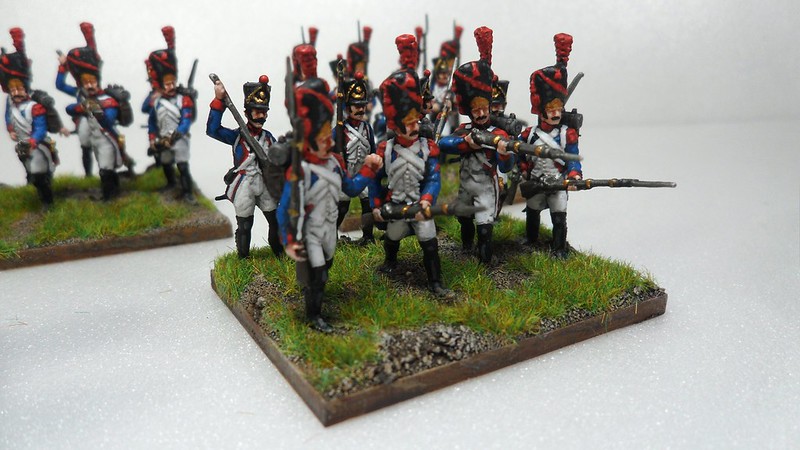
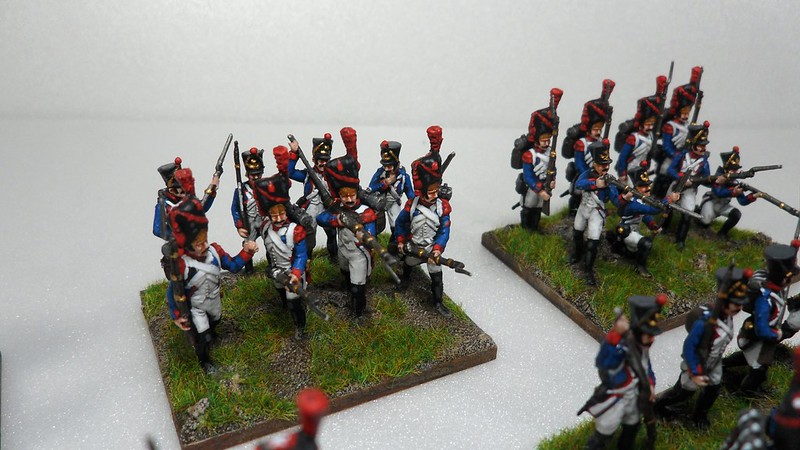
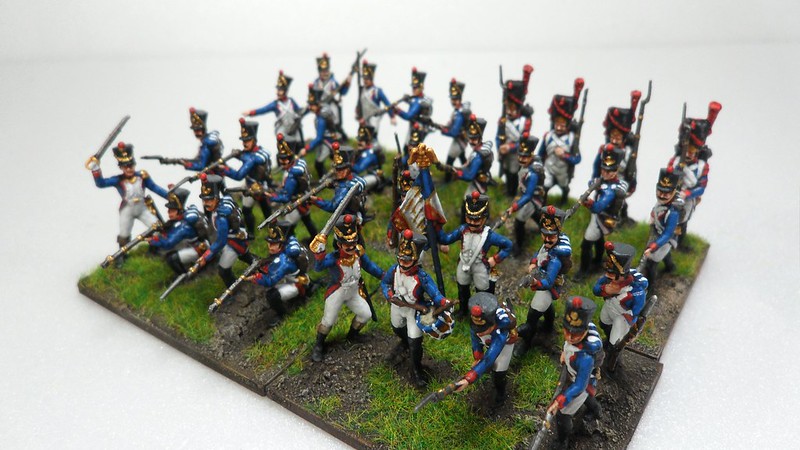
Here is how each of my regiments currently look like:

SAM_8660

SAM_8662

Next, I'll be doing the same process with voltigeurs, replacing one base all-fusilier in each regiment by one of voltigeurs/fusiliers. I'll also be using Zvezda models here, but this one is tricky, as that kit is pretty rare. I managed to grab one on ebay for a reasonable price, but I still need a second one to complete all 10 regiments I plan to have in total.

As I make bases of grenadiers and voltigeurs, some bases of fusiliers are left spare, which are then combined to come up with additional regiments, so nothing is lost, really. As of today, I already have all the bases I need of fusiliers for my project of 10 regiments, and I'll only be needing bases of combined fusiliers/grenadiers and fusiliers/voltiguers from now on.

Something similar will be done with my light infantry. Currently, I'm missing the chasseurs on all 3 regiments I have. I'll be coming up with bases of chasseurs for all of them, thus spreading the current bases of carabiniers and voltigeurs into a new total of 6 regiments.

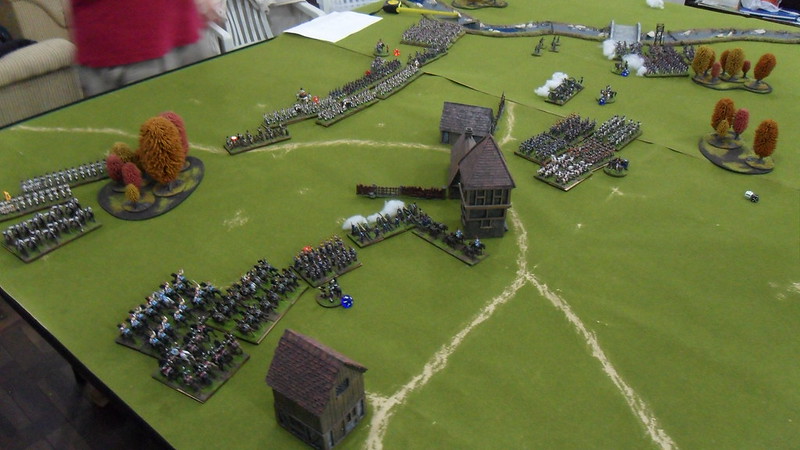
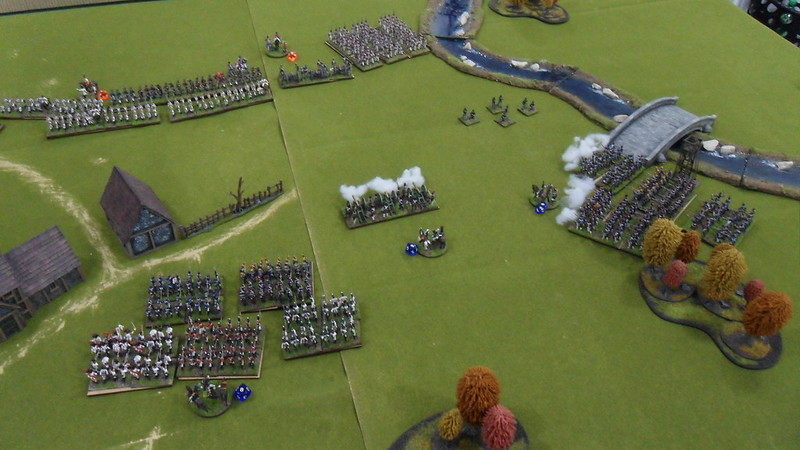
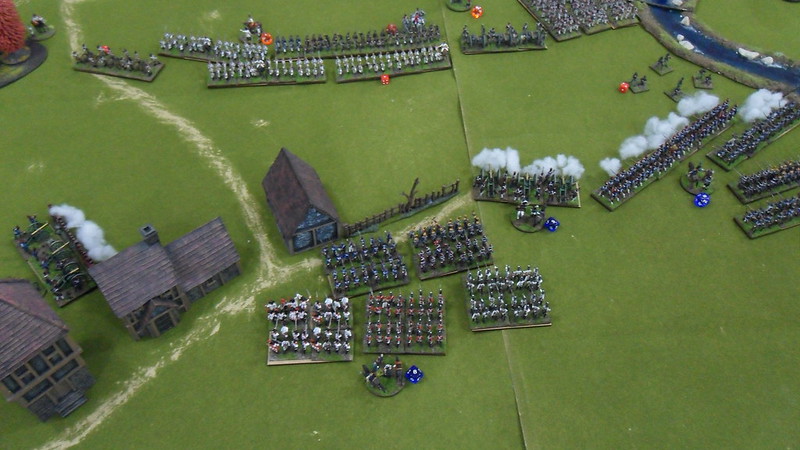
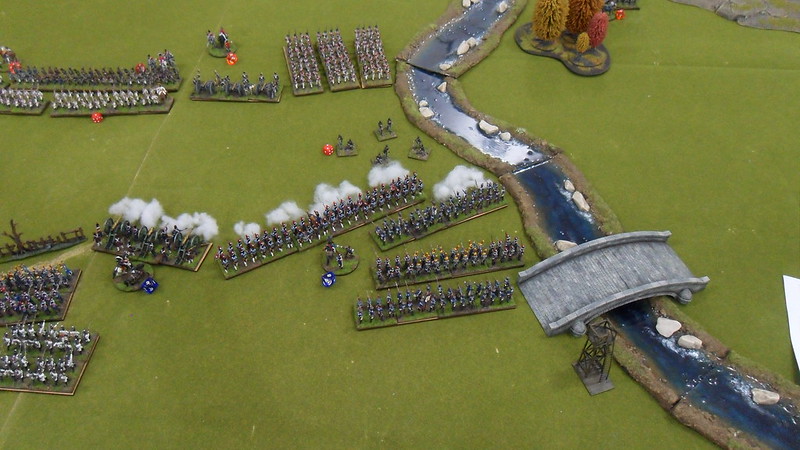
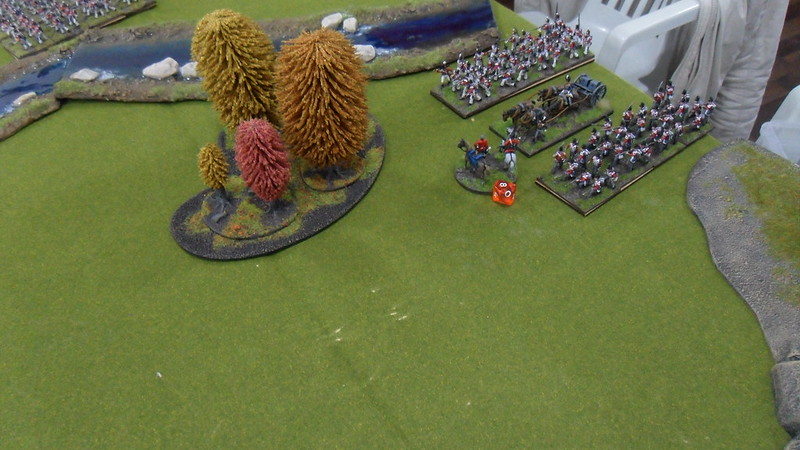
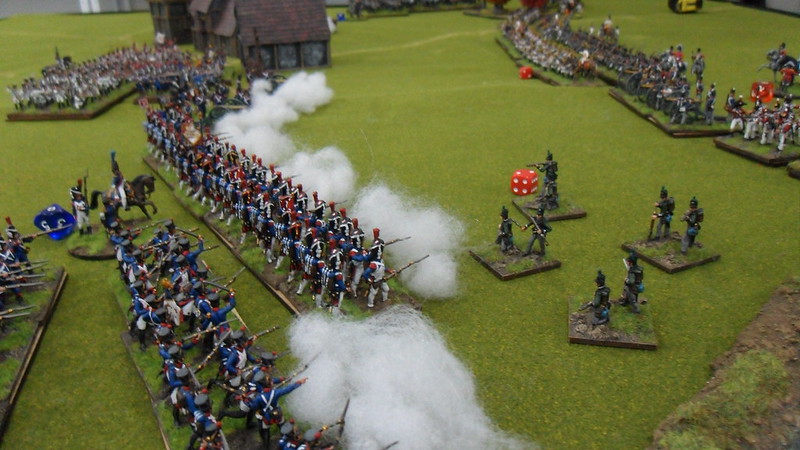
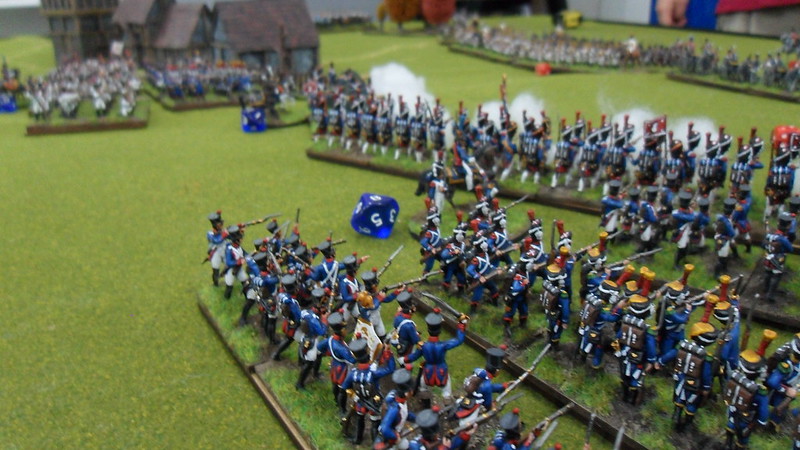
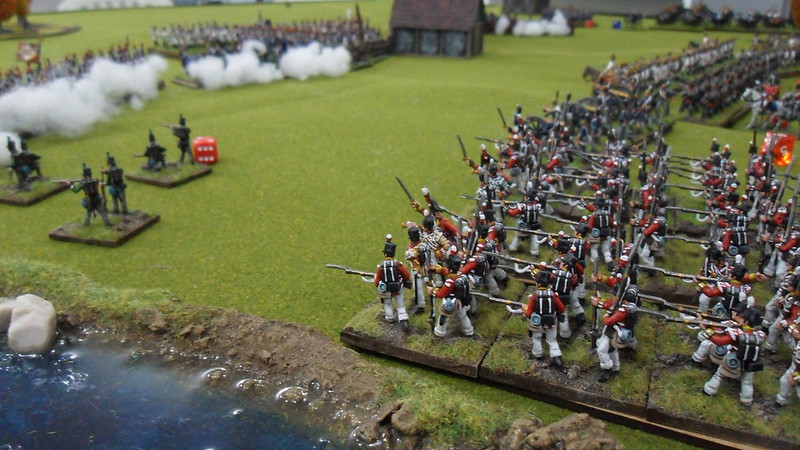
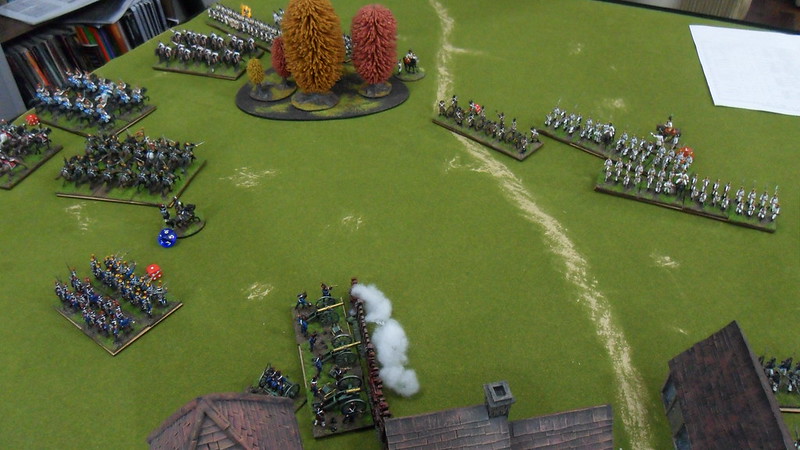
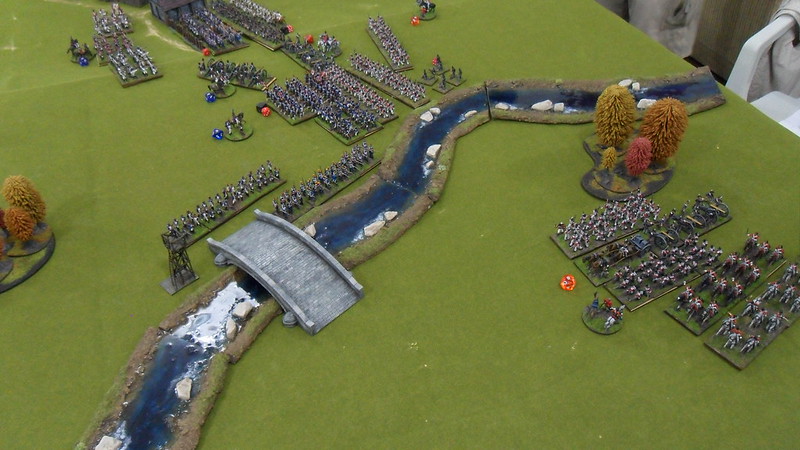
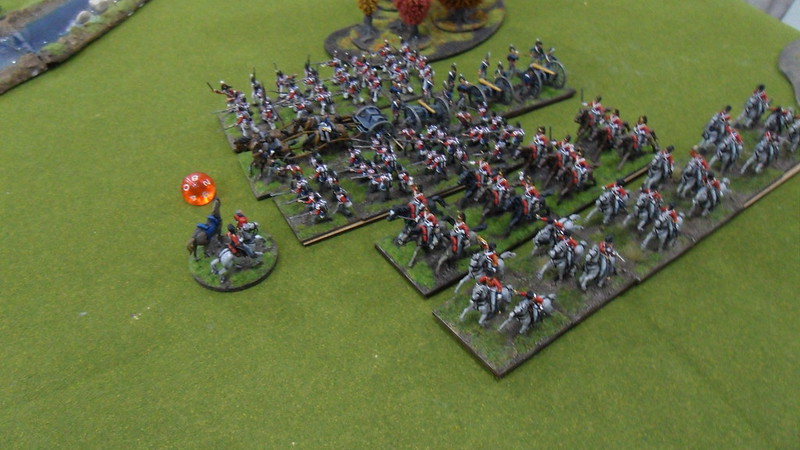
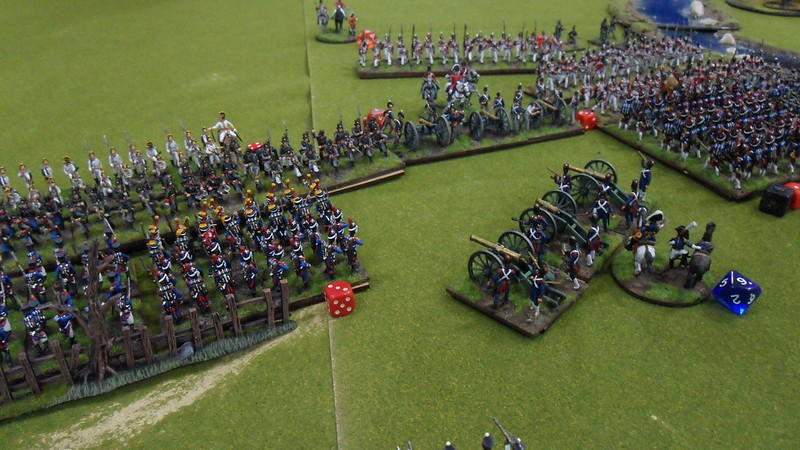
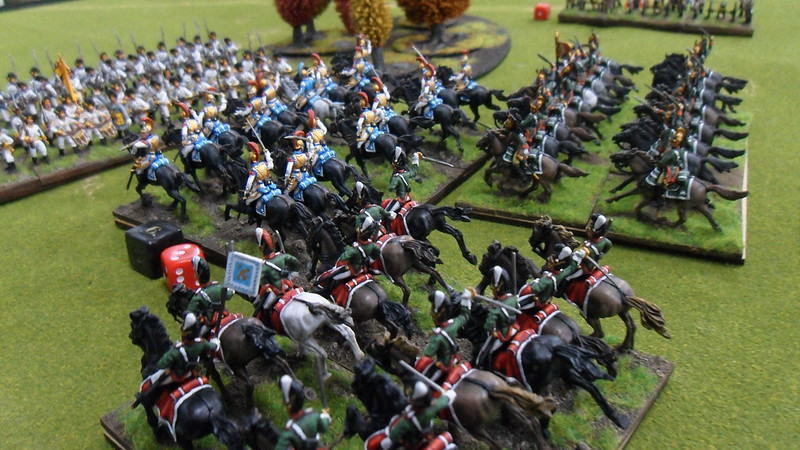
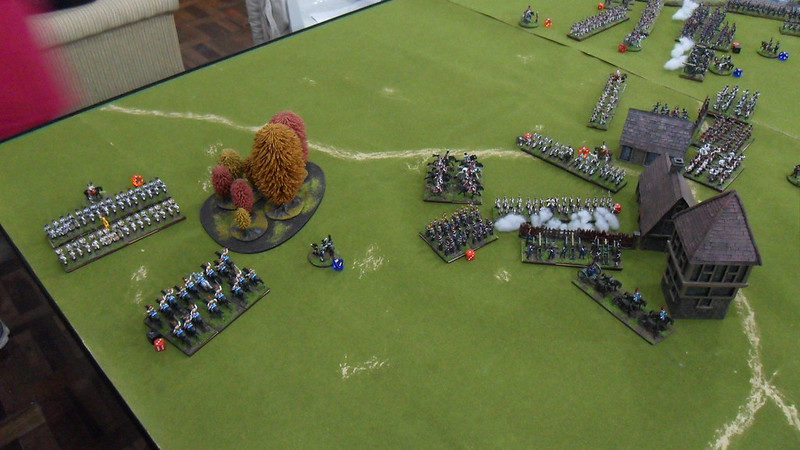
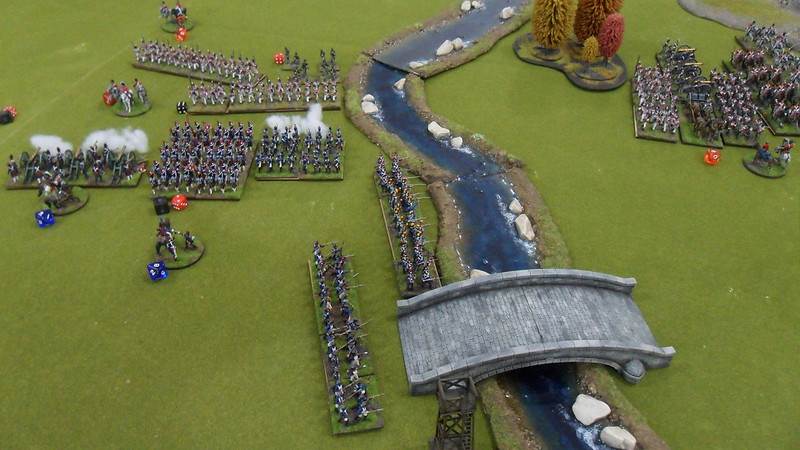
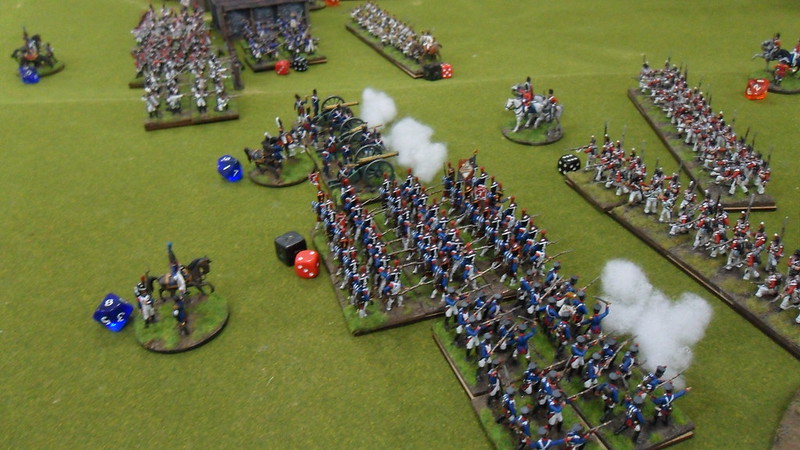
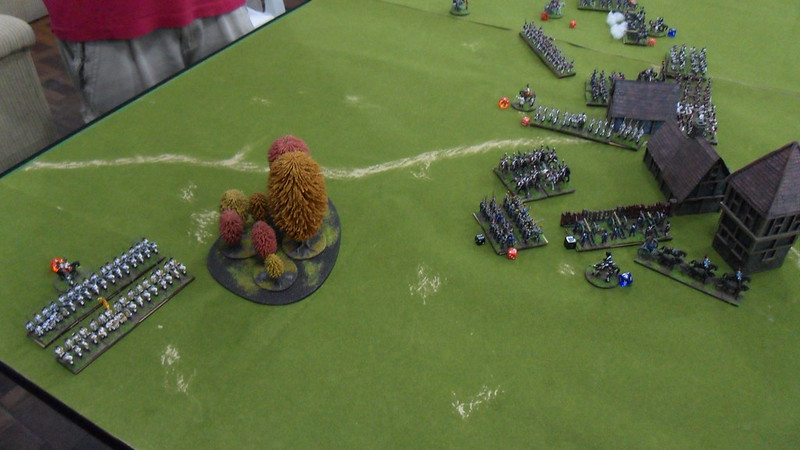
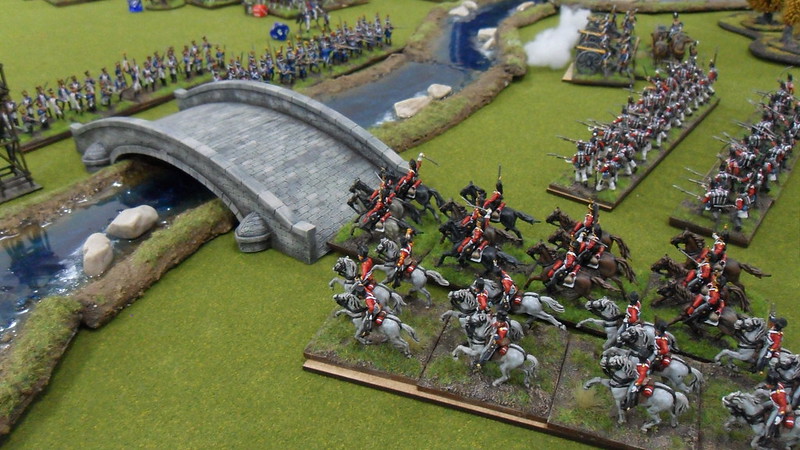
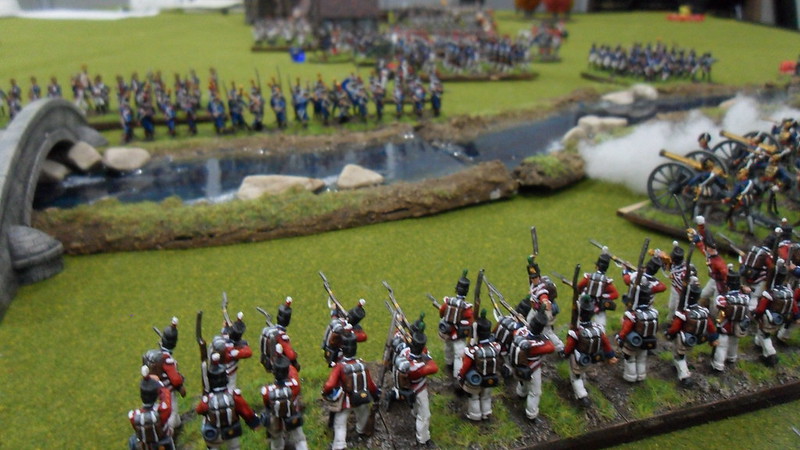
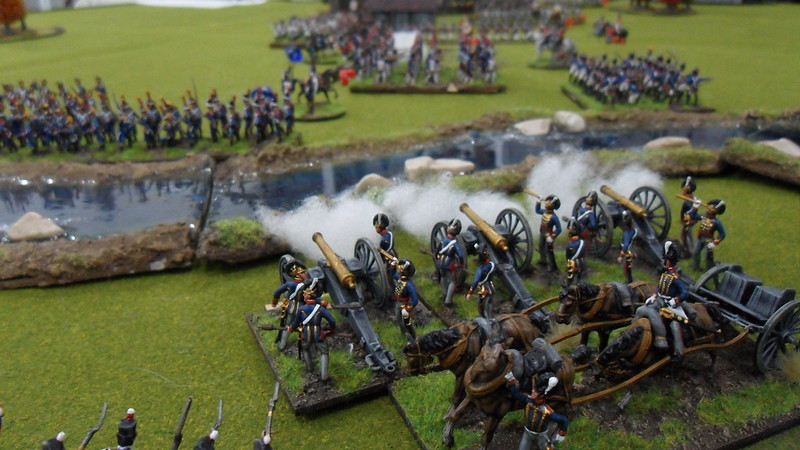
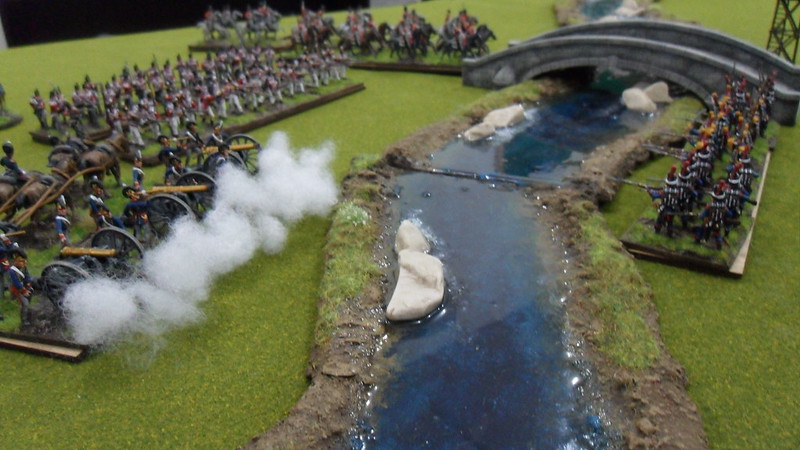
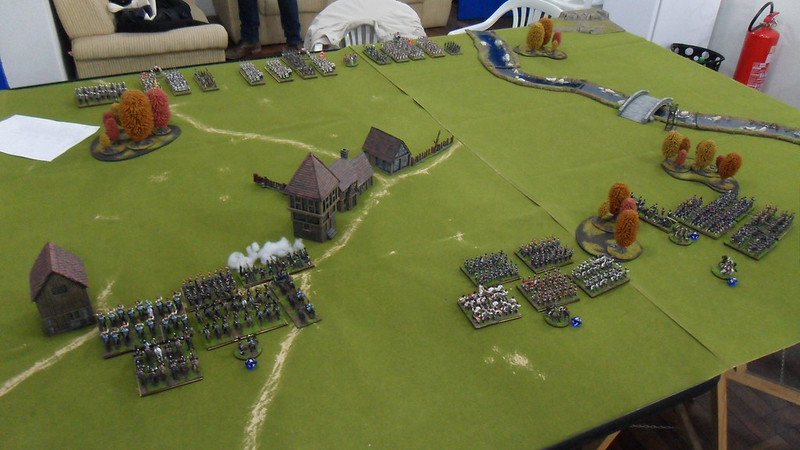
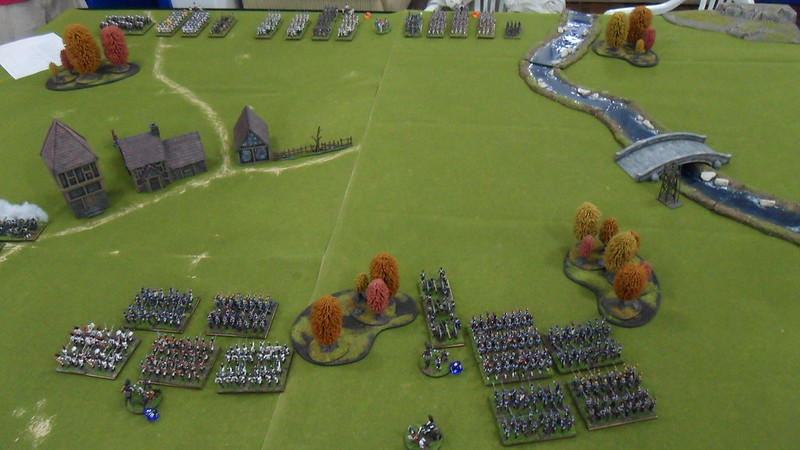
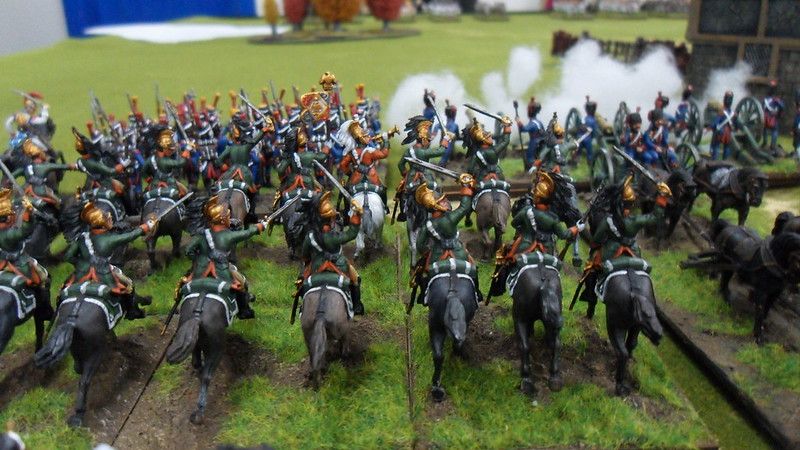
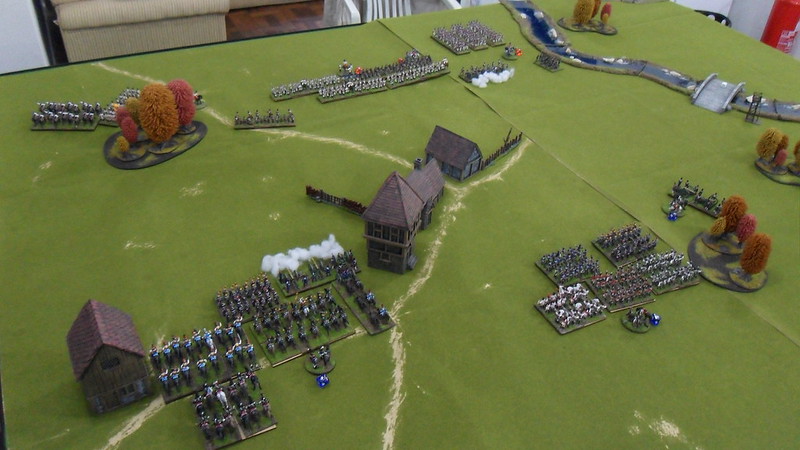
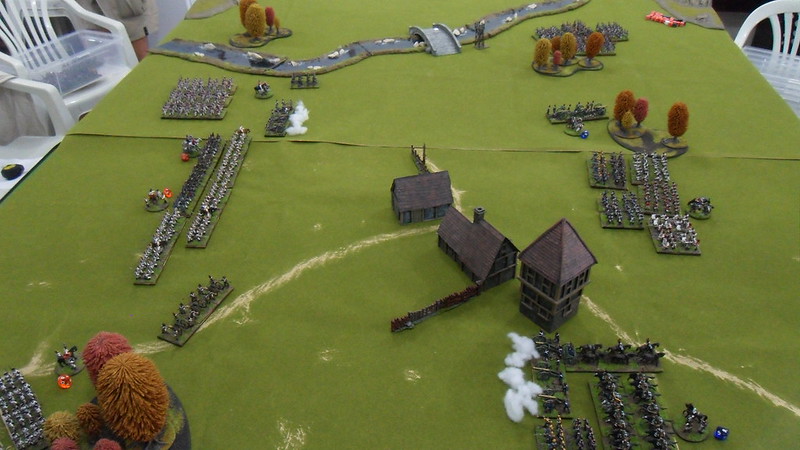
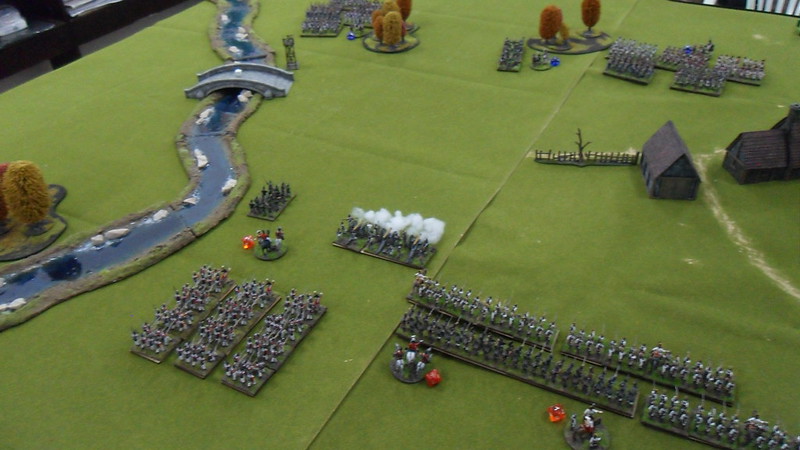
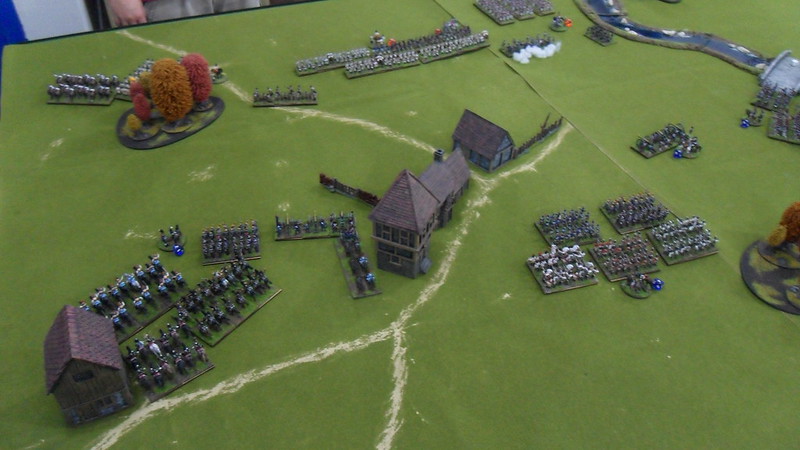
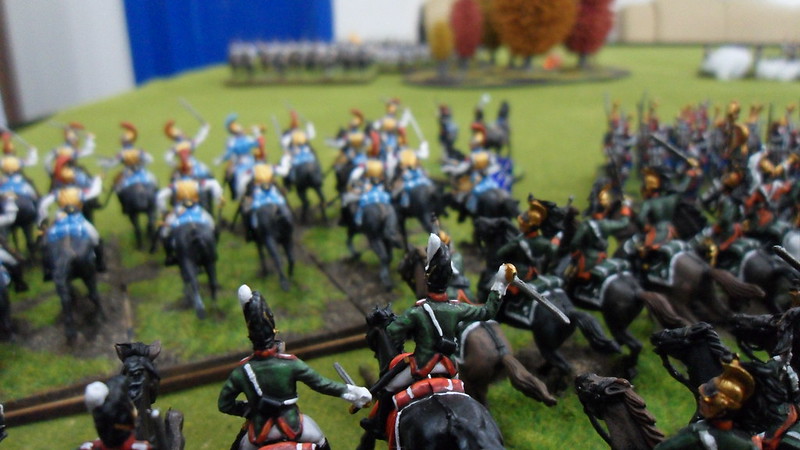
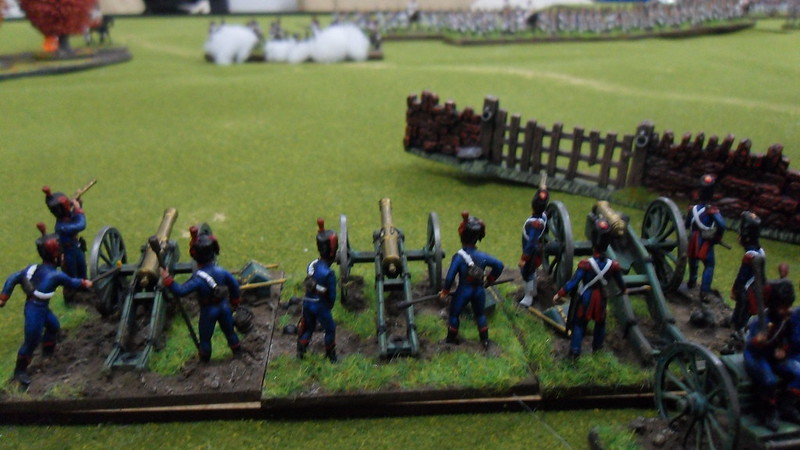
Thus, in the end, I'll be left with 10 regiments of line and 6 of light, 1 regiment of guard and about half a dozen regiments of allied infantry (bavarian, swiss, italian, etc.) for a total of over 20 units of infantry for my french. This, along with several units of cavalry and artillery, is enough to do a very large game of Black Powder, where I'll be able to field a huge french army against any 2 other armies combined - something Napoleon did quite often!

Friday, May 22, 2015

Batrep of the weekend - part II

Following on with the battle report of the last post, here we have a lot more pics of the fray. The french columns advance toward the austrian and british lines, while the 4º allied brigade struggles to make it to the battlefield and impact the outcome of this encounter.

SAM_8609

SAM_8610

SAM_8611

French guns open fire on the advancing allied lines, which are trying to push the french back so to take control of the bridge head.

SAM_8613

Some french units reform into line and open fire on the marching british, who in turn are screened by their rifle corps.

SAM_8614

SAM_8615

Above, we see the 2º british brigade arriving on the battlefield, on the 4th game turn, desperate to take position to help fight their hatred foes. Meanwhile, the allied forces are suffering heavy casualties from french fire.

SAM_8616

SAM_8617

SAM_8618

SAM_8619

On the far right of the austrian forces, the french are trying to break their flank and envelop the Habsburg army. A single cuirassier regiment is dispatched to fight off 3 french cavalry units. For a while, it manages to avoid disaster, but in a second assault, the cheer number of enemy horses sees off the austrian cavalrymen and clear the path for the infantry to advance. Problem is, 2 regiments of grenadiers are still positioned there, with a single regiment of french light infantry in the area, it doesn't seem the french will succeed at taking that flank anytime soon.

SAM_8620

In the middle, austrian lines, supported by landwehr, close in to open fire on the french columns, which keep their relentless advance despite the any casualties and charge home at the austrian formations.

SAM_8622

SAM_8621

The Imperial Old Guards and other support units close by reform into columns and also charge at their foes, in this case, the 3 regiments of british line infantry, by now deployed in lines and using their fire to try and push the french back.

The rear of the french formations dispatch 2 units to keep hold on the bridge, thus preventing the arriving british reinforcements from making the cross.

SAM_8623

SAM_8624

SAM_8625

SAM_8626

SAM_8627

SAM_8628

After the first regiment of austrian line infantry breaks and flees the field, the landwehr is left facing the enemy directly. Up until then, I had fielded that unit 2 times already since I finished painting them, and both times its performance had been humiliating, to say the least. This time, it  managed to form a line of fire before being obliterated altogether, so I had hopes it could take a dent on the approaching french columns, and being a large unit, it gets to roll 4 dice instead of 3, so I was expecting to see them justify their presence (and points!) this day. But then, this happened:

SAM_8629

SAM_8630

The austrian brigades were cleary not doing very well, but the british were only marginally better. Brigade after brigade on the allied side were becoming broken, and the extra forces the british could have had to make a difference in the field were facing serious issues with their command & control, so they were still out of the fight by turn 6.

SAM_8632

SAM_8633

SAM_8634

On the french left flank, the austrian grenadiers secured their position and eliminated any risk of a french outflank on that side. The french cavalry were mostly depleted and fled, but the austrian centre was in even worse shape, and began to retreat. The british formations were also starting to falter, and the general collapse of the allied army was approaching rapidly.

SAM_8637

The belated 2º british brigade was finally starting to contribute to the battle, with their guns positioned to fire over the waters down the french columns, but it was too little too late, as the rest of the brigade had no means of crossing the river, without a secured bridge head on the opposite bank.

SAM_8638

SAM_8643

SAM_8644

SAM_8645

SAM_8646
The british line faces off with the french accross the river banks. Out of range of their muskets, the english can only watch as the enemy lay waste to their allied lines on the other side of the waters.


SAM_8647

SAM_8648

SAM_8649

With 3 brigades of 4 on the allied side broken, the arrival of the remaining british brigade is not enough to save the day, and the french take the field. Another victory for the forces of the Empereur, and another fully enjoyable game, very fun and dramatic.


Monday, May 18, 2015

Batrep of the weekend - part I

A couple weeks ago, we played another game of Black Powder at our club, with my armies-in-development of British and Austrians on one side, and the French on the other. I got to command the forces of the Empereur, and my friend Rodrigo led the allied Austro-British army.

Austro-British Army:

1º Austrian Brigade:
 - 1 Regiment of Landwehr
 - 3 Regiments of Line Infantry

2º Austrian Brigade:
 - 2 Regiments of Grenadiers
 - 1 Regiment of Cuirassiers
 - 1 Battery of foot artillery

1º British Brigade:
 - 3 Regiments of Line Infantry
 - 1 batallion of Rifles
 - 1 Battery of foot artillery

2º British Brigade (arriving from reserve):
 - 1 Regiment of Light infantry
 - 1 Regiment of Line infantry
 - 1 Regiment of Scot Greys
 - 1 Regiment of Heavy Dragoons
 - 1 Battery of horse artillery


French Army:

1º Brigade:
 - 2 Regiments of Line Infantry
 - 1 Regiment of Light Infantry
 - 1 Regiment of Imperial Old Guard
 - 1 Battery of Guard foot artillery

2º Brigade:
 - 1 Regiment of French Line Infantry
 - 1 Regiment of French Light Infantry
 - 1 Regiment of Spanish Line Infantry
 - 1 Regiment of Italian Line Infantry
 - 1 Regiment of Swiss Line Infantry

3º Brigade:
 - 1 Regiment of French Light Infantry
 - 1 Regiment of Carabiniers á Cheval
 - 1 Regiment of Dragoons á Cheval
 - 1 Regiment of Bavarian Chevaux Legère
 -1 Battery of horse artillery

SAM_8582

SAM_8584

The Austro-British forces were considerably larger, so we balanced things by putting an entire brigade on reserve, allowed to enter the table from the 4º game turn. In game terms, this represented the allied army being caught by the french while marching to join forces (typical napoleonic french tactics), and one british brigade was still some way off the field.

This remaining brigade was to enter from the opposite side of the river, which we treated as deep, rough waters - impassable terrain. This means that the only way for that brigade to join the fray was to seize the bridge in the middle of the field.  Thus, it was a fundamental part of the french strategy to secure the bridge head, thus stopping the british brigade from making the cross and joing the rest of the allied army.

SAM_8585
(the brigade in reserve)


SAM_8586
Mounted Dragoons cheer profusely as french guns open fire on austrian positions.


SAM_8587

SAM_8590
The british 1º brigade, tasked with securing a bridge head for the arrival of their fellow countrymen.


SAM_8592

SAM_8593

SAM_8595

SAM_8596

SAM_8599

SAM_8600

Both forces spent the first several turns advancing and pivoting to a better position. The austrian command proved poor (as usual), while the french rushed an entire brigade to block the bridge.

On the 4th game turn, the second british brigade began to appear on the field, over a long column of units, but difficulties in command delayed the maneuvering there as well, severely hampering the chances of the allied army, which was facing a more efficient french army.


SAM_8603

SAM_8605

SAM_8606

SAM_8607

SAM_8608

To be continued.