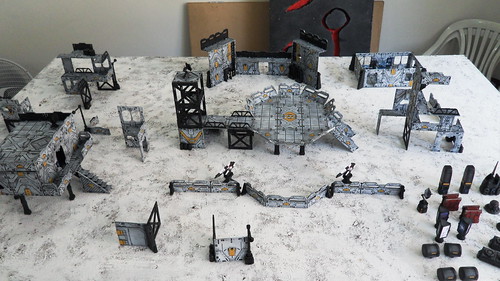
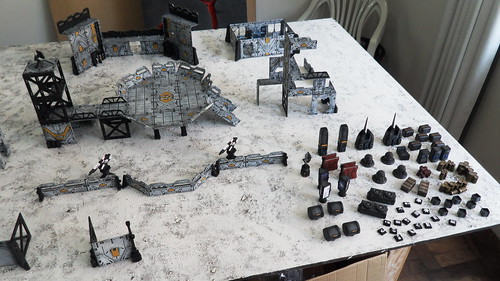
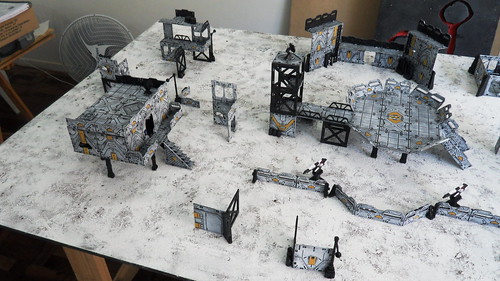
Just finished painting the Deadzone terrain from another member of our local gaming club. There are a lot of nice additions to our collection of Deadzone terrain, particularly the Antenociti's kits and the Landing base.
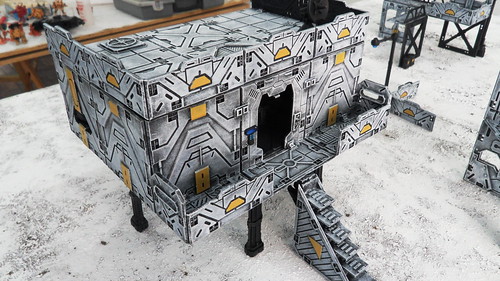
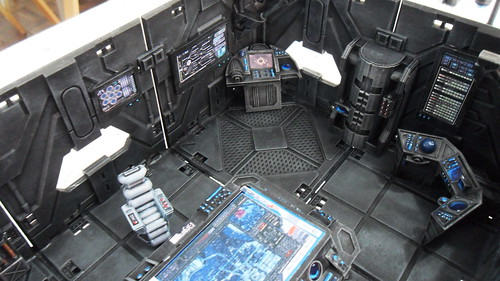
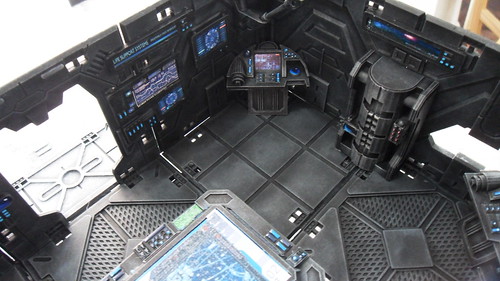
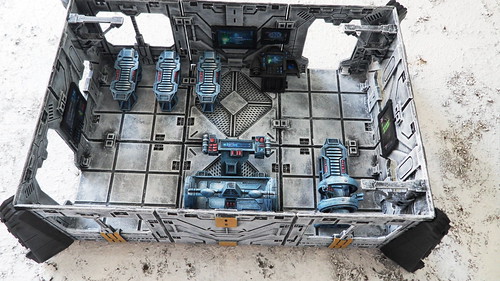
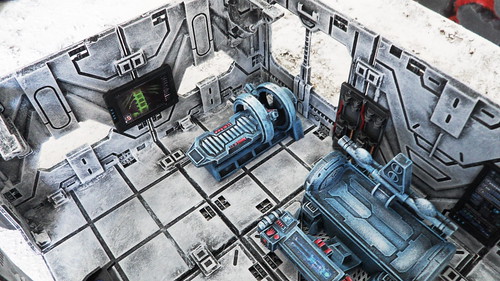
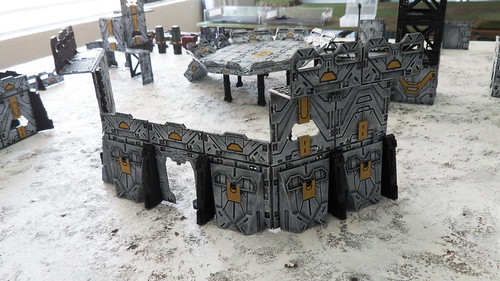
One of the kits comprises furniture for a command room, so I built this piece here:
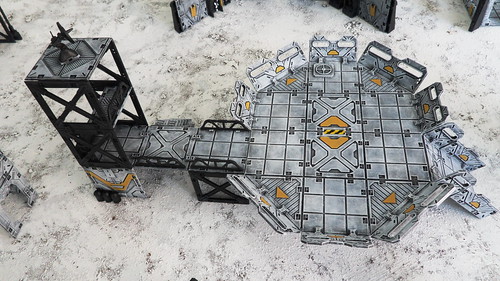
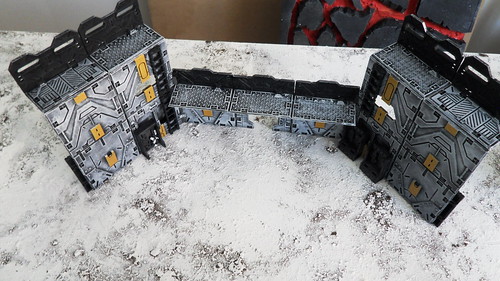
The landing Pad was built as 2 structures for easy storage and handling. The tower and the elevated ramp are one piece, the other is the landind pad itself.
I built it large enough to hold big 40k flyers such as the Stormraven, Valkyrie and Ork Bomber.
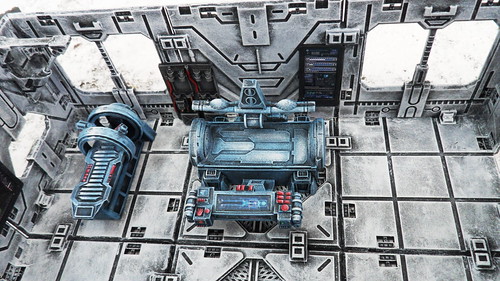
Another beautiful Antenociti's kit is the medical room. Here is what I came up with:
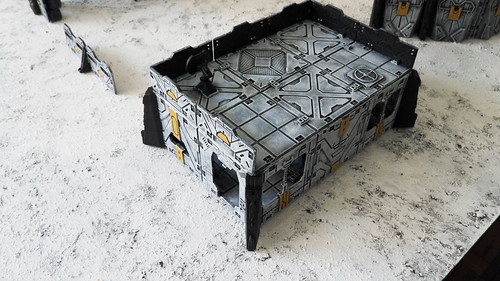
The command centre roof can also be fit on the medical room, as can be seen here. Building one separate roof for each would use too much tiles, so I chose to rather build one that could be used on either.
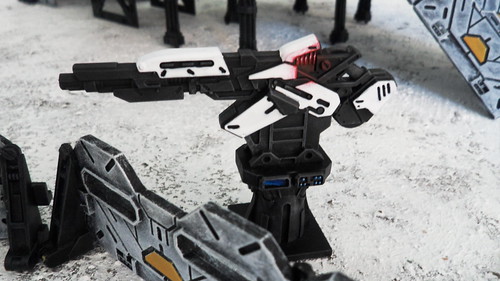
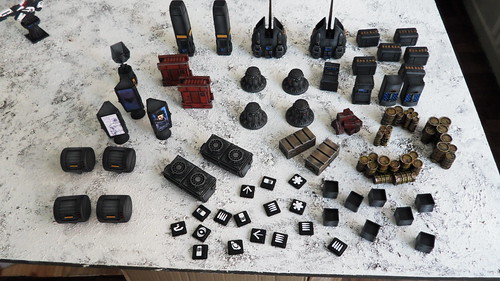
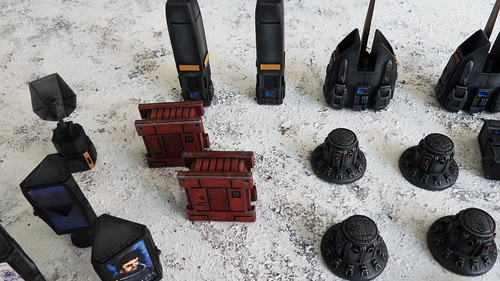
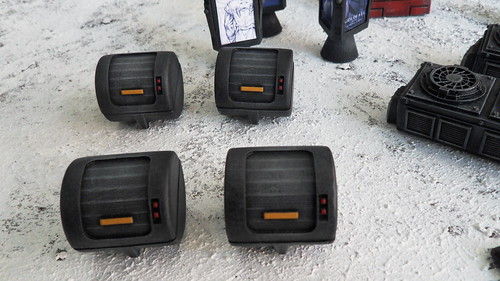
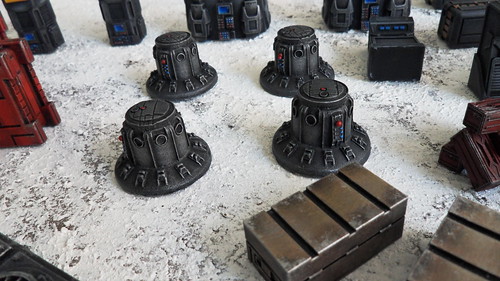
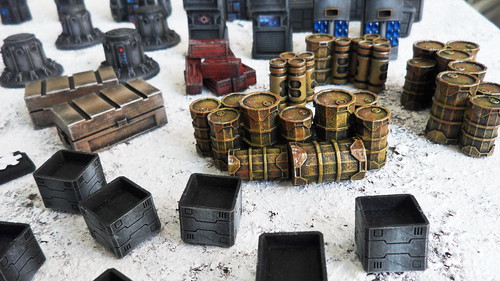
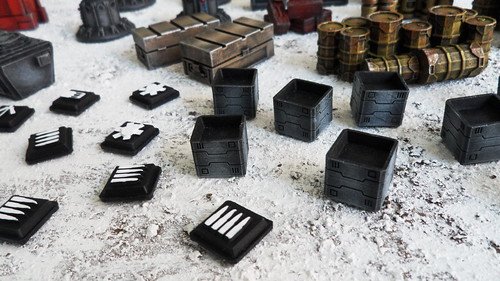
Here is the rest of the Antenociti's kits. Lots of coll stuff here:
*End of Transmission*





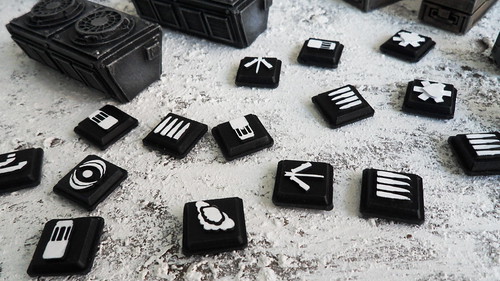
PLEASE do a tutorial on how you painted your tiles. Those are great and I'd love to do mine in the same way!
ReplyDeleteThat's a pretty straightforward paint scheme, actually. Just drybrushed white over the black primer.
DeleteMake sure you use a huge brush to do that, as it not only speeds up your work, but also helps give you the effect you desire. Small brushes would get in the recesses and paint what they shouldn't.
The parts that are to remain black were drybrushed on grey, to give them depth and contrast.
When you say a huge brush, what are we talking here? Like a #3 artists brush, or a 1" wide brush, or like a 4" wide brush you would use on real fences?
DeleteShfty, it's closer to a 1" wide brush, I'd say - huge for hobby standards. ;-)
DeleteSimple and very effective scheme - looks great.
ReplyDeleteWill be stealing some assembly ideas :)
Love it!
ReplyDelete