We start this second part of the tutorial with Day 3 of the painting process. For those who missed part one, here is the link.
Day 3 and 4
We have all horses painted and washed, now its time to highlight them. There is no real reason to highlight them now, rather them wait until both the horses and the riders are painted, and then highlight them all at once. But I, for one, prefer to finish the horses before starting on the riders so that I get at least a partial satisfaction of having "completed" something (!)
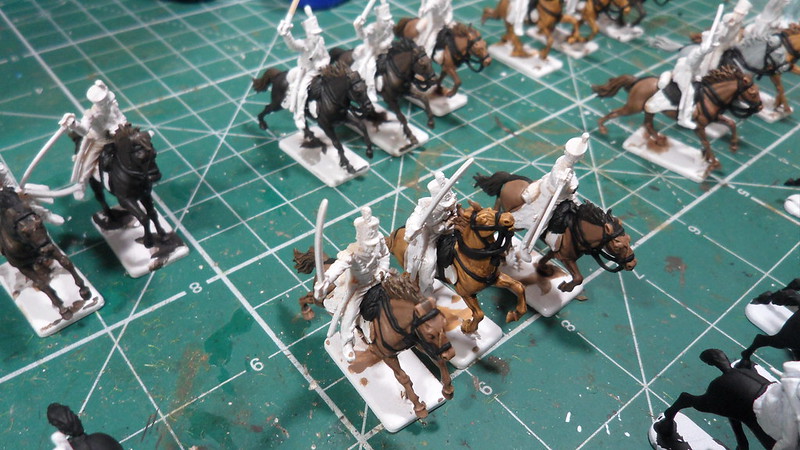
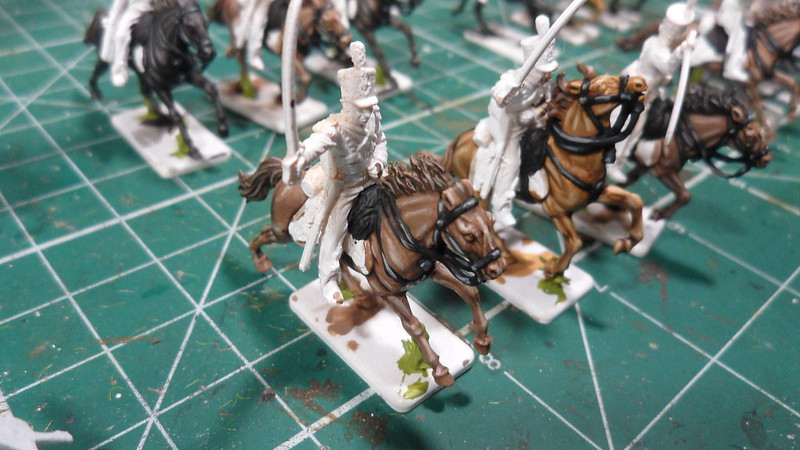
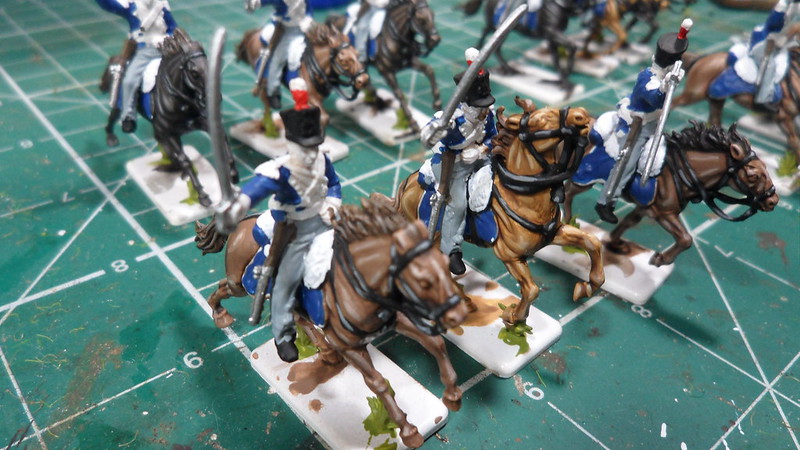
My highlight is done in 2 layers. The first layer of highlight is the same base color used on the horses. This gives a smooth transition to the second layer, which is the base color + white in a 3/1 or 2/1 proportion. I use 2/1 (that is, more white) for light colors, otherwise the difference in shade is too subtle and doesn't add to the visual. For darker colors, 2/1 may look too strong a contrast and unrealistic, so I usually do a mix closer to 3/1 for those.
For instance, the light brown horses below had a second layer of highlight on 2/1, while the dark brown ones had a second layer of 3/1 instead.
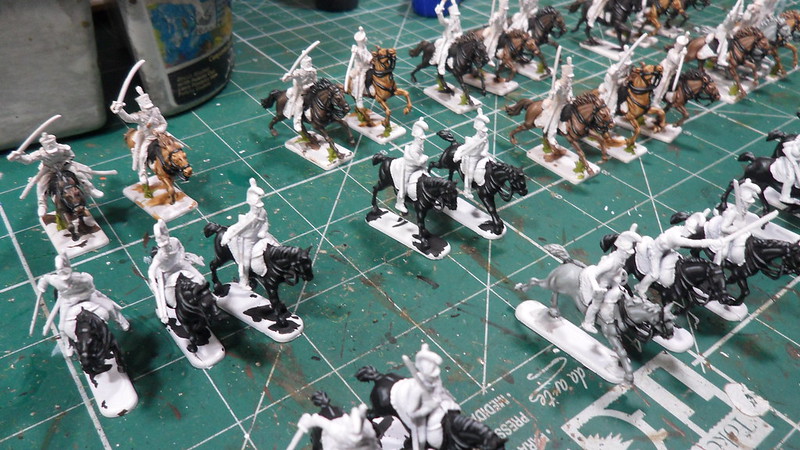
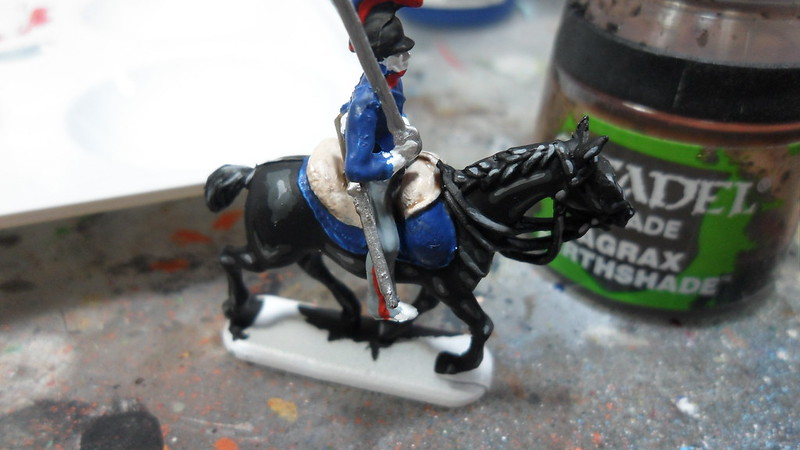
The black horses don't get a coat of wash, and therefore their first layer of highlight is already a mix of black + white (i.e., grey). The first layer about 3/1 proportion of black and white, respectively, and the second is a 2/1.
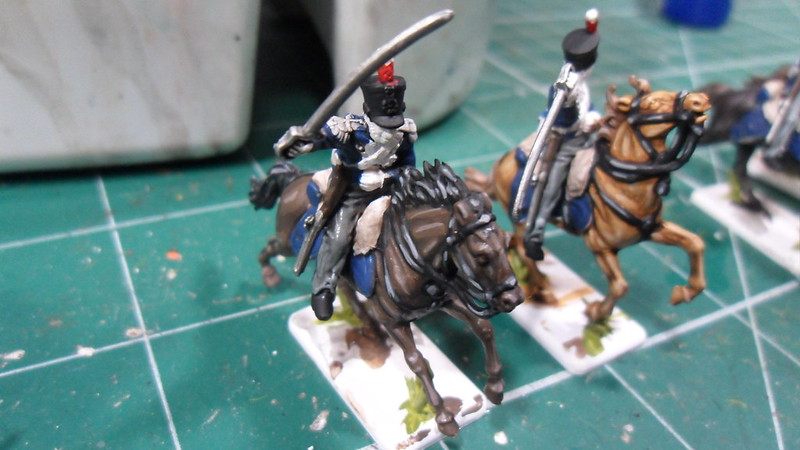
The greys follow the same sequence of the light brown horses, since they too received a coat of wash: first layer of highlight on the base color, second layer on base color + white (2/1).
The technique I use to apply highlights means that there are strong, defined lines of highlight over the model. This looks very good at a distance, but are easily perceptible at close look.
Professional painters are much smoother on their highlights, creating transitions where it's not quite possible to visually determine where one shade of the color ends and the other starts. It's all a nice gradient of color from the darkest to lightest. This is called blending.
Problem is, it takes a lot of time, and I intend on finishing my napoleonic armies in a single lifetime, so that I can actually enjoy them by playing games, so I need a technique that looks sufficiently good while also being quick enough.
Problem is, it takes a lot of time, and I intend on finishing my napoleonic armies in a single lifetime, so that I can actually enjoy them by playing games, so I need a technique that looks sufficiently good while also being quick enough.
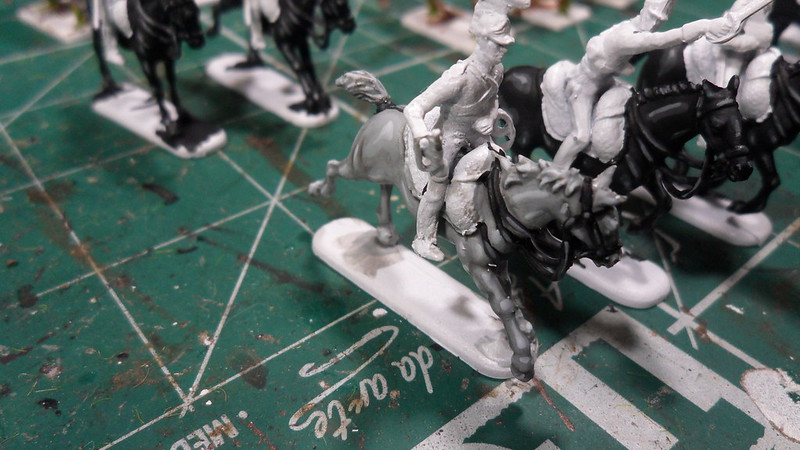
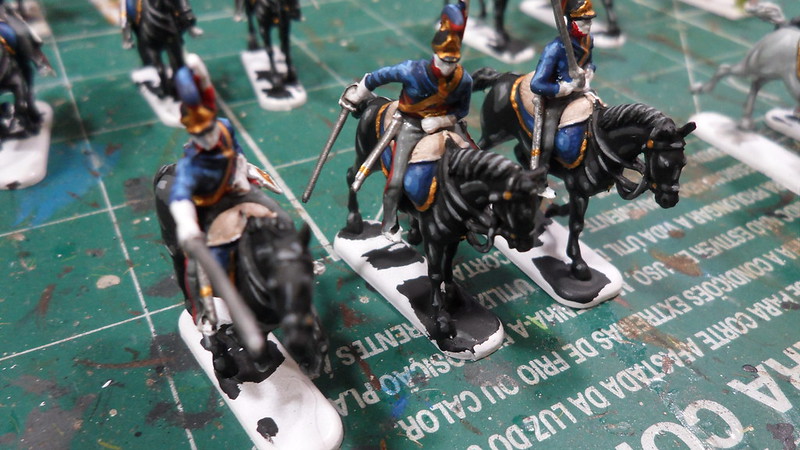
So this is how I do. Take a look at the pic below. You'll notice 2 layers of highlight on the horse's neck. The internal one is the second layer, and because it lies completely within the first layer, this one needs to be broad enough to hold space for the second. Keep that in mind while you go about doing your first layer of highlight.
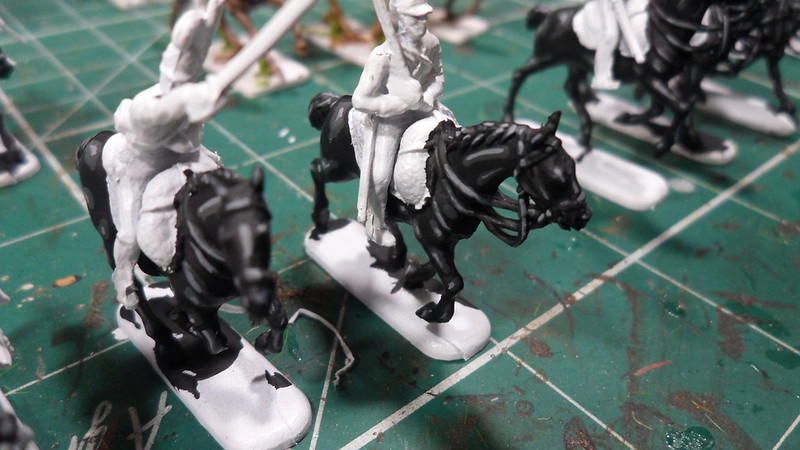
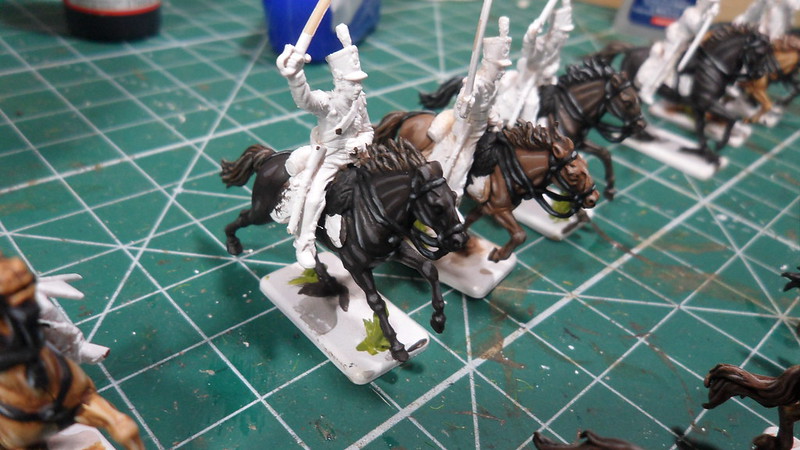
It took me 2 days to highlight all the horses. Before doing so, I painted their harness black, so that I could highlight them along with the black horses.
Day 5, 6 and 7
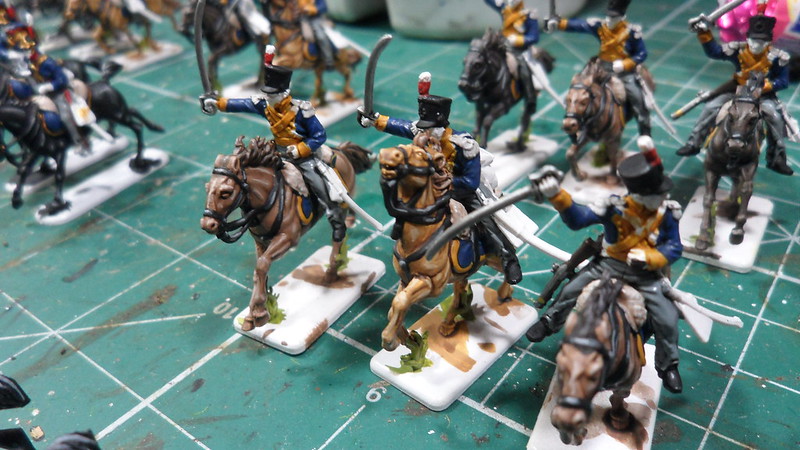
The next 3 evenings were spent painting all the parts of the riders that would receive the same wash - black (Citadel Nuln Oil). This includes their coats, the mantle under the saddle, details on the horse hair on their helmets, etc.
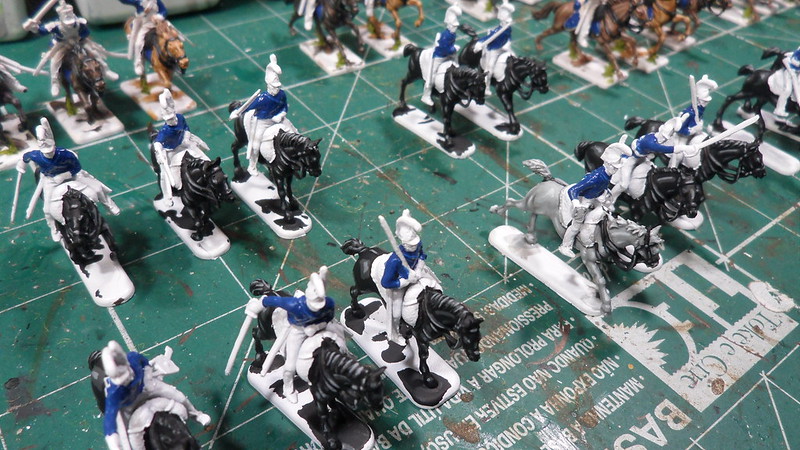
I don't usually worry about being very precise here, since any parts not yet painted are going to receive their own coat of a different color, but I tried to avoid painting over the areas I'd later paint yellow, in the case of these light dragoons below, as it can be quite challenging to get a nice coat of yellow over a dark color like the blue of their coats.
Before doing the black wash, I painted the sheepskins of their saddles white, and washed them with Citadel Agrax Earthshade, but any good brown wash will do.
Day 8
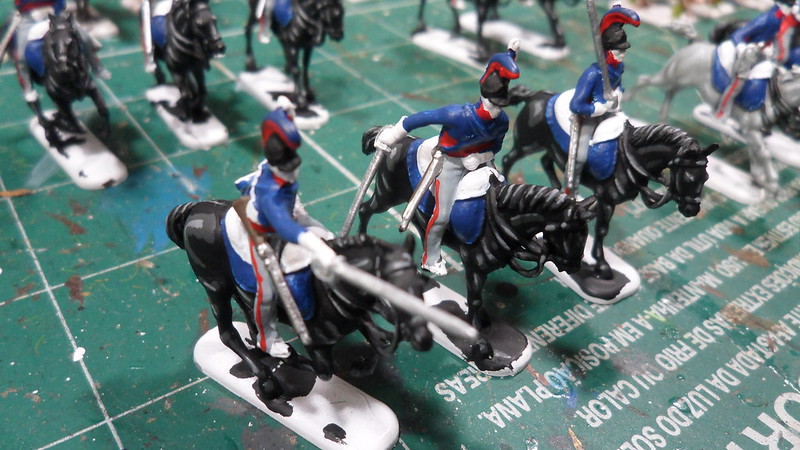
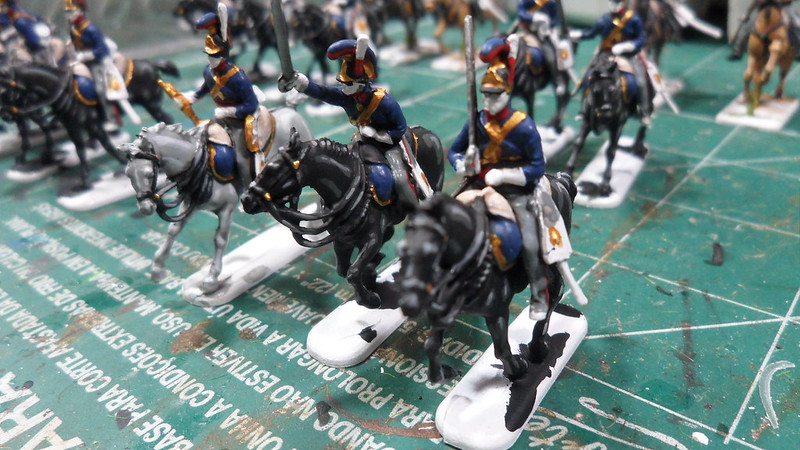
Here I applied the black wash over their uniforms.
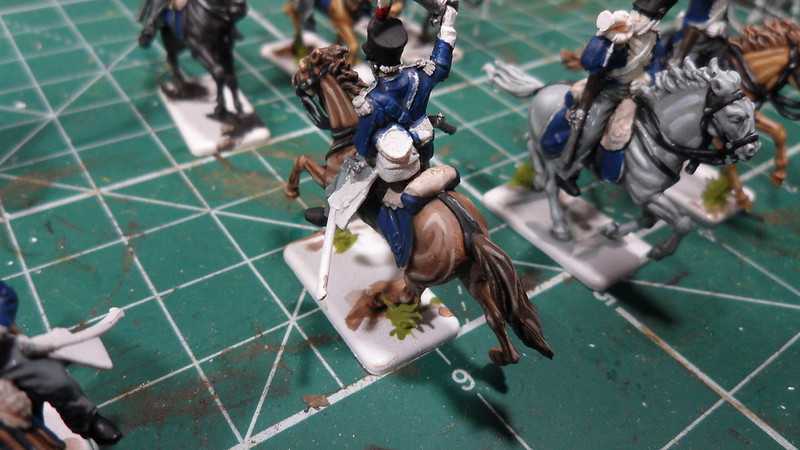
Note that some parts that are to be painted white later are under a coat of blue, such as the straps that hold their bags on the pic above. This is deliberate, so that I can later paint it white while leaving the recesses untouched. This will create a strong shading to these white straps on some specific spots, such as on the fastening device and on the spot where the two straps cross over.
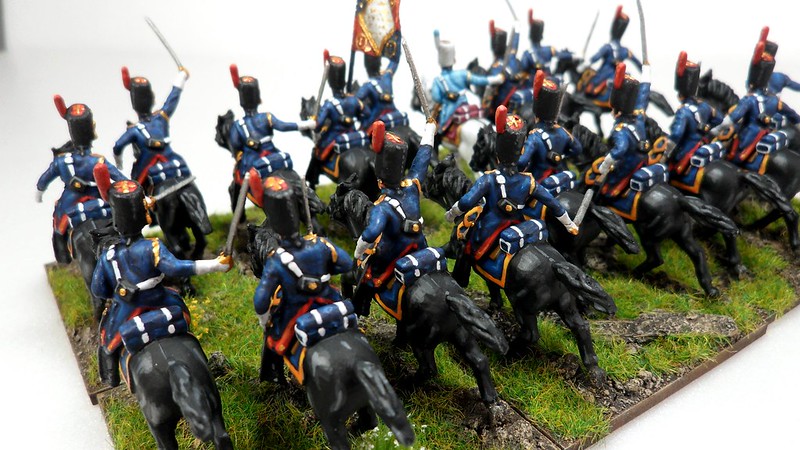
Here is a pic of some finished grenadiers à cheval to illustrate what I'm saying:
Here is a pic of some finished grenadiers à cheval to illustrate what I'm saying:
Once that step was done, I started painting the rest of their uniforms that would receive a different wash. This includes the yellow of the light dragoons and all the golden details on the horse guards. All this is going to receive a wash of Citadel Seraphim Sephia.
I managed to do yellow and golden on the same evening I applied the wash on the rest of the models' uniforms, as that was a warm evening, and so the models dried up quickly. Also, because I paint large numbers of models, usually when I finish washing the last one, the first is dry already, or close enough, so that I can touch the surrounding areas without messing it all up.
I use a darker tone of yellow so to have room to highlight. If you go straight to a light yellow as your basecoat, your highlights will be too close to pure white. I used Citadel Averland Sunset for this basecoat.
I use a darker tone of yellow so to have room to highlight. If you go straight to a light yellow as your basecoat, your highlights will be too close to pure white. I used Citadel Averland Sunset for this basecoat.
Day 9
Now it's time to apply the sephia wash over the yellow/golden surfaces. Note that this coat of wash must be precisely applied, so not to flow over the other elements of the uniform, such as the blue of their coats or the light grey of their breeches.
All the main elements of their uniforms are now properly painted and washed, so next we start the highlights. Once again, we do that with 2 layers, the first on the base color, the second on a mix of base color + white in 3/1 or 2/1.
On day 9, I did only their blue coats, leaving the yellow/golden areas to dry up, as they had just received a coat of wash.

Highlighting can be tricky. In theory, you must pic the raised areas on the surface you're dealing with to highlight. In practice, it sometimes isn't that easy to figure out where to put your highlights. The horses, for instance. The regions where their muscles are well sculpted and defined, it's easier to highlight, but sometimes the model doesn't offer many fine details, so you can feel kind of lost on where to touch your brush. I've painted dozens of 1/72 horses (perhaps hundreds already) and still struggle with that. It's something you learn by doing.
Next up, part III of this tutorial.
Interesting to see how you approach your models. I've found since starting my blog that the key to higher production is little and often. Instead of leaving the painting until I get a whole evening in, I'll now grab whatever hour or so I can and its made a massive difference. I look forward to part three.
ReplyDeleteExcellent tutorial once again!
ReplyDelete