I sometimes get asked how I do my basings, so I've been thinking for some time now about making a tutorial about it. Well, here it is, as I finally managed to shake off my laziness and get to make pictures of each step of the process.
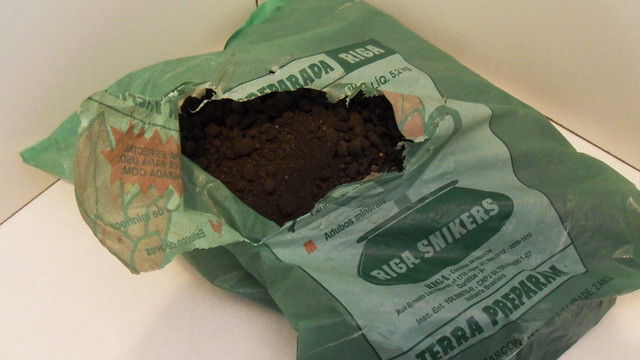
Basically, you'll need some gardening compost, PVA glue, and water. This is for making the texture of our bases. Now, some may call it humus, and technically there is a difference between that and compost, but this is not the subject of this post. What you're looking for is that gardening soil that you can purchase in gardening stores in sacs such as this below:
Most people use sand to do their basings. I prefer using compost/humus for two reasons. First, it has a lot of "debris", thus making our bases less homogeneous - natural landscapes are not uniform. Second, it already comes basecoated in dark brown (!).
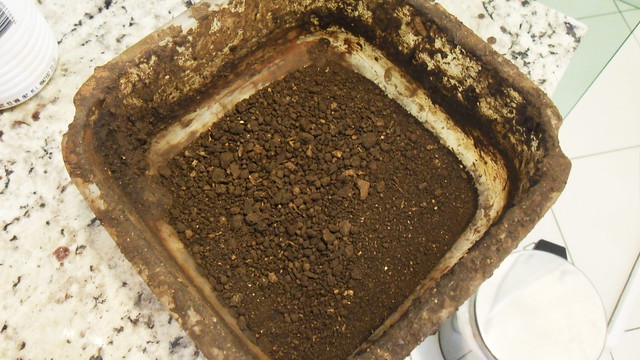
First thing to do is take a small portion of the compost in a bowl and remove the excess rocks and debris.

You want your compost looking something like this:
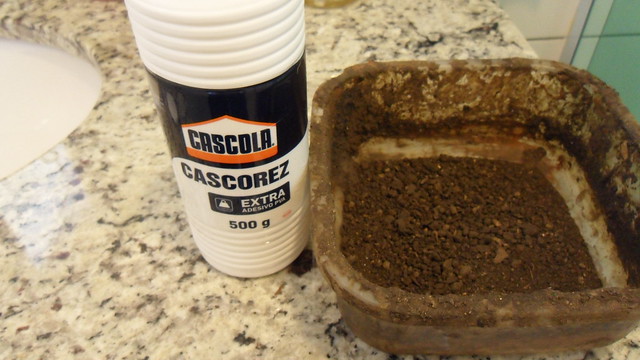
Next, add the PVA glue:
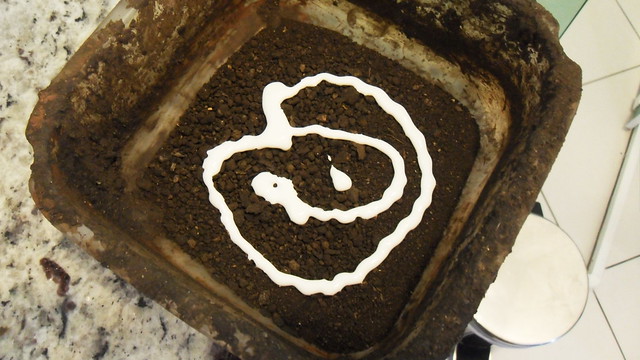
This is about the amount of glue you should add (1 part of glue for 4-5 parts of compost, I'd say).
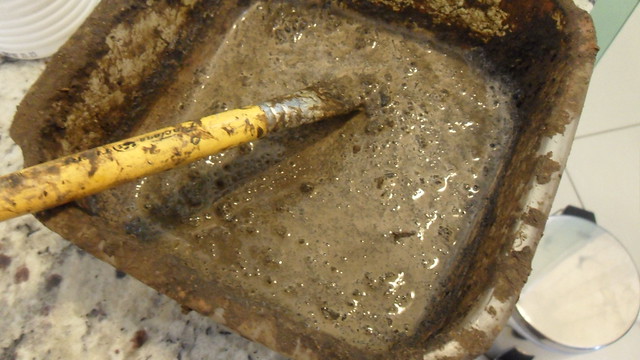
In sequence, add some water. The amount of water is tricky. You want the mixture to have a consistency of a cream. Add water little by little, mixing the texture until you are satisfied with the viscosity of your texture. It can't be too thick, last it won't flow to the reccesses. It can't be too thin, either, or it will flow away and won't cover the surfaces well enough.
Remember: add water little by little! You can always add more water if you're not happy with the consistency, but if you put too much water, you'll have to leave it be for several minutes so that the moisture dries out a bit.
Once the mixture is at the proper consistency, it's time to apply it to the bases. If you used superglue to glue your models to their bases, as I do, you should let them dry for at least a couple hours, to ensure the superglue is completely dry, before applying the texture. If you touch damp superglue with your brush, you'll ruin it...
To apply the texture, you should use a larger brush to do the surroundings of the base, thus speeding up the process. The reccesses should be done with a slender brush, so that you can reach the gaps without making a mess with your beautiful painting.
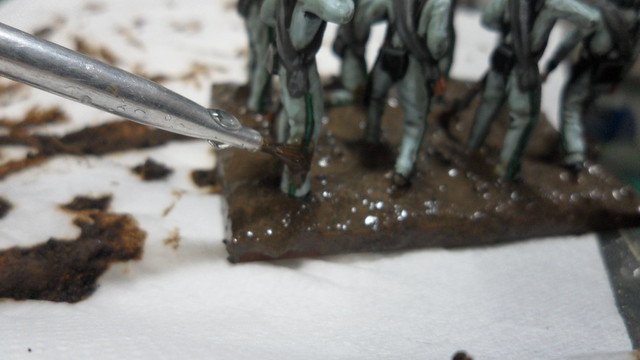
Nonetheless, no matter how careful you are, you'll eventually get texture on the wrong palces, such as the breeches of your models. Don't panic!
Immediatelly use a clean brush to remove it. Dip the brush on clean water and brush off the blob of texture. Repeat the proccess several times if needed, until its perfectly clean.
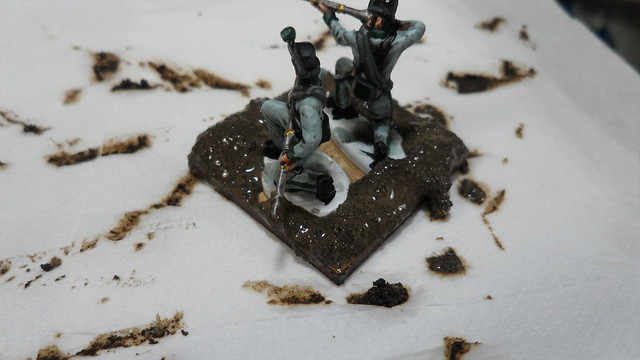
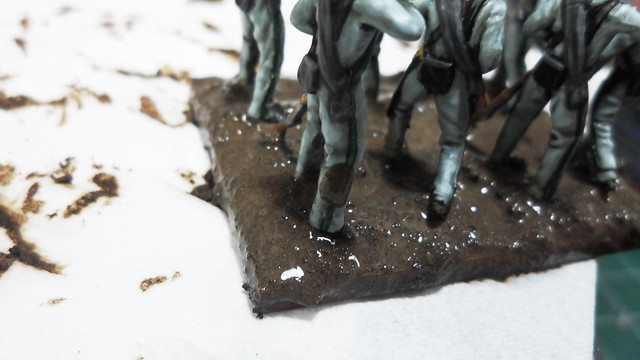
Once you're finished with applying texture, leave the bases to dry for a day. After 24h, they'll look like this:
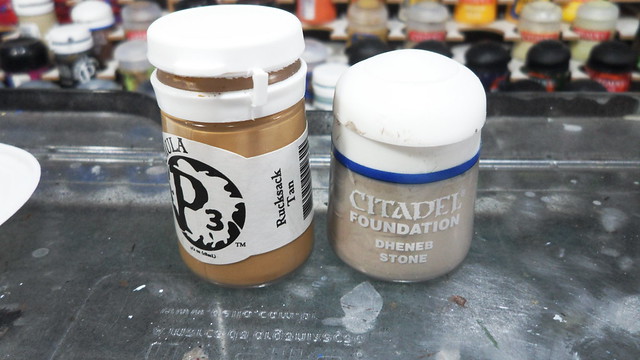
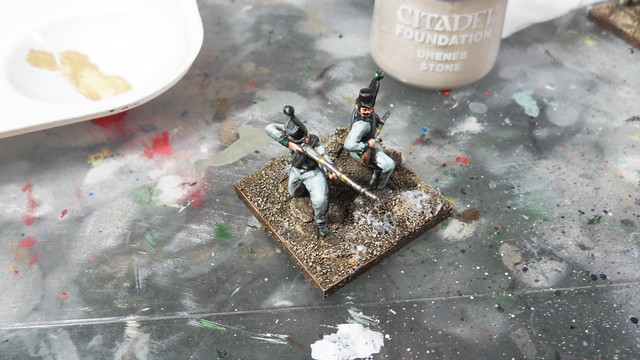
Now, we need to add some contrast, and we do so with drybrush. I use 2 layers on my bases, one of P3 Racksack Tan, followed by one of Citadel Dheneb Stone. You can of course use the colors of your choice. The important thing is that the first layer is done with MEDIUM drybrush, using a medium tone of brown/ochre. The second uses a very light tone of brown/ochre and is done with a LIGHT drybrush. If you do medium drybrush on this second layer, you'll completely cover the previous one and will compromise the final look of your base.
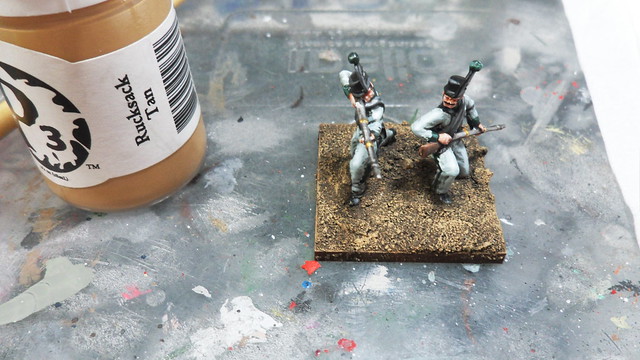
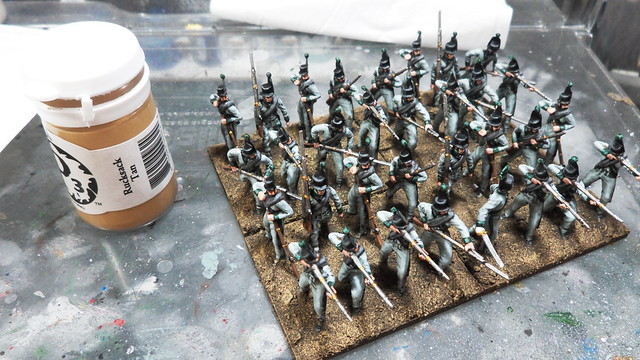
Base after applying first layer of drybrush:
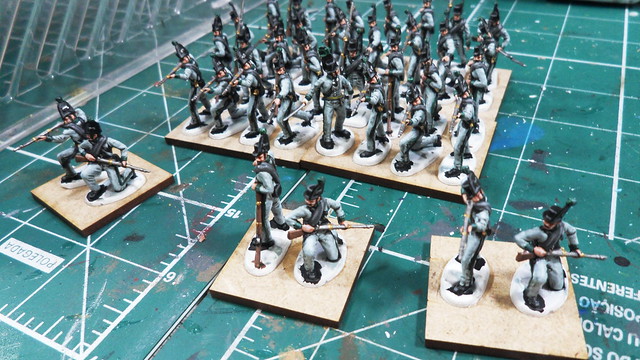
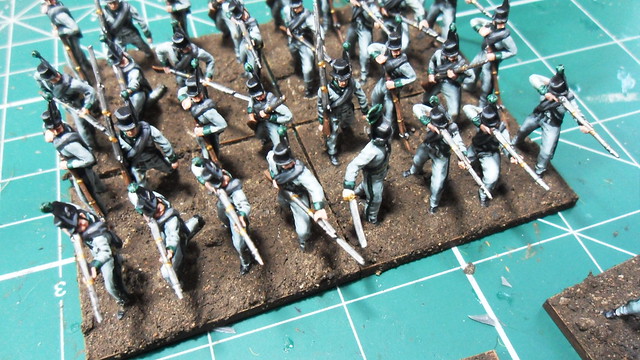
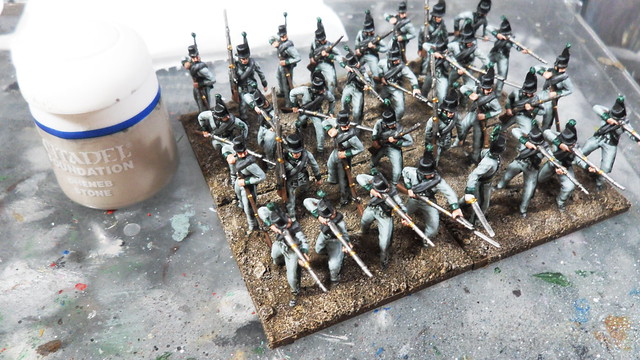
Bases after applying second layer of drybrush:
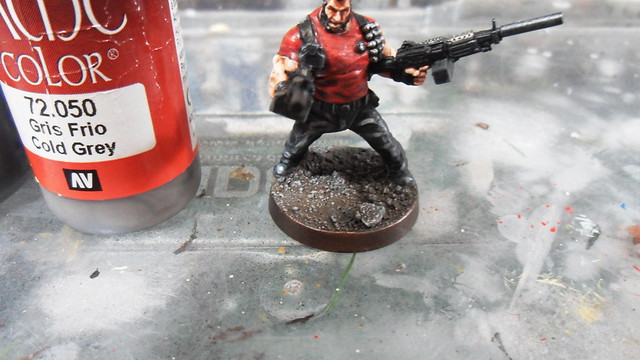
If you want to go with a "battlefield debris" look, you should use 2 tones of grey, instead of ochre. I, for one, usually use those colors below:

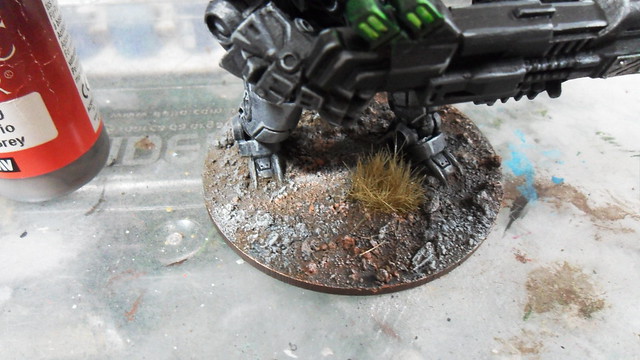
If you're working on a larger base, you can even add some spots of different colors, to further enhace the battlezone visual of your bases. On this walker below, I applied some orange and bronze here and there.
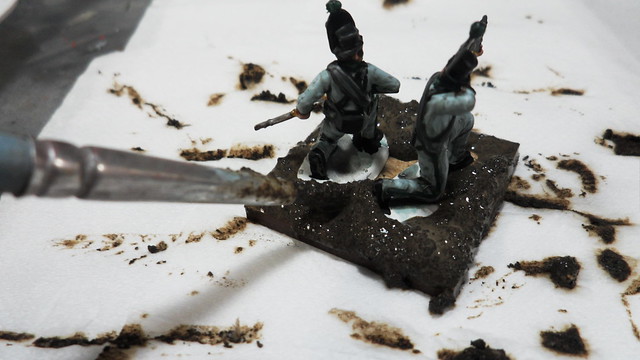
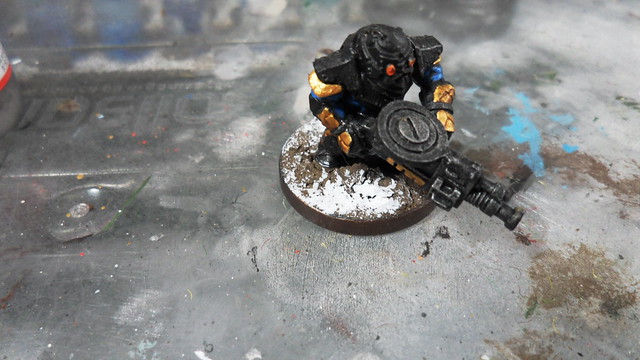
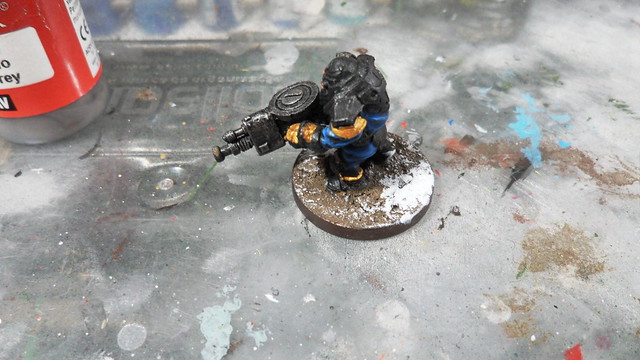
You can also use drybrush to get a quick snow effect on your bases. I normally do a heavy drybrush of white on the middle of the snow pool, with a medium drybrush around to create the transition to open ground.
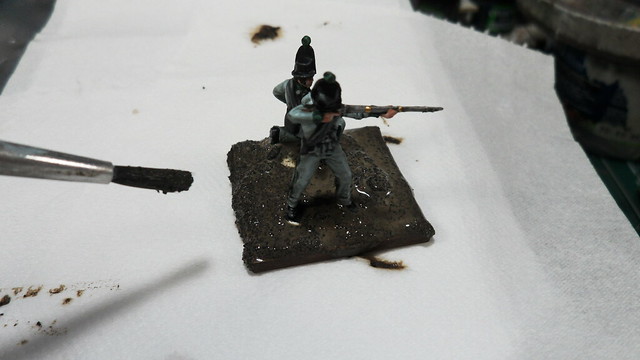
After drybrusing the colors of your choice to create a sense of depth, you can apply the flocking, if that's the case. On a base of snow or battlefield debris, you don't want to do that, its not realistic, but on this napoleonic Brunswick here, its more than welcomed.
Apply the PVA glue on the bases using the drybrush technique. This helps making the distribution of flocking non linear. You won't create pools of flocking next to completely open ground. Once again, the secret to mimic nature is to create non uniform surfaces.
Note: when applying glue, wash the brush every 5 minutes or so, to prevent the glue from drying up on the brush, which would ruin your tool. This is also true when applying the texture. Wash your brush frequently during the process.
Once you applied glue, dip the base on a bowl with some flocking and cover the entire base with the static grass. Using the flocking on a bowl like this prevents loss of our precious grass. Apply flocking once, turn the base upside down and shake it to remove excess grass, then repeat the process once to ensure enough coverage of flocking and you're done. Leave the base to rest a few hours.
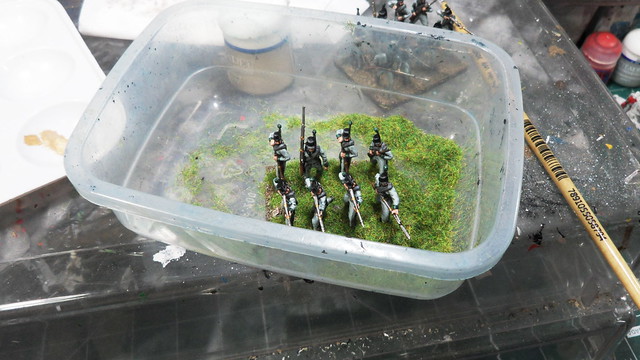
Finally, apply a coat of matt varnish on the lot. It'll both preserve the painting on your models and help fix the grass to the bases.
Voilá! Realistic looking basings on the cheap!

*End of Transmission*
Interesting, thanks for the tutorial, very similar to what I do too!: http://chasseuracheval.blogspot.co.nz/search/label/Painting%20%28How%20I%20Base%29
ReplyDeleteI will keep that snow trick in mind, simpler than what I was planning and looks great.
Yes, and your bases look awesome, Chasseur!
DeleteVery nice!
ReplyDeleteVery nice job.
ReplyDeleteJohn