We recently played our first game of Hail Caesar at our club. It's been a long ride to come to the point where I have enough units ready to play even a small game such as this. Even though I already have a considerable roman army, which can be appreciated
here, my gauls are still few, so I devised a scenario to compensate that a bit.
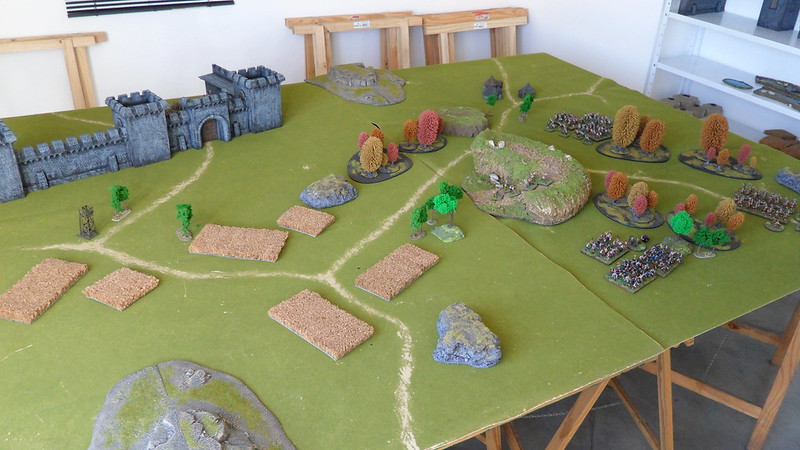
The scenario consisted of a small roman force (3 legionary cohorts and 1 of auxiliaries) returning to their base after foraging around. Their base is a fortified gallic town, currently occupied by the romans.
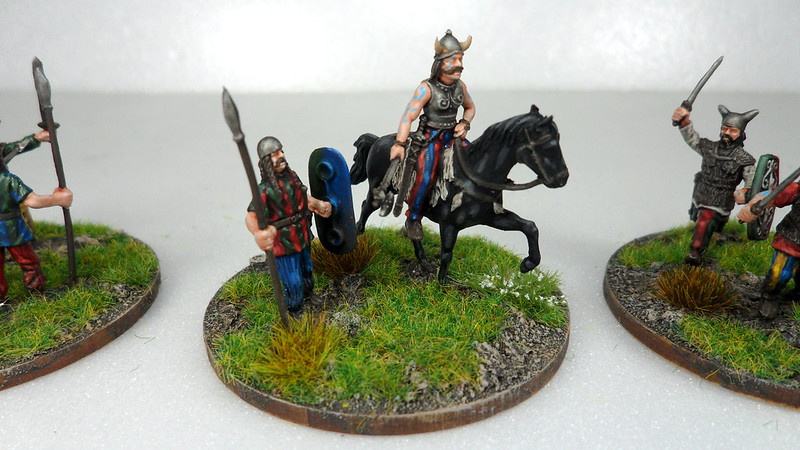
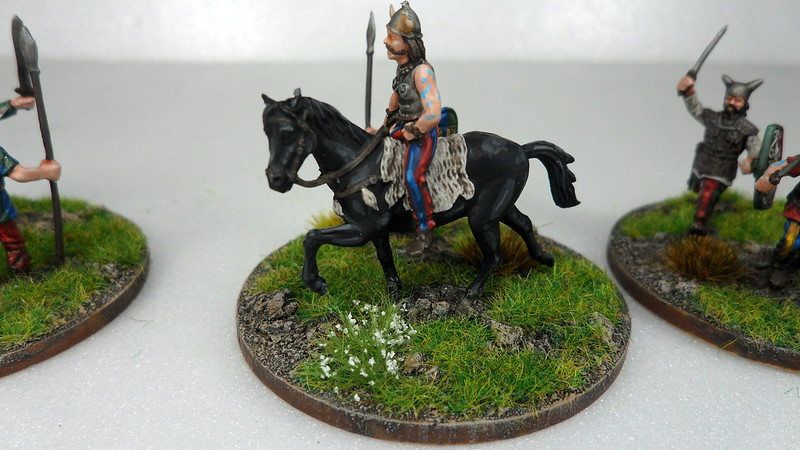
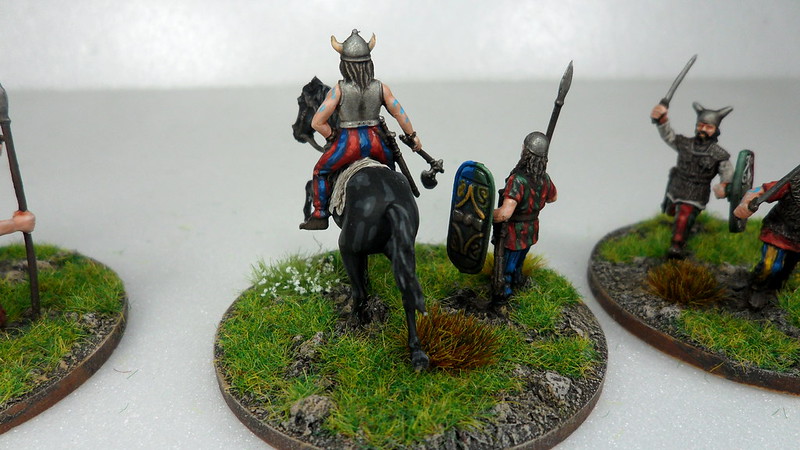
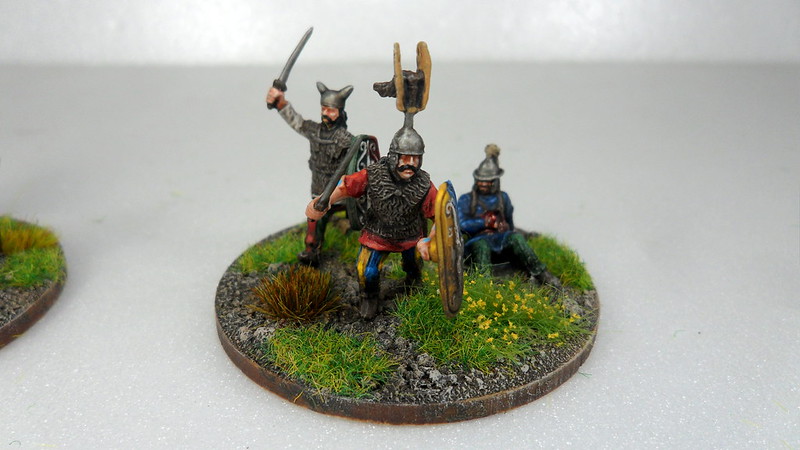
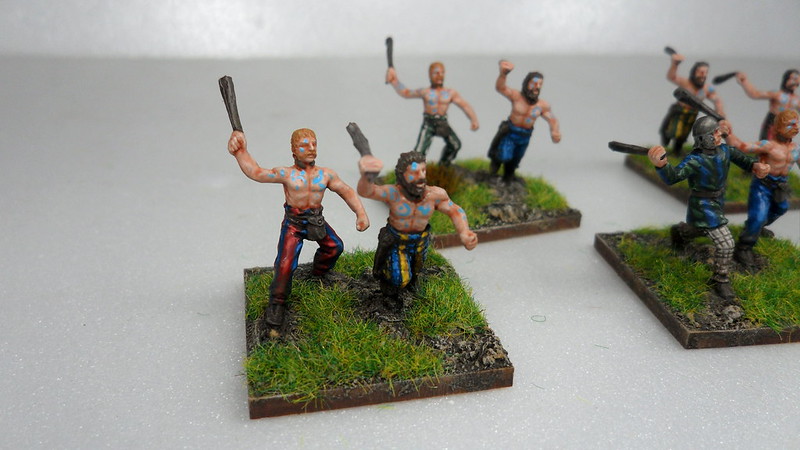
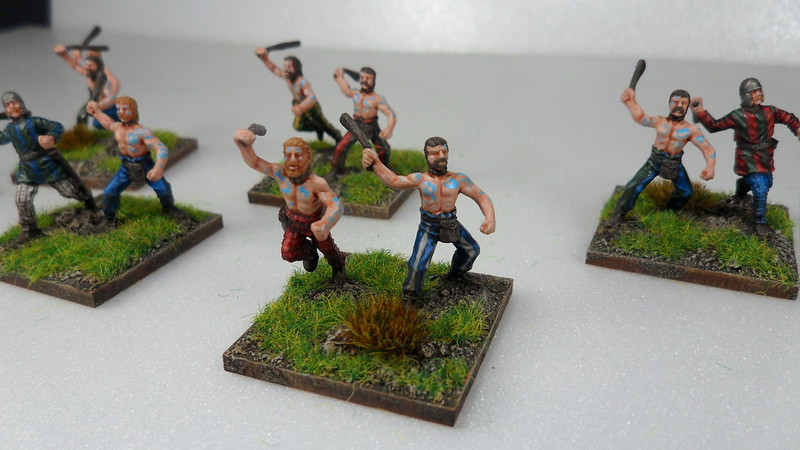
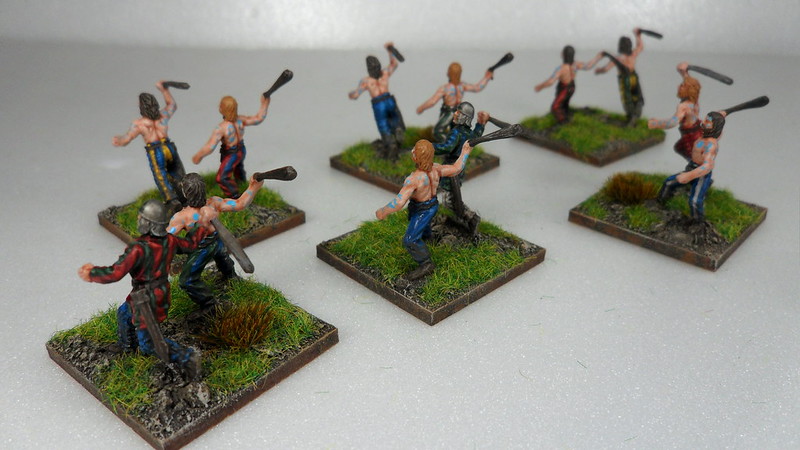
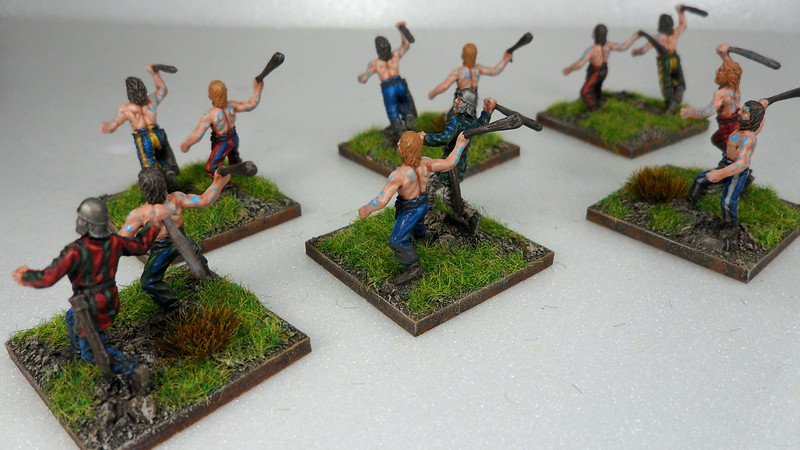
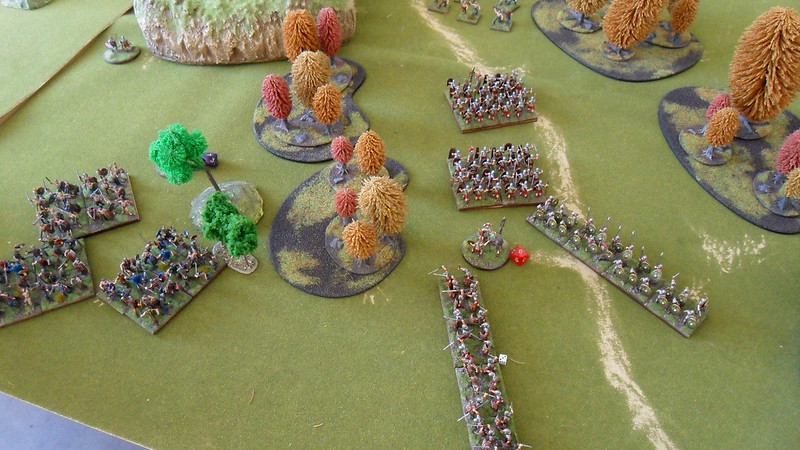
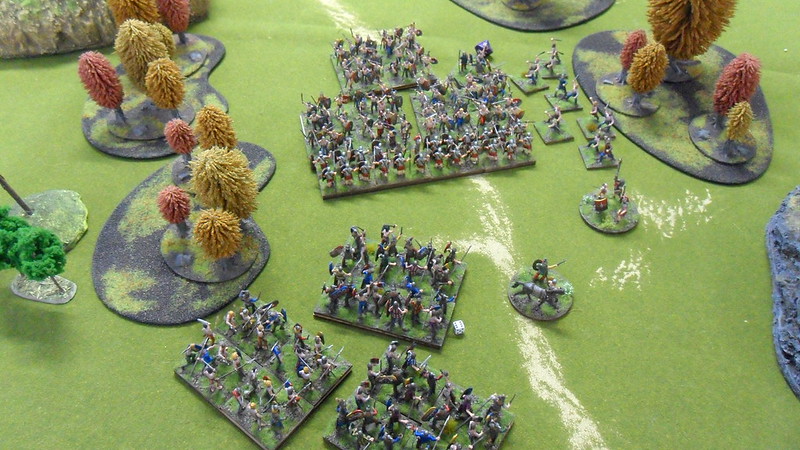
The rebel gauls took advantage of this occasion to plot an ambush against the invaders. They deploy in 2 divisions, hiding among the dense woods near the town, and prepare to fall upon the enemy and surround them while they march back to the safety of their ranks.
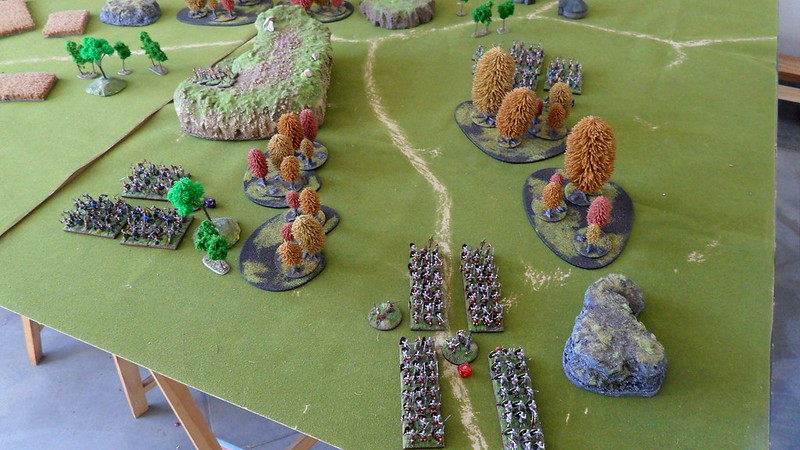
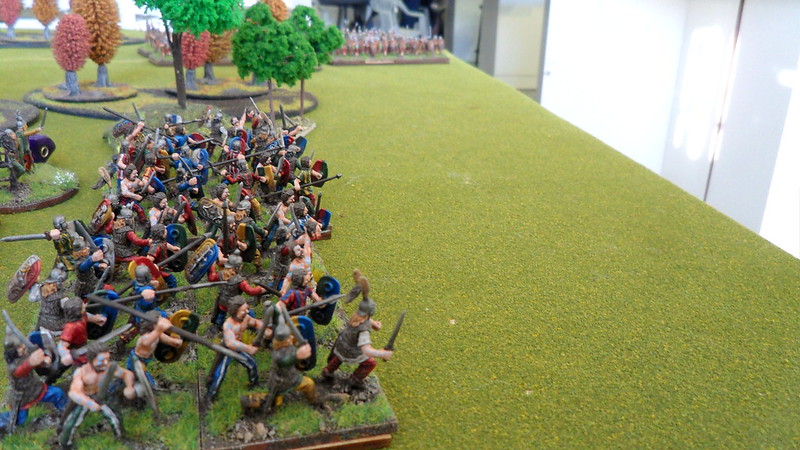
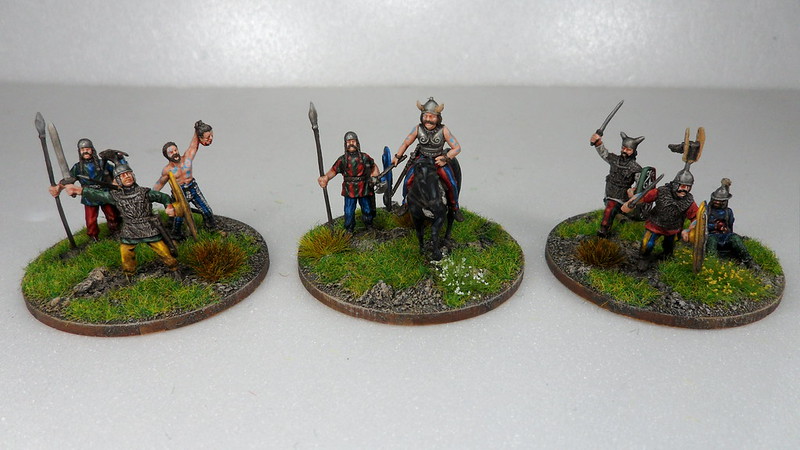
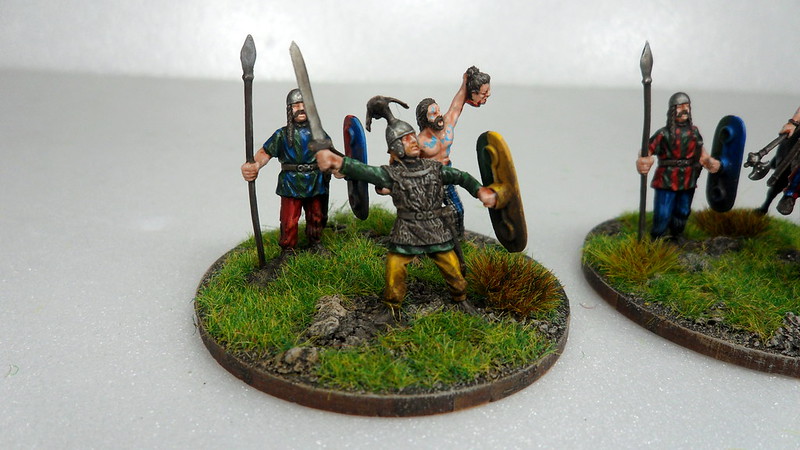
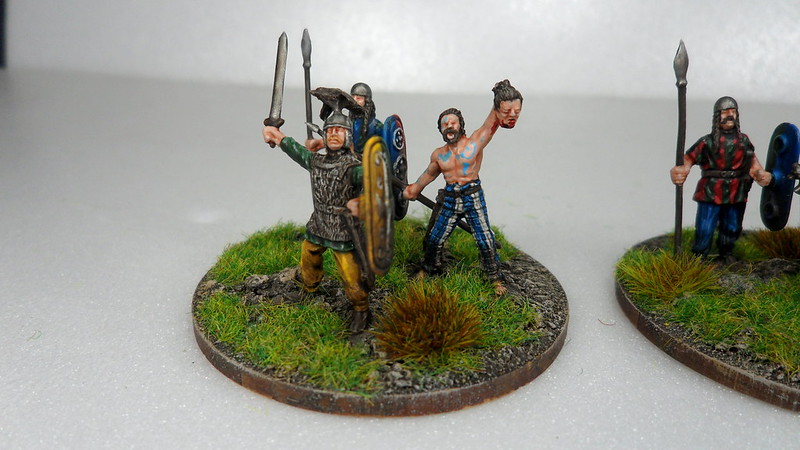
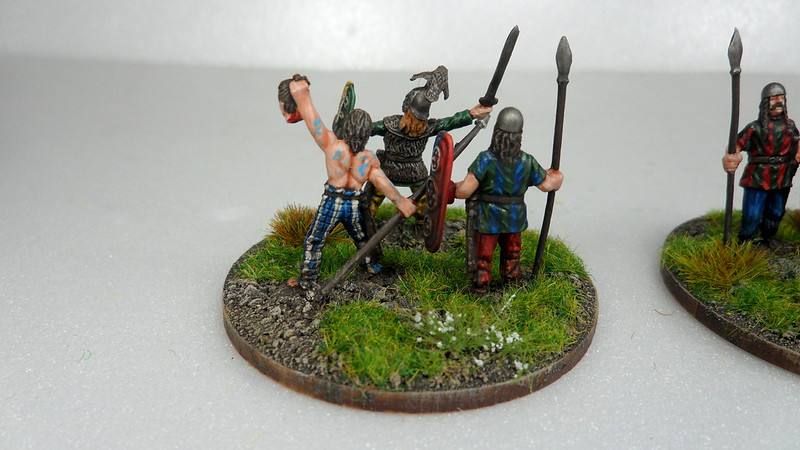
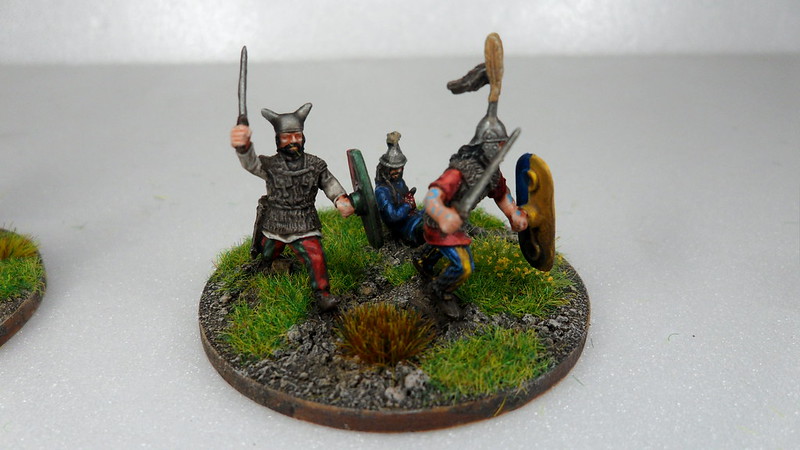
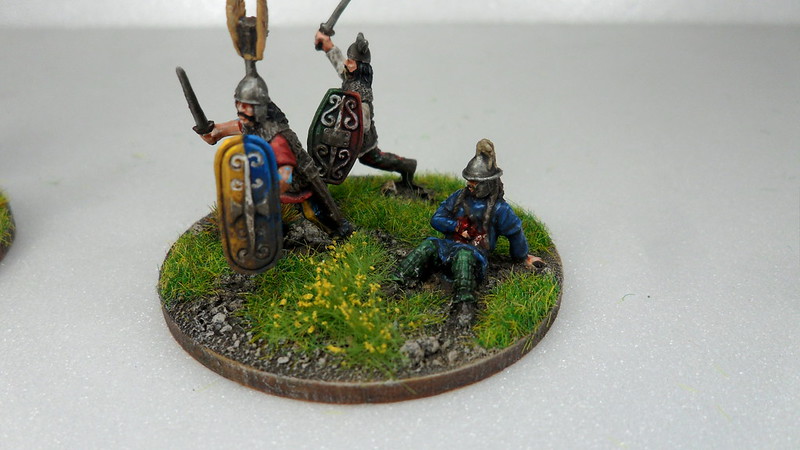
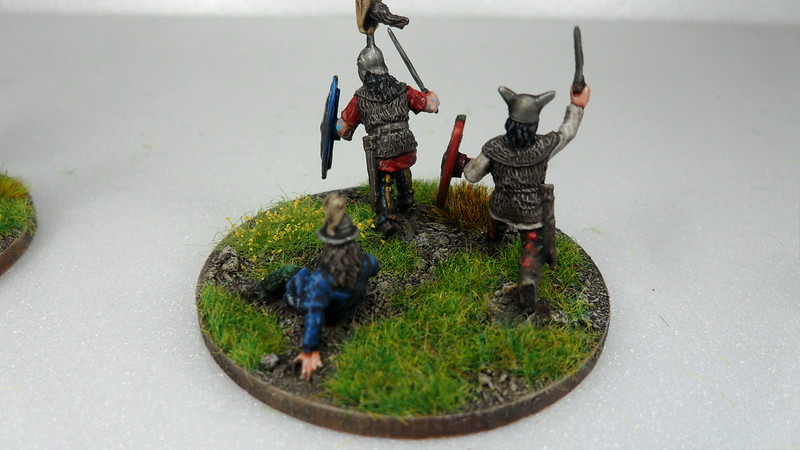
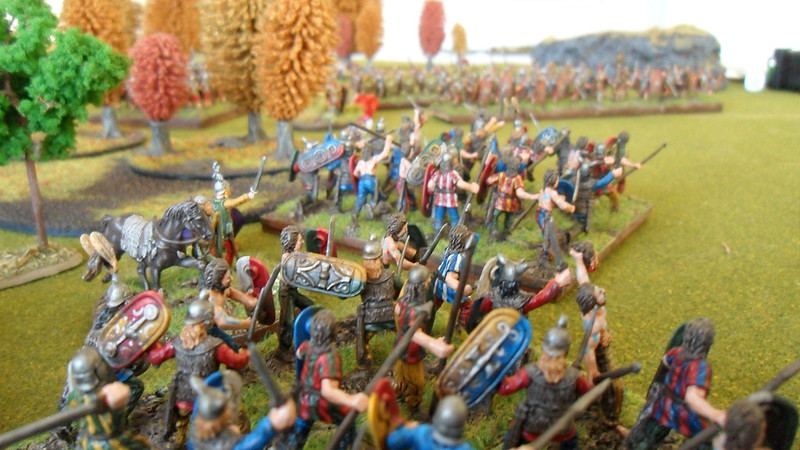
Barbarians ready to initiate the attack against the roman columns
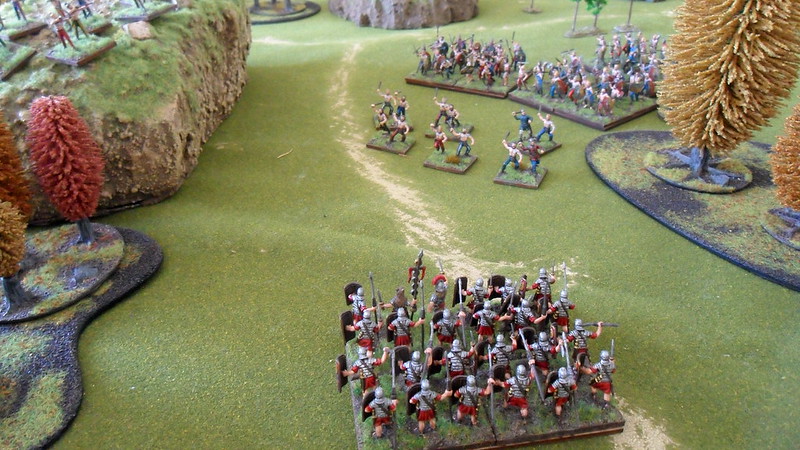
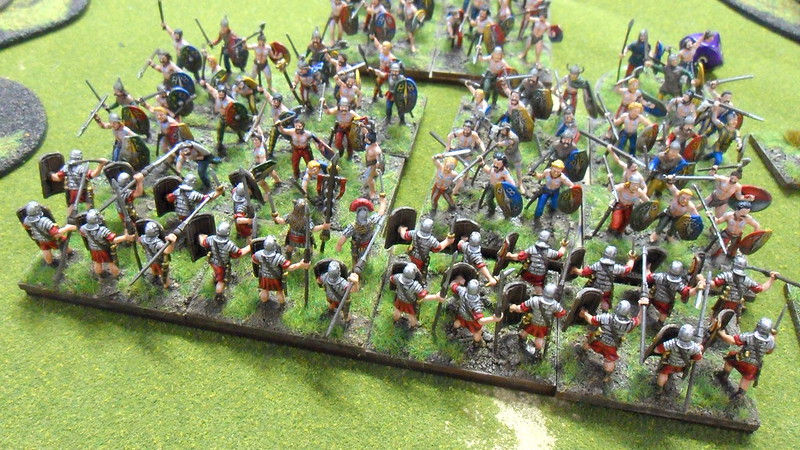
The romans march home, unsuspecting of the danger around and about.
The gauls have about 50% more points in play then the foraging roman party. The roman objective is to resist the attack, until a relieving force arrives. But such force must first be requested, and therefore our custom scenario involves a messenger being dispatched to alert the city garrison and bring reinforcements to save the besieged cohorts.
This messenger can only be dispatched once the gauls first attack the romans, whether by charge or missile attack, for this is the moment their presence will be noticed. From that moment on, the messenger will move 24cm - a commander's normal move - at the beggining of each roman turn. The relief forces start marching out of the city the turn after the messenger arrives there.
Note: All measurements in Hail Caesar are in inches, but because I play with 1/72 scale, I treat them as centimeters, just as I already do in Black Powder. A simple adaptation that proves effective enough, without the need to overcomplicate things by using half ranges, 2/3 of ranges, or the like.
The gauls win if they break the roman division (that is, break 3 of the 4 cohorts) before the reinforcements arrive.
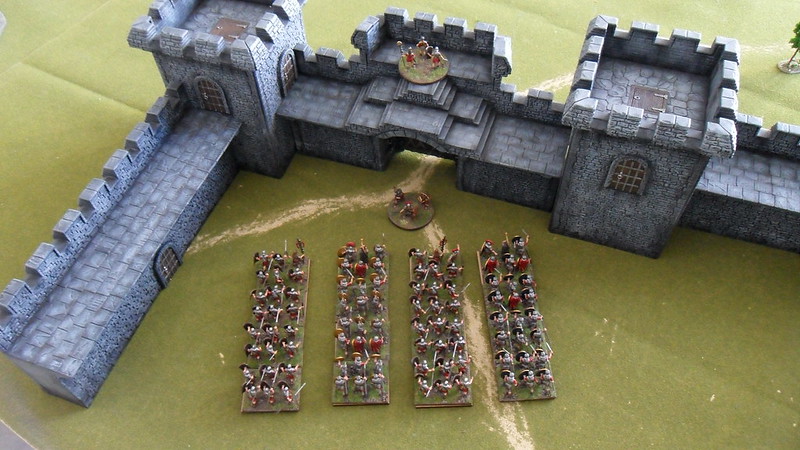
Roman garrison in the gallic town
The gauls make their presence known with a salvo of arrows from skirmishers deployed on top of a hill along the road the romans are marching on. The roman commander quickly realises he's being ambushed, and dispatches a couple of his aides to alert the rest of the legion in the town.
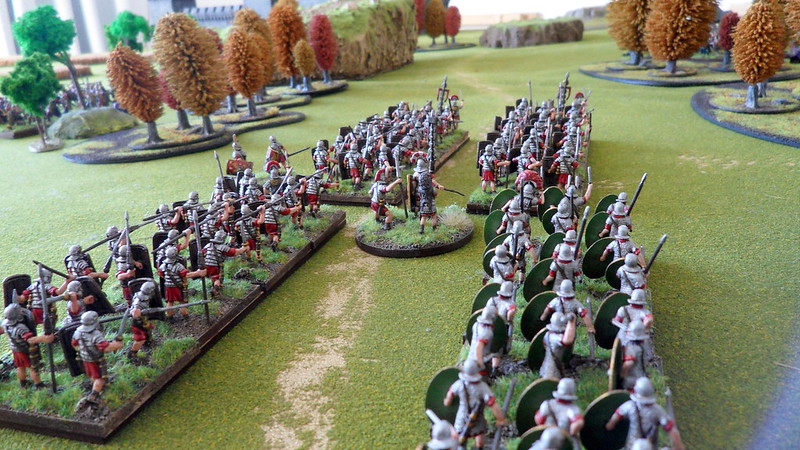
The roman cohorts at the front get attacked by arrows and stones, from slingers, and reform into testudo to better protect their ranks. The other 2 cohorts, at the back, reform into line, and prepare to hold their ground against the advancing hordes of barbarians, now pouring out of the woods everywhere.
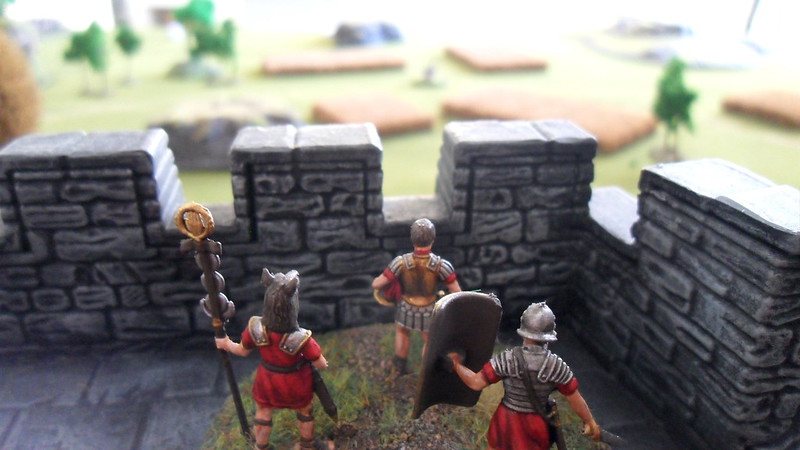
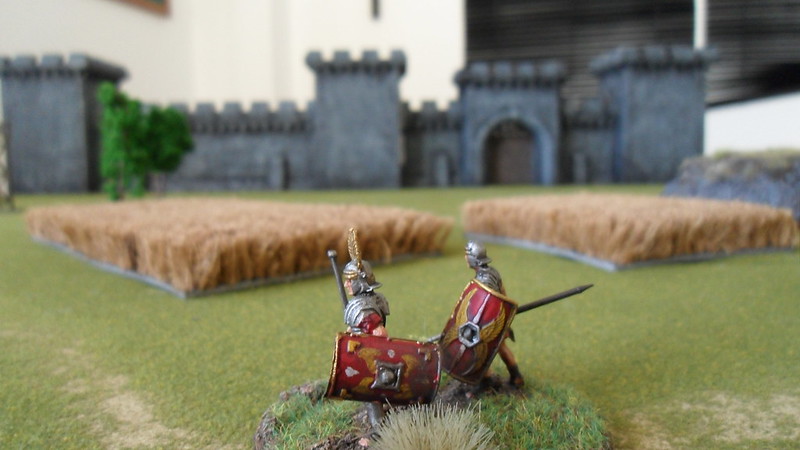
At the walls of the town, the roman Commander gazes upon the fields of corn, not yet ripe to feed the mouths of so many conquering legionaries. There, he discerns a pair of messengers on the road, rapidly making their way to the gates. He senses something must be wrong...
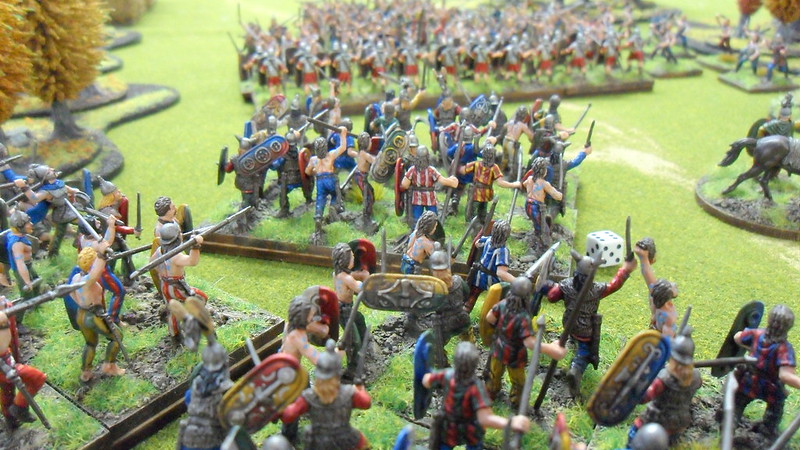
Meanwhile, the gallic warbands fall on the roman shield wall as a unrelenting wave of fury and violence. The testudos reform into line, and close ranks to resist the onslaught of frenzied barbarians.
The rear of their formations is simultaneuosly attacked by the second gallic division, and now the roman position seems utterly desperate.
The clash is so violent that the roman cohorts are quickly demoralized, and fall in disarray, becoming easy prey to the barbarian hosts. 1 cohort is quickly lost, then another, and another, until there is a single unit of legionaries still left, completely surrounded by the bloodthirsty mob. They surrender, in shame, to face who knows what atrocities at the hands of their captors.
Even though it was quite a fun game, the
aides dispatched to seek help from the town garrison were only about to
reach the walls when the roman divison fell, and it would have been at
least another 4 or 5 turns until the relief forces could reach their
countrymen, so it became clear this scenario needs some tweaking to get
more balanced.
Perhaps
I should use equally matched forces for the ambushers and the roman
foraging divison, since the mere mere position of the gallic divisions,
surrounding the enemy, is enough to give them an advantage, and force
the romans to a defensive instance and to depend on reinforcements to
survive.
Also, the site of the ambush should be closer to the town, so that both messengers and town garrison could cross the distance in fewer turns.
This quick little game was also quite useful to help us grasp the main differences between Hail Caesar and Black Powder, which we already play frequently and have a pretty good understanding of. I'm now going to focus on getting more units done for my gauls, so that we can play bigger games, with cavalry and artillery involved - the romans would certainly welcome some long range killing against these hordes of feverish barbarians!