Last saturday we had another game of Black Powder at our club. I commanded a french army, and opposing me was an austro-british allied force under the leadership of my friend, Muller.
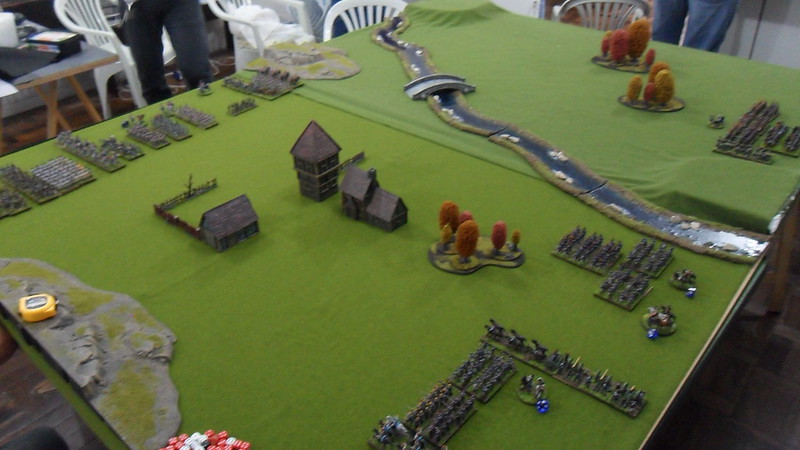
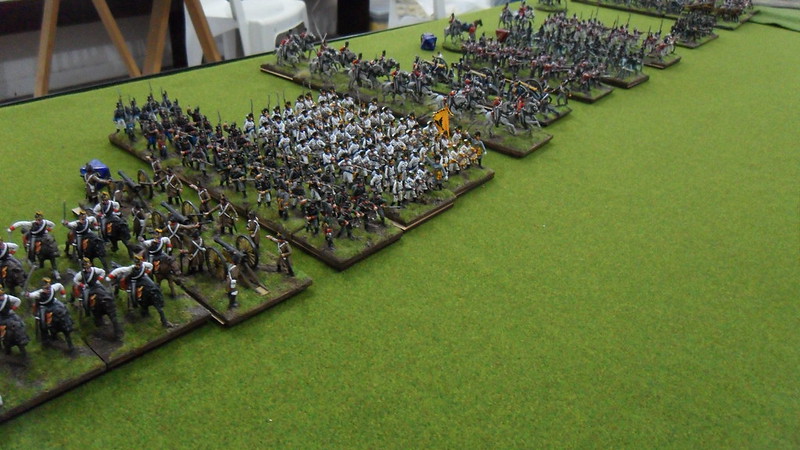
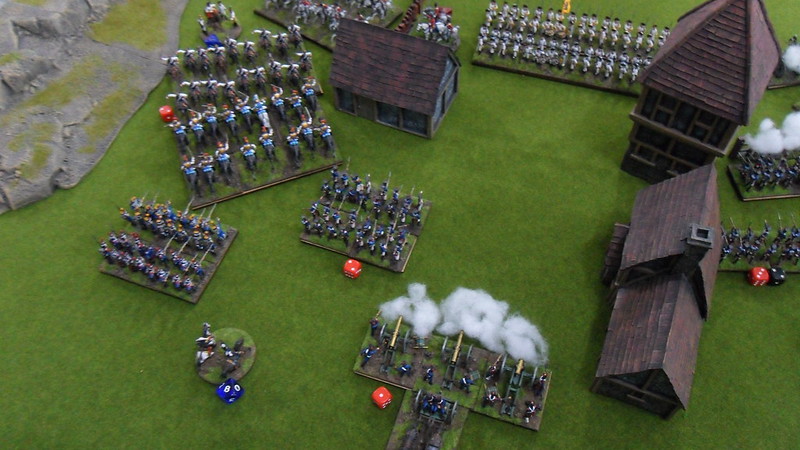
Here we can see the french deployment on the right of the pics.
Their foes had 2 brigades of british and one of austrians. The german brigade deployed on the right flank (left of the pic below).
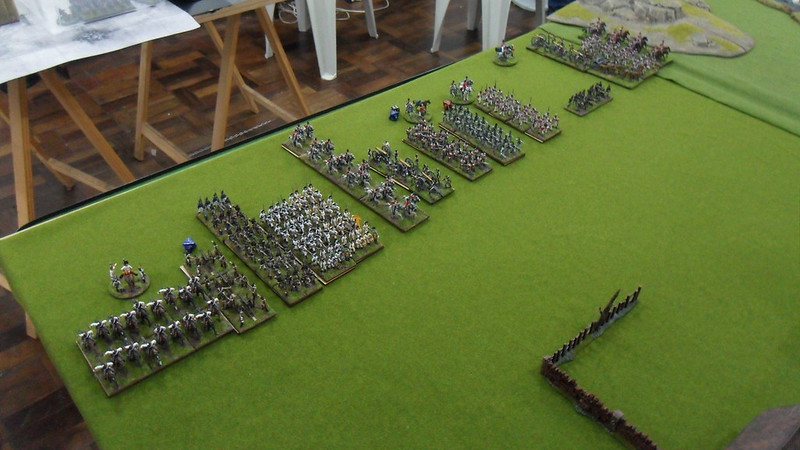

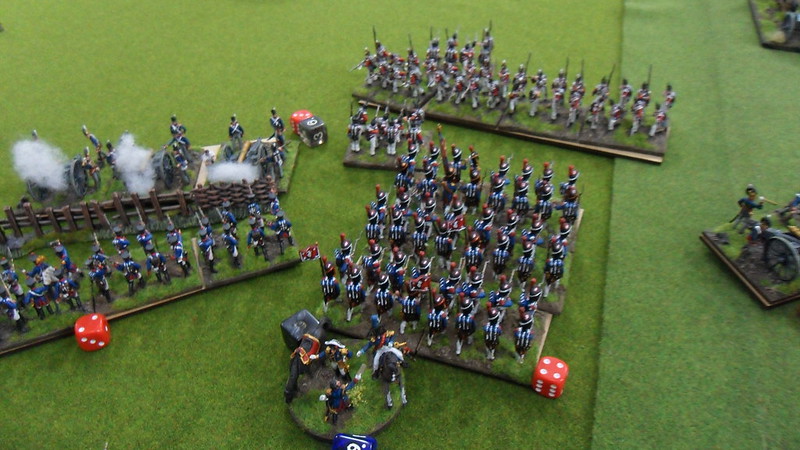
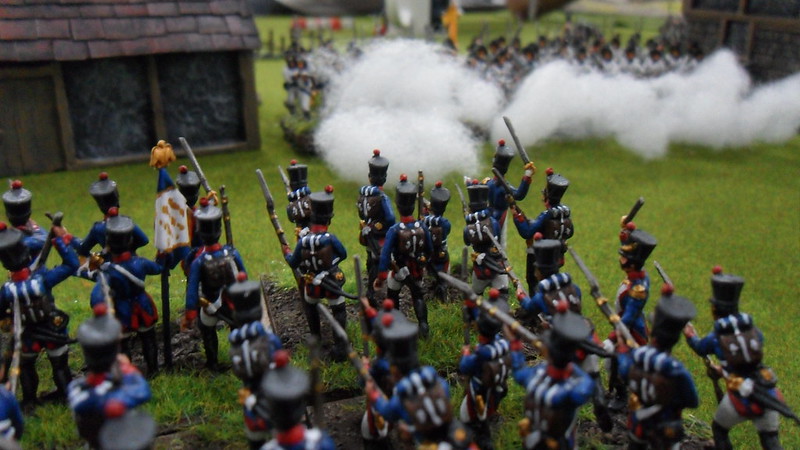
French columns prepare to advance
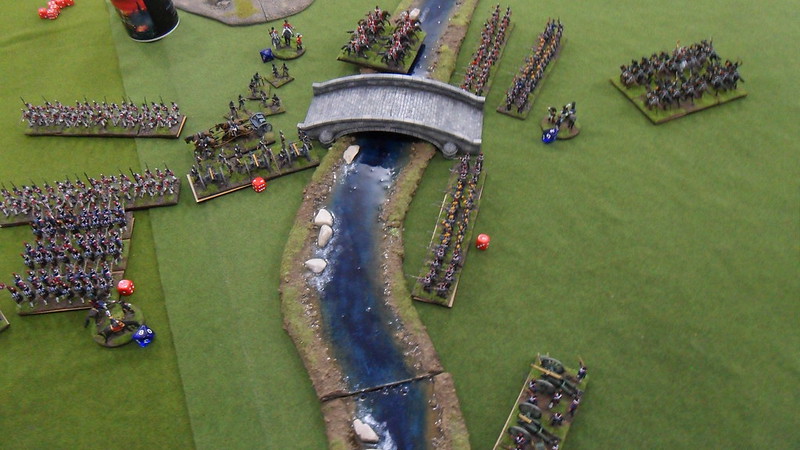
The 3º french brigade, deployed on the right flank, was accross the river, and the british, concentrated on the middle-right side of the field. The allies were determined to pin that french brigade on the opposite side of the river with artillery fire, while the bulk of its forces would oppose the remaining 2 french brigades in the middle.
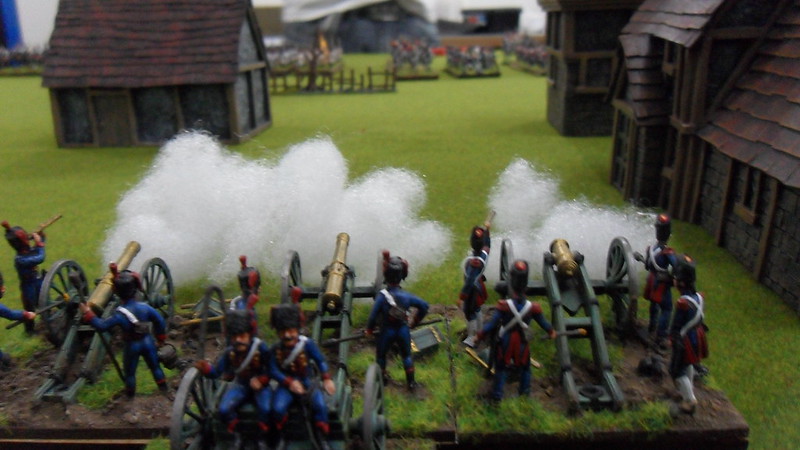
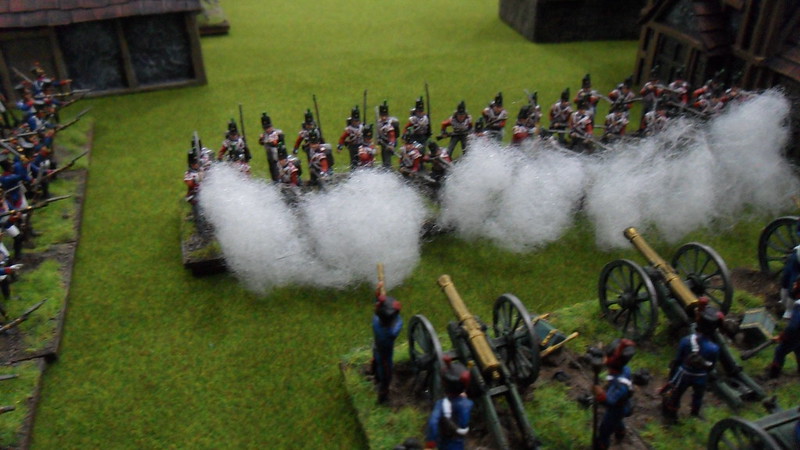
French guns open fire on advancing british lines.
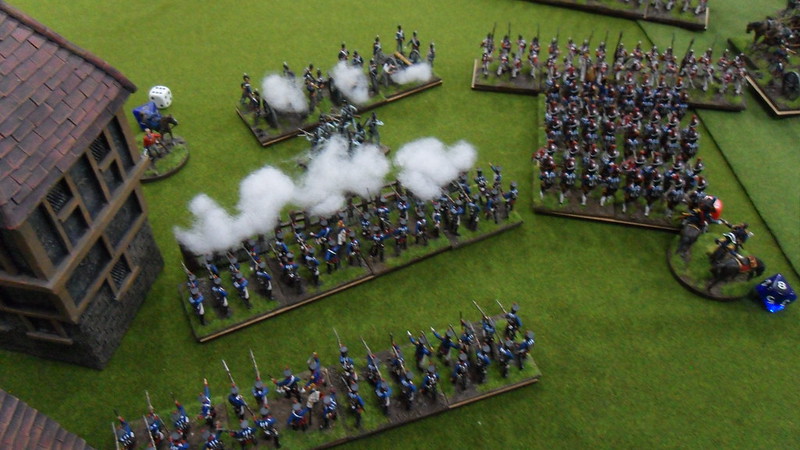
British form into lines to receive the french columns.
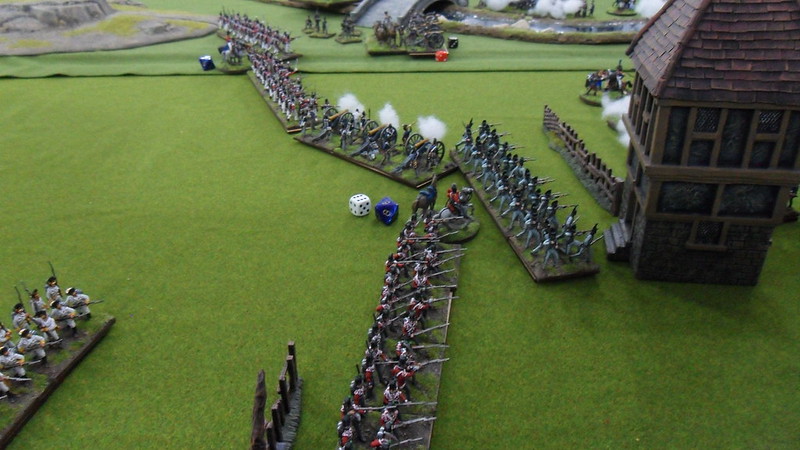
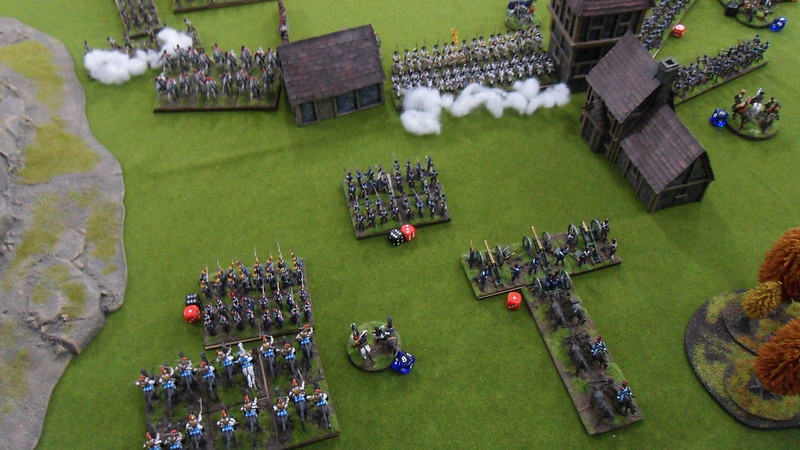
There was a small town between the french and allied lines on the table side opposite to the river, making a full advance by either side a complex matter. The french chose to stay back and wait for any brave (reckless) enemy unit to advance. A regiment of british light was sent forward to test the french position, and even though it managed to shaken the enemy's guns with drilled musketry, it was soon overwhelmed by canister shots and flanking fire from french liners close by.
The british light infantry exchange close quarter fire with their french foes.

The british break under the pressure of combined french musquets and artillery.
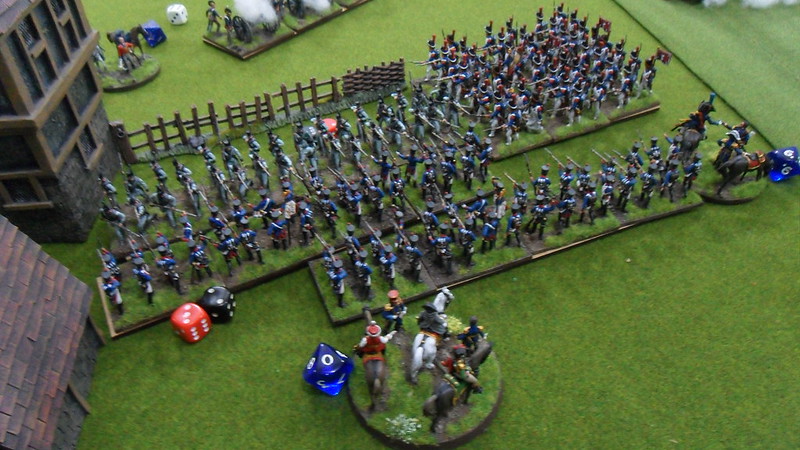
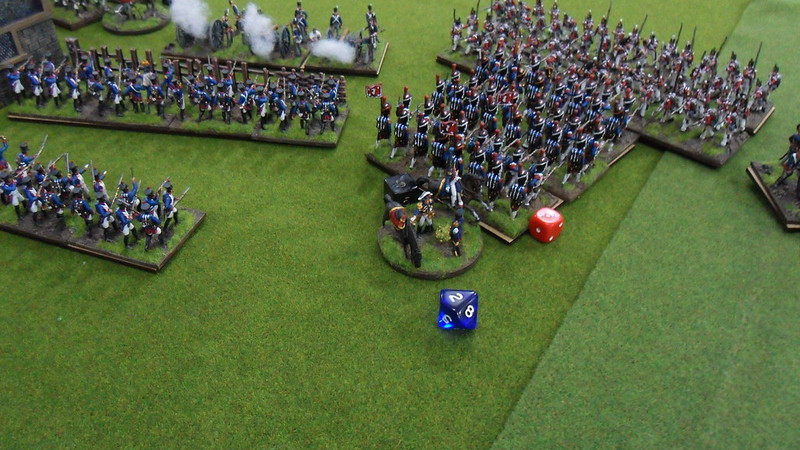
In the middle of the field, the french columns reach their first target, a regiment of Brunswickers. The germans hold their selves heroically against superior numbers on the enemy side, only giving the french a couple hundred yards of ground.
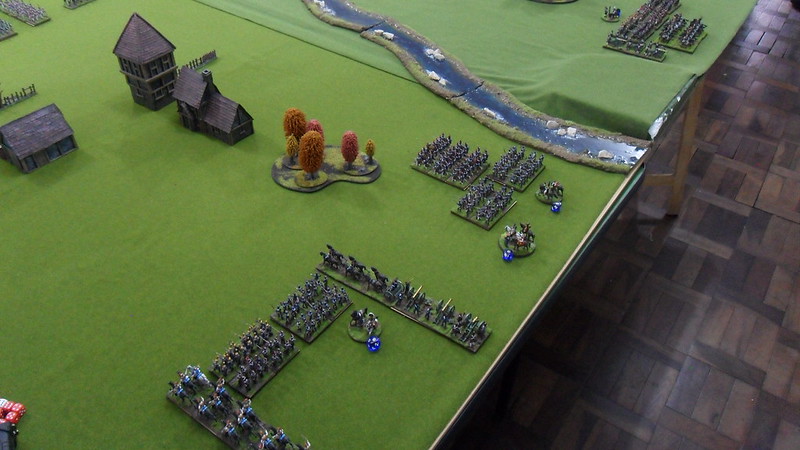
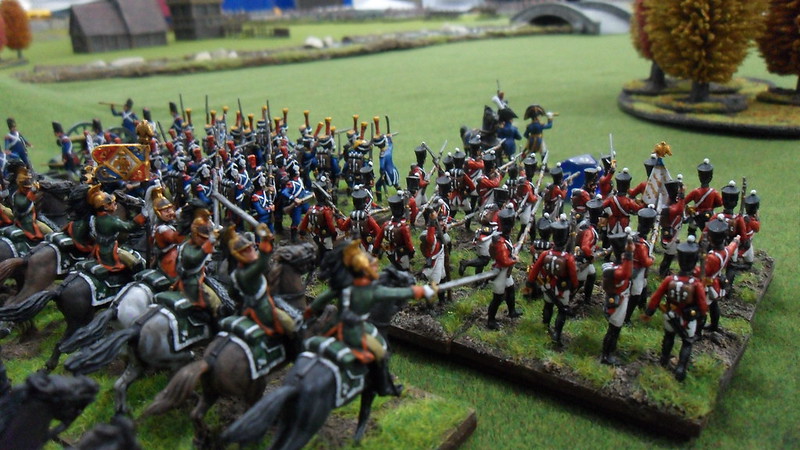
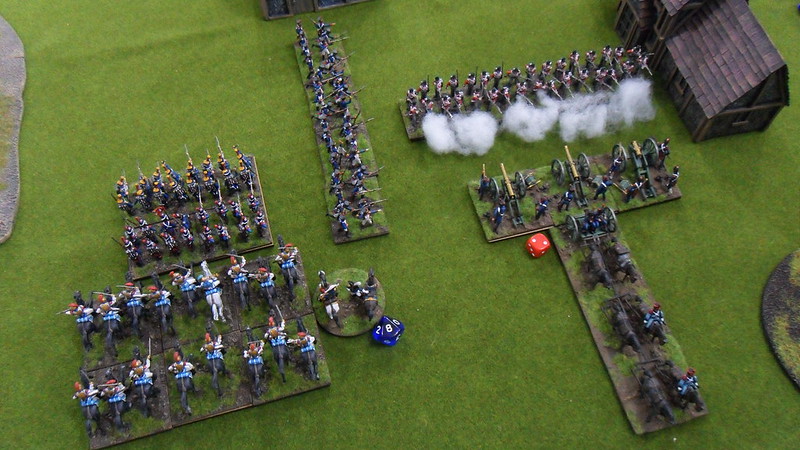
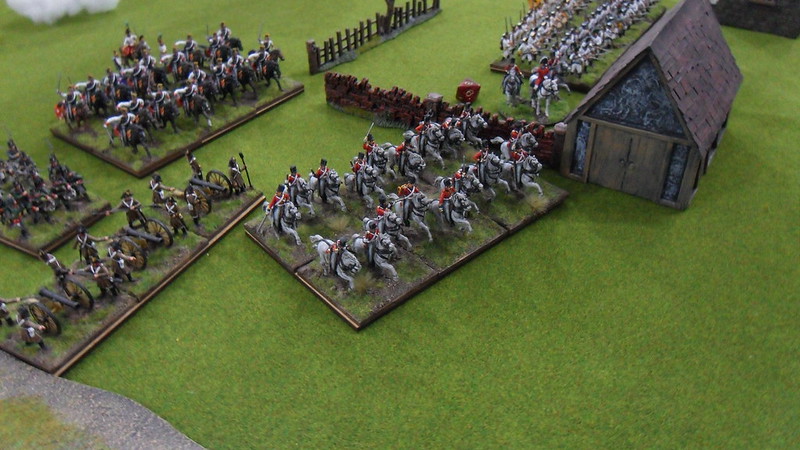
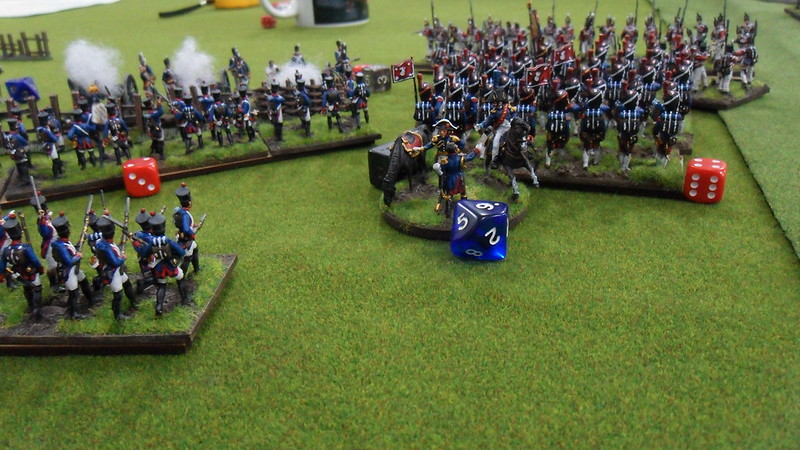
The fighting on the french left flank recommences as a second enemy unit, a Regiment of Austrian Cuirassiers, is sent forward to test the imperial position. It charges a french line, that fails to form into square and is then severely wounded. The french prove tough enough to resist the charge, thouh, hold their ground and force the austrians to turn around to prepare for a second thrust. The carabiniers are then dispatched to intercept them, thus keeping the enemy from renewing their attack on the french column nearby.

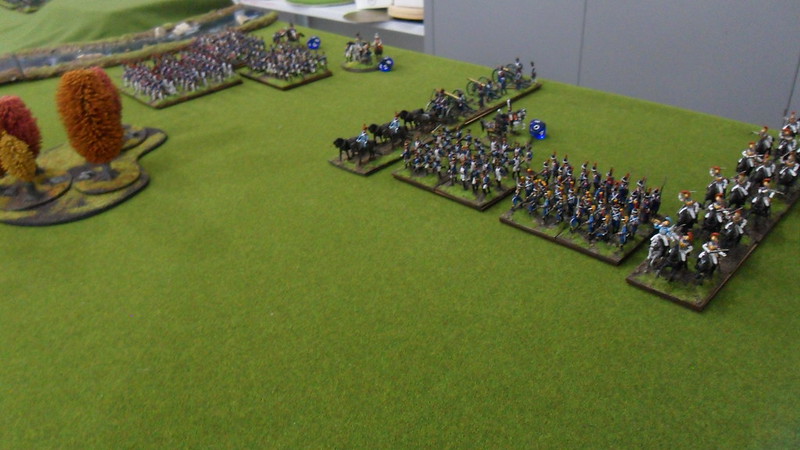
The clash between those 2 formations of heavy horses is a sight to see. The fighting is fierce, black and golden cuirass dazzling in the sunlight, these best of cavalries in search of their share of glory.
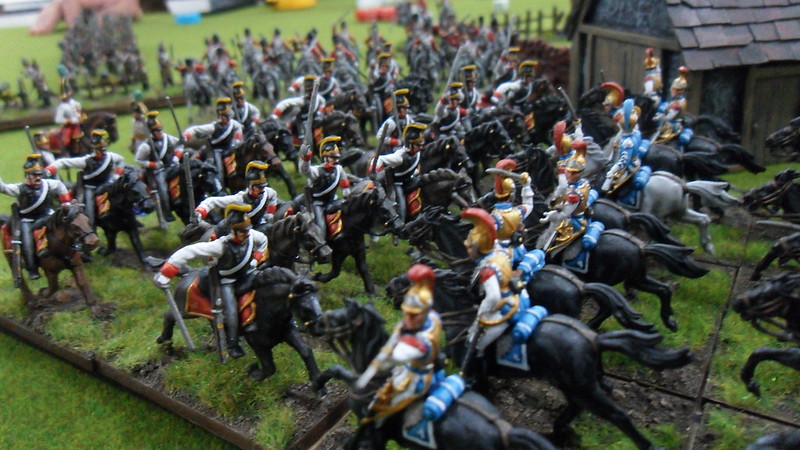
Nearby, a second wave moves towards the french position. This time, 2 regiments of the fearsome Austrian grenadiers.
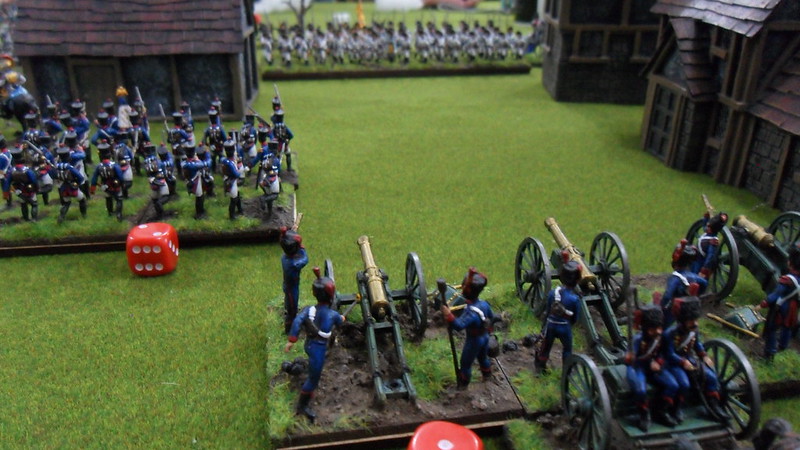
In the middle of the field, the brunswickers finally break and flee, and the french seize their momentum to push forward, with the Old Guards charging at a british line to the right, while fusiliers of the line unleash their musketry fire on the british horse artillery.
The british left flank is faring better. Their artillery puts the french formations in disorder repeatedly, and the threat of the british dragoons keeps the enemy infantry from crossing the river.
Between cuirassiers and carabiniers, the battle is bloody, but no side could claim a clear win, and formations break contact to reform at the rear. The Scot Greys are then sent forward to put pressure on the exausted carabiniers once again, but difficulties in the austro-british chain of command on this area of the battlefield are such that the actual order to charge never reaches the greys.
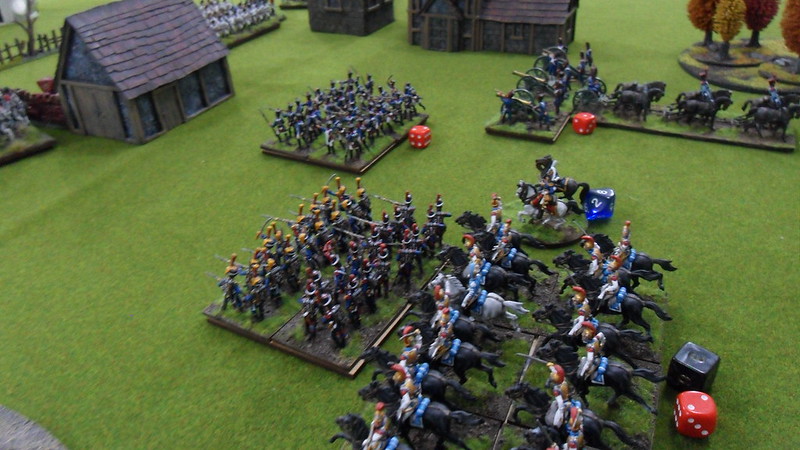
The carabiniers rest their big black horses behind the protection of infantry ranks.
The british centre proves tougher than it seemed. The routing of the brunswickers, instead of shaking the morale of surrounding units, had the effect of renewing their resolution to hold the lines. The thundering strength of the advancing old guards found in the british fusiliers an unfaltering wall, that against all odds, was continually resisting the advances of the enemy grenadiers.
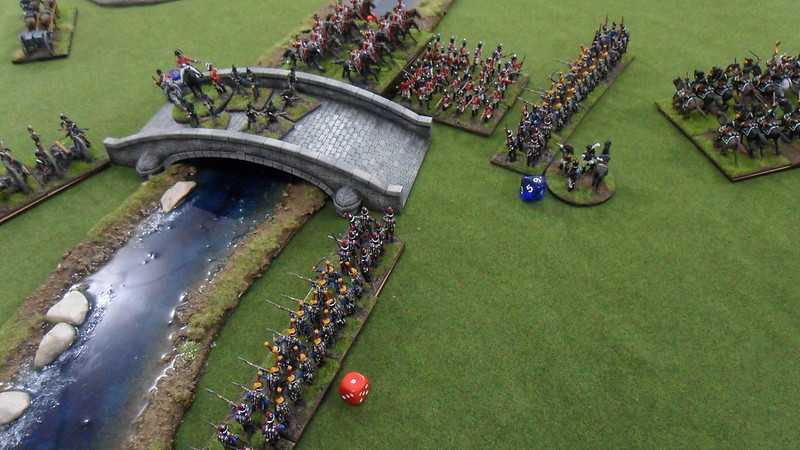
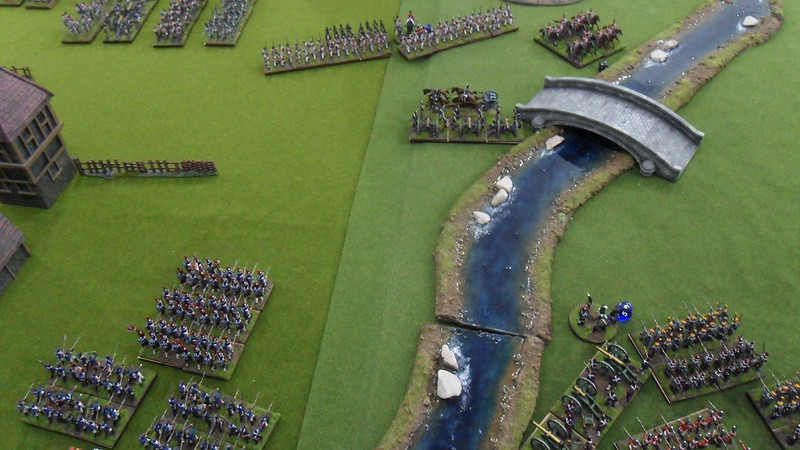
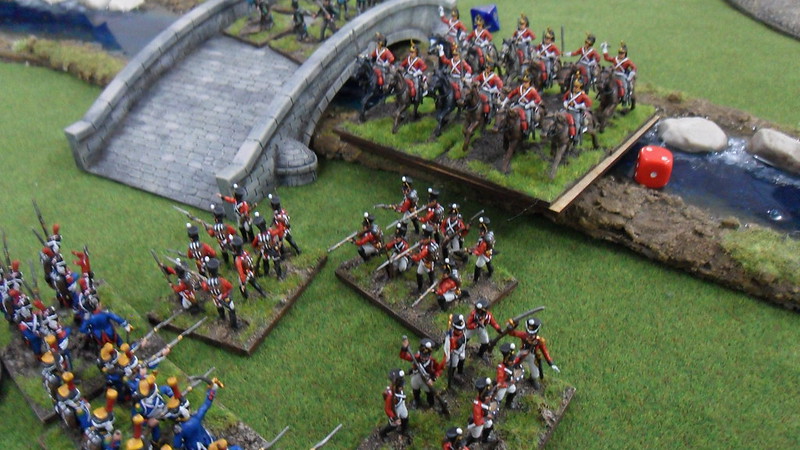
British rifles take position on the bridge to give fire on the french lines, in support to their artillery shooting from accross the river. On the top, the dragoons cross the shallow waters at a gallop to charge at the swiss regiment.
At this point we made an error in the application of the rules. Cavalry crossing the river should take a skirmish formation which would unallow them to charge at a formed unit, but I only realised that later. Anyway, it was fun, the square wasn't enough to hold the dragoons, and the swiss ended up breaking and fleeing the field.
In the centre, one french line regiment breaks to the fire of the british guns, and another steps forward to keep the english under pressure. The guard finnaly gets the upper hand on the clash against the british lines, and one regiment routs from the field.
The fighting on the french left flank was also developing, with the austrian grenadiers advancing under artillery fire from french guns.
At this point, we had to call it a day, for my friend had to go. The battle was pretty balanced, and there was no telling who would had seized the day had we had more time to play it out completely.
This was the second time I put my austrians on the table, and its nice to give them the opportunity to see action while I go on building their units. I have enough to field a single brigade, but there are more to come on the next several months, since I plan to end the year with 3 fully functional napoleonic armies, as well as a roman and a barbarian forces, too.