Day 10
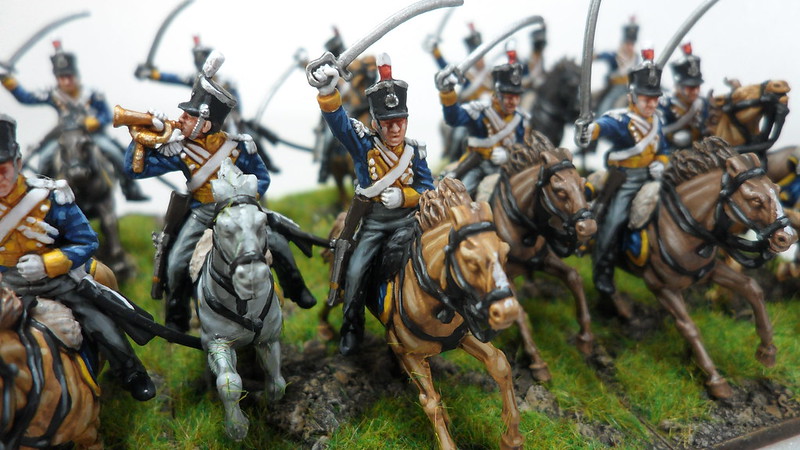
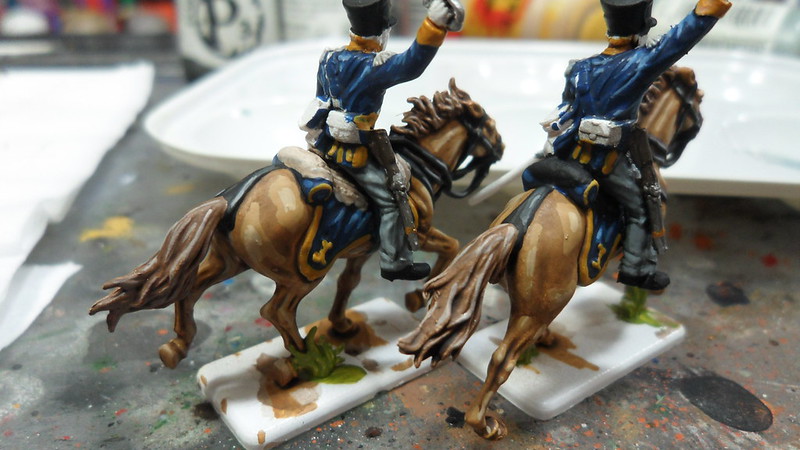
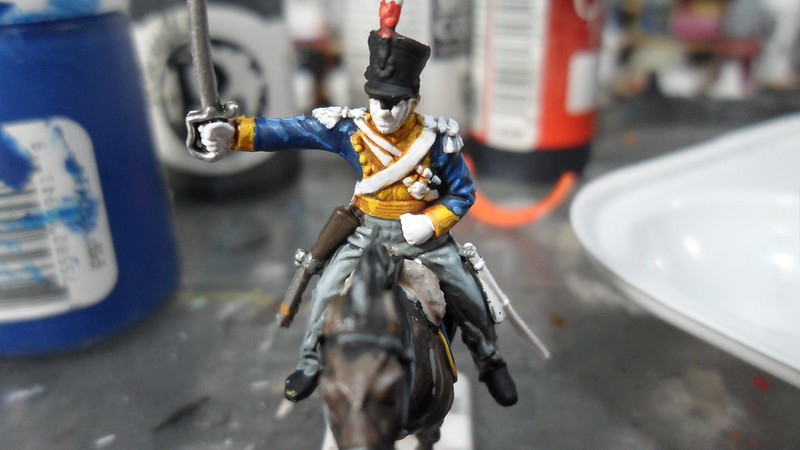
On day 10 I did the highlighting of their breeches, using my standard two-layer technique. On the 2 pics below, the model to the right received the first layer of highlight (same color of basecoat). You can compare to the model to the left, which is yet to receive the first layer.

The second layer is basecoat color + white (2/1), and was done mainly over their knees, and a bit here and there, to further enhance the visual. On the pic below, the model to the left is on its second layer of highlight, and the one to the right is still on the first.
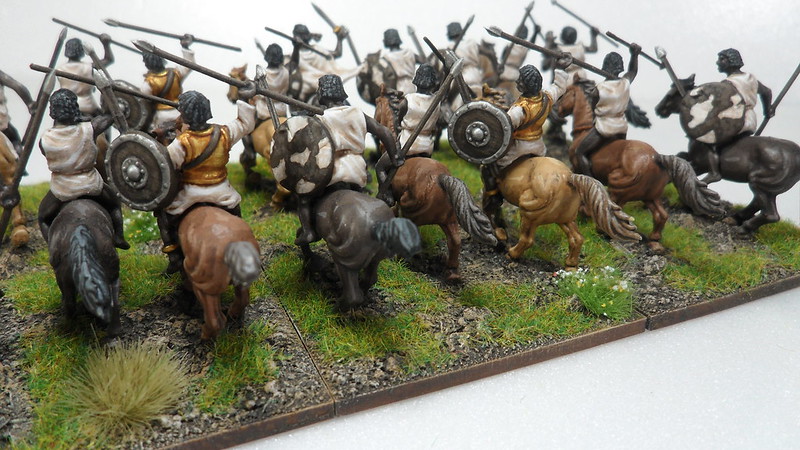
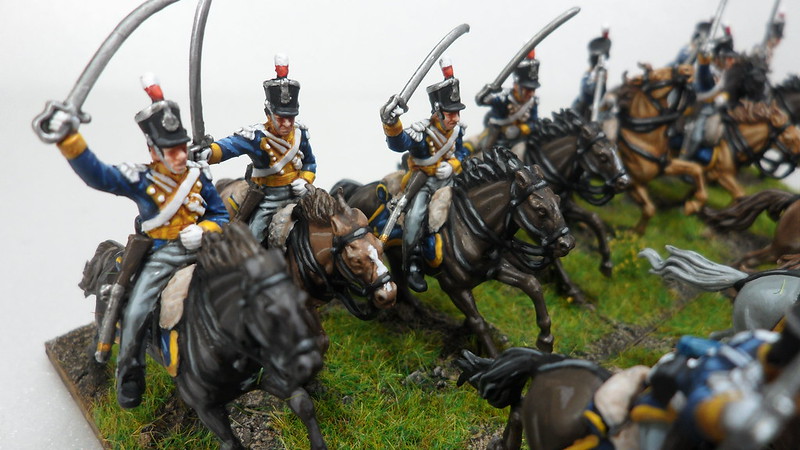
I also highlighted the yellow that evening, and started painting the white straps. I had painted the epaulettes white before washing the model black, so now I can highlight them as I go about painting the straps, too.
Below you can see the visual I described on part II of this tutorial, where I mention painting the background color (here, yellow) over the areas that are to be white, so later when these are in fact painted white, I can leave the recesses on the background color, thus creating a strong shading that doesn't interfere with the yellow on the background, because the shading is the yellow itself, instead of a black or brown wash.
 Day 11
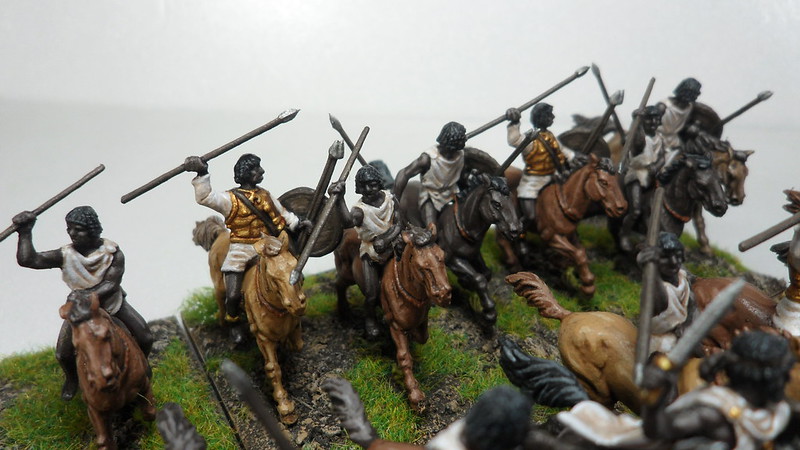
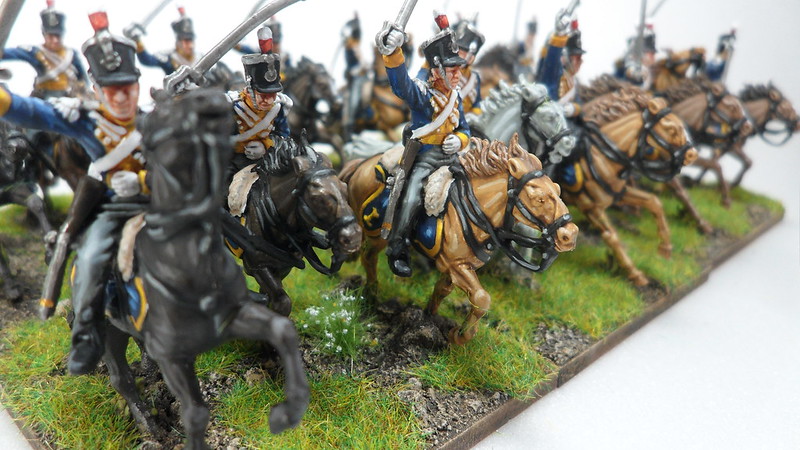
Today, I painted their skin. The riders only have their heads exposed, as they're all painted with white gloves, so this was a pretty quick step. I use a mix of Citadel Cadian Fleshtone and Vallejo Light Flesh, usually 1/1. The first color, alone, is too dark, while the Light Flesh is too pale, so I prefer a mix of both, but there are several good skin paints out there, using a mix of these two is, again, just a personal preference.
The advantage of doing this is that when I want a stronger tone, such as when painting romans, I simply use a greater proportion of the cadian flesh, say, 2/1. Similarly, if I want a lighter tone, I may just as well increase the proportion of the vallejo paint in the mix.
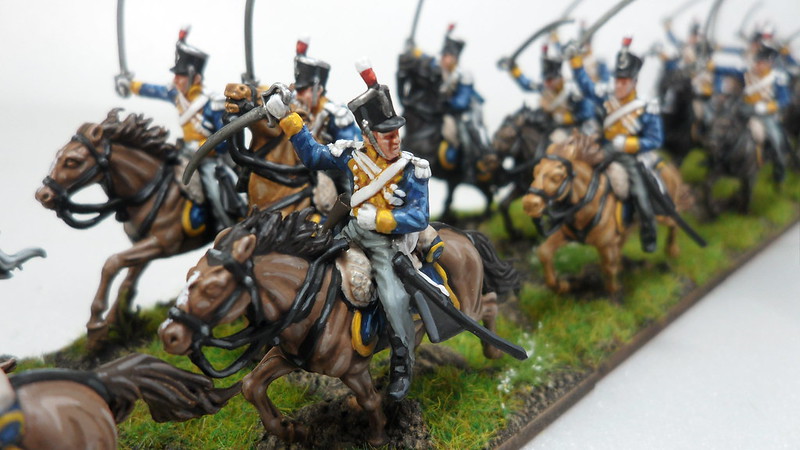
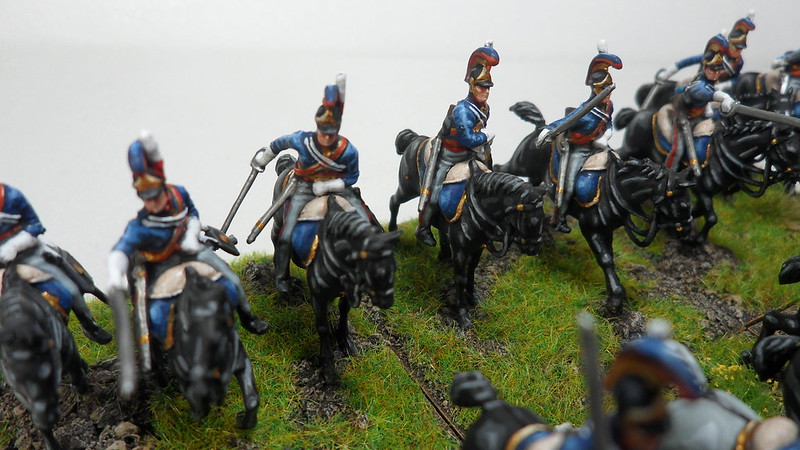
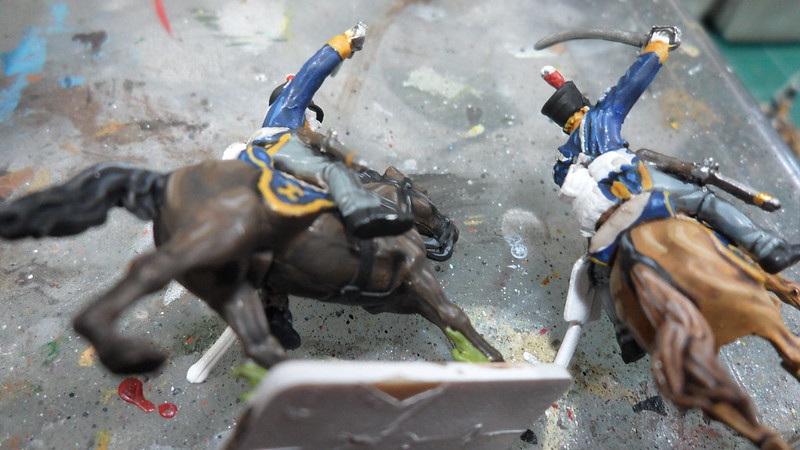
I finished painting their faces and got into painting and highlighting some other details, while their skin dried up. Their canteens and bags, for example. The canteens were painted light blue grey, then washed with blue shade, while their bags were coated white and washed with a mix of black + grey shades. Their white gloves also received the same wash, and then were highlight white.

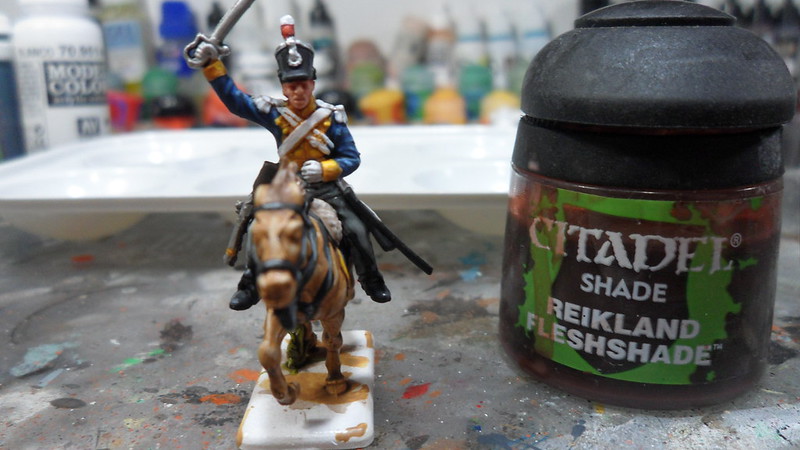
Later on that evening, I washed their skin with Citadel Reikland Fleshshade.
Day 12
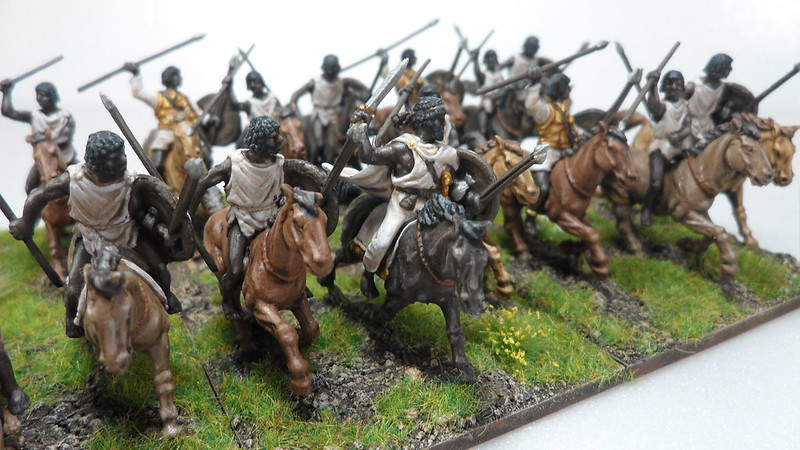
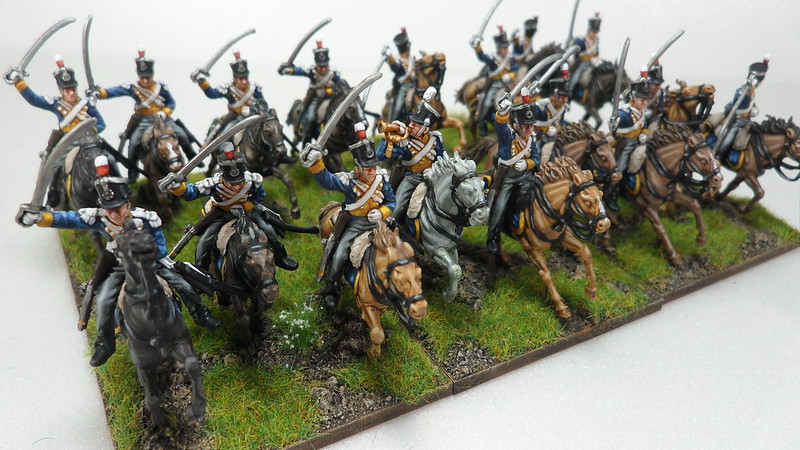
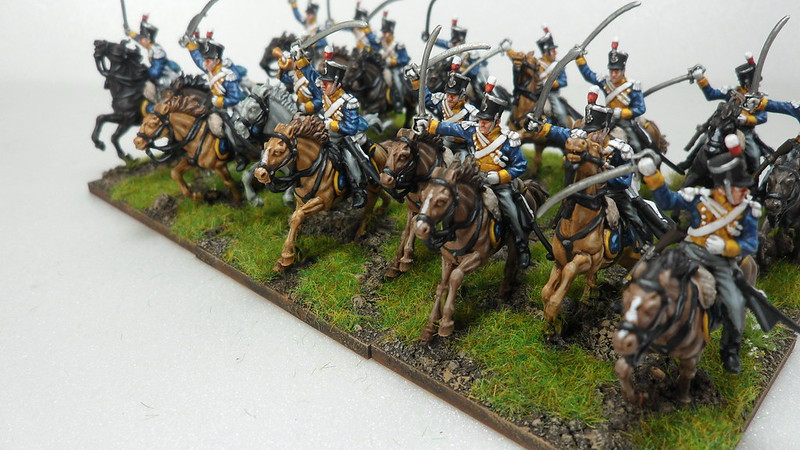
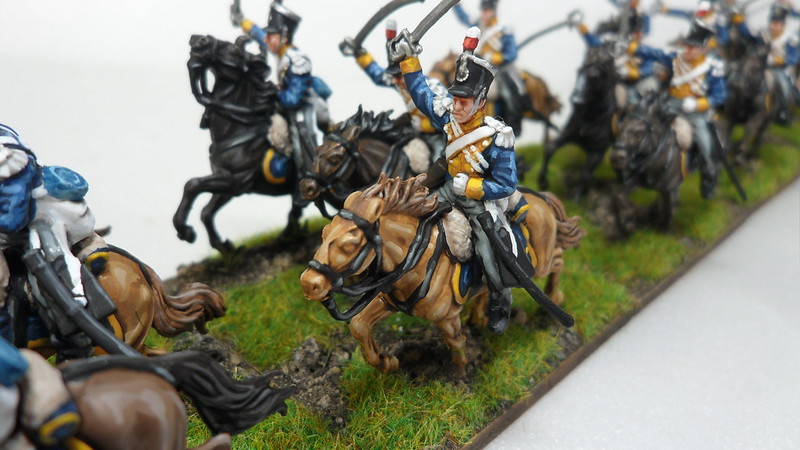
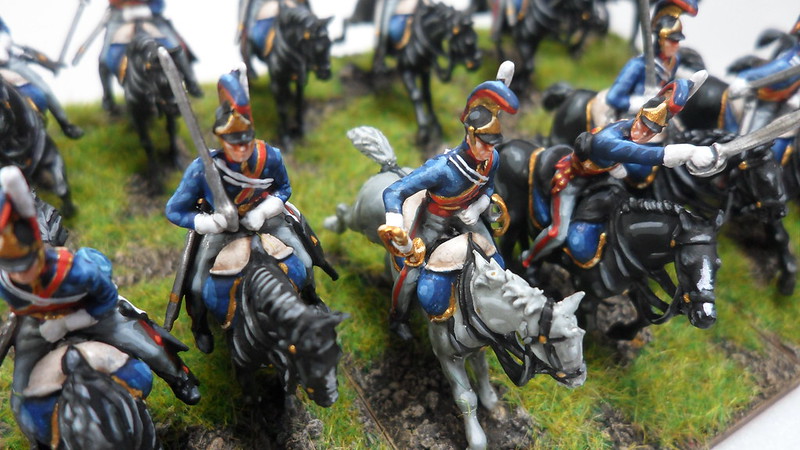
On this last day of painting, I highlighted their faces and finished some other details, such as the highlight on the black areas of their gear and uniforms.
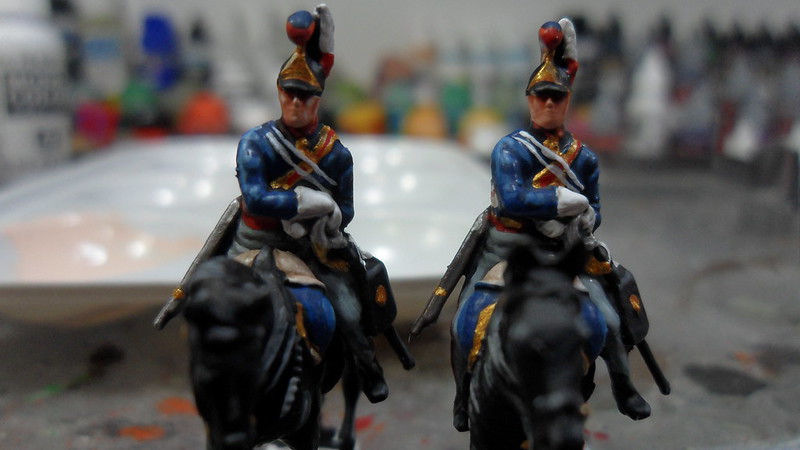
The highlight on their skin was done with a single layer, on the same mix of colors as of the basecoat. It's done with precise touches of the brush on the most prominent areas of the face: nose, chins and cheeks.
On the pic below, the model to the left received the highlight on those areas.
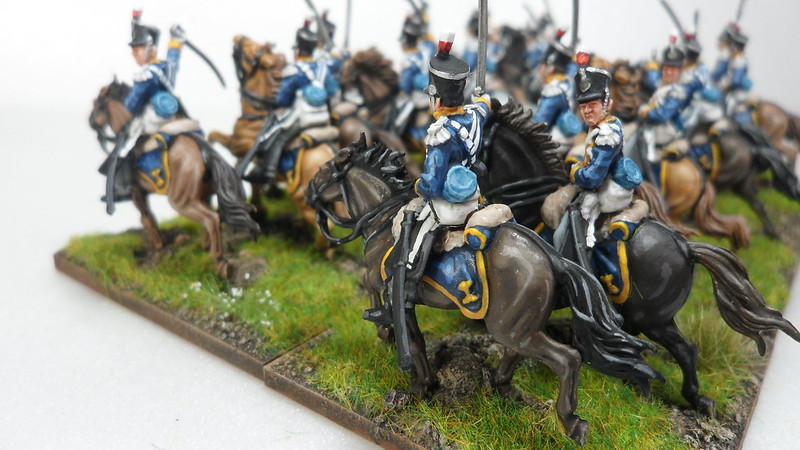
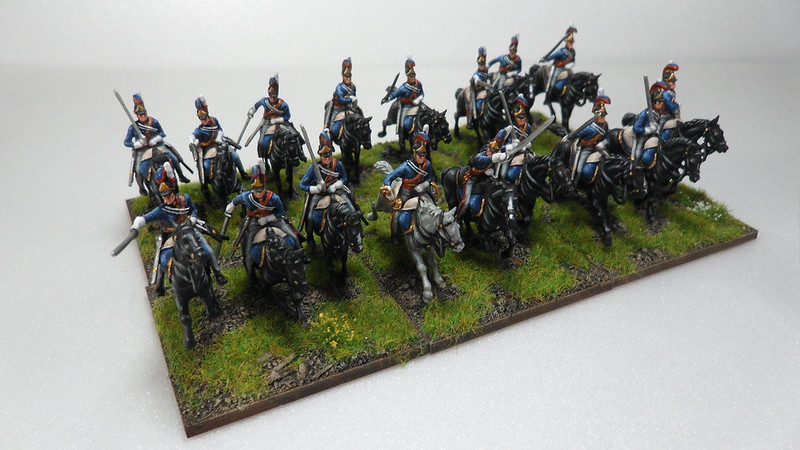
All models complete, I now glue them to their bases and call it a day. On the following evening, they'll receive texture to their bases, and on the day after, once it's completely dry, I'll drybrush it and apply flocking. This process has already been covered on another tutorial I did, which you can find
here.
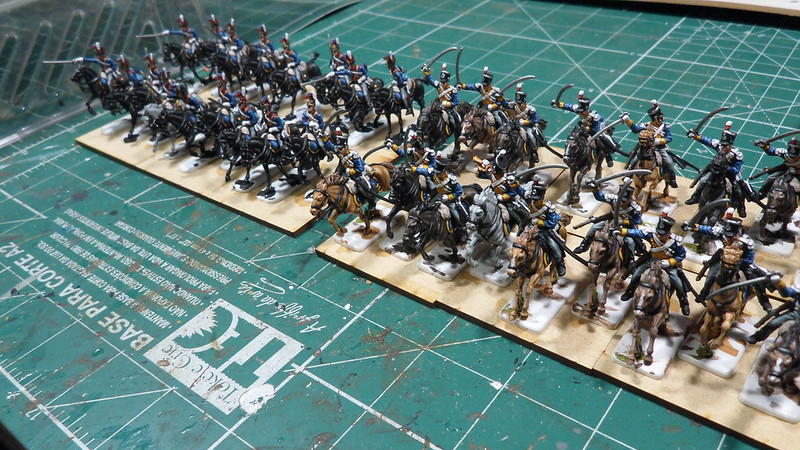
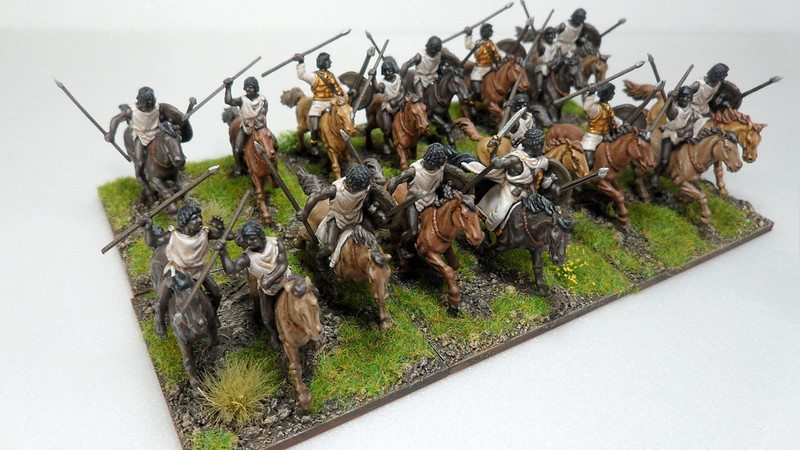
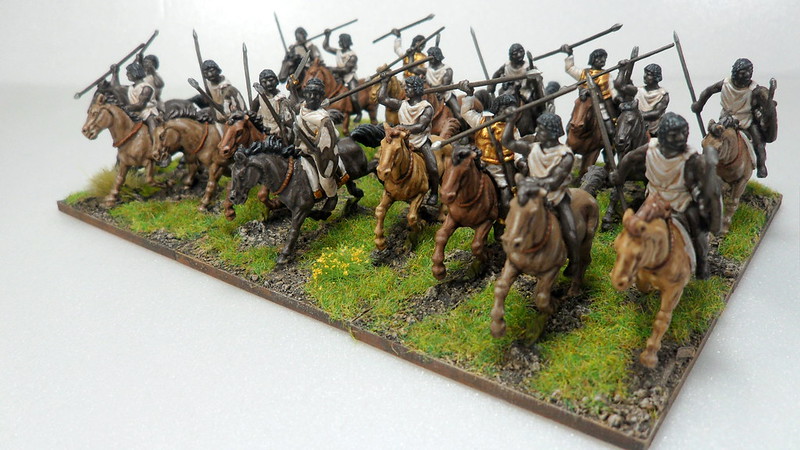
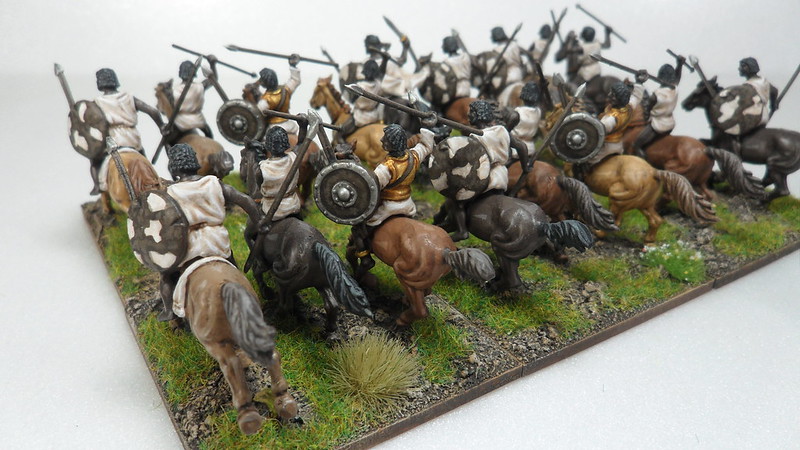
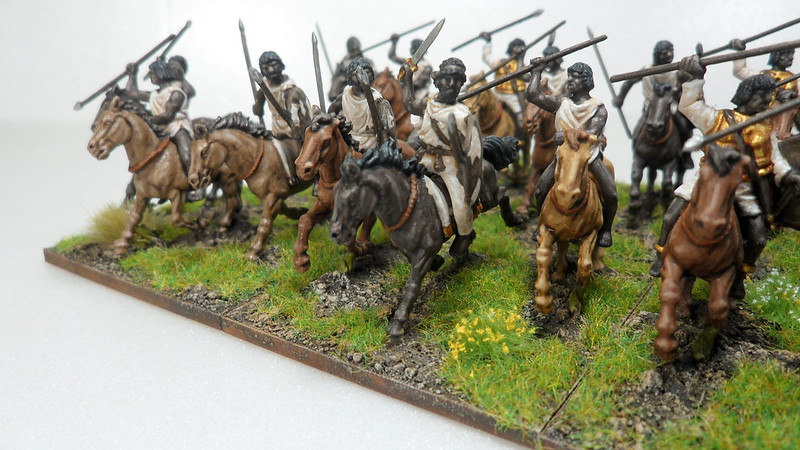
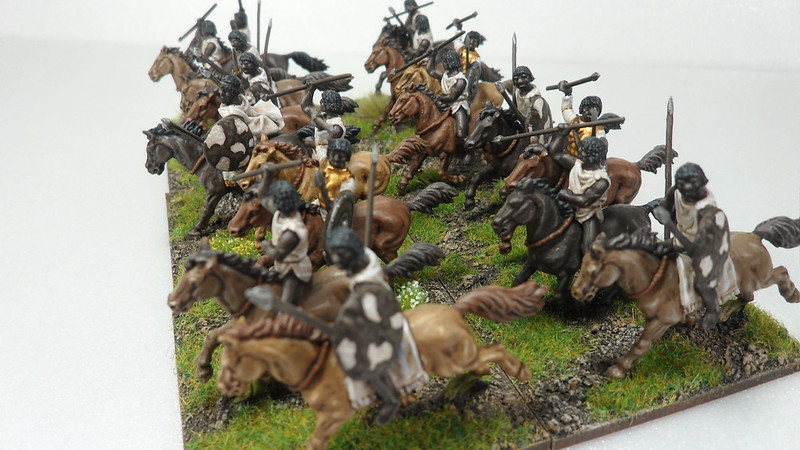
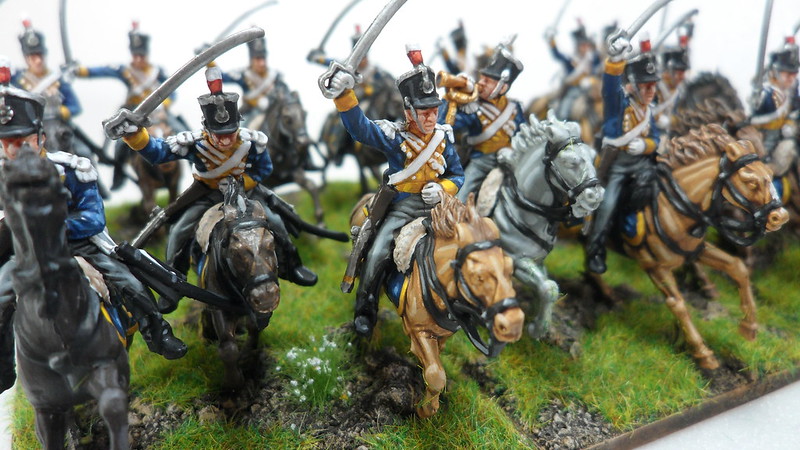
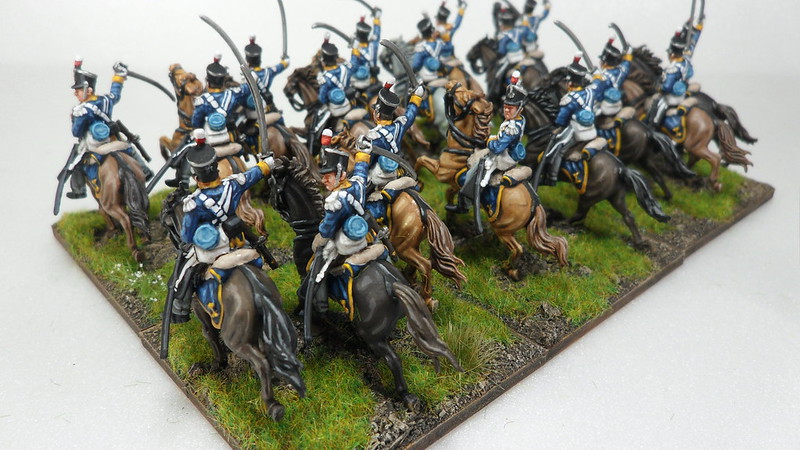
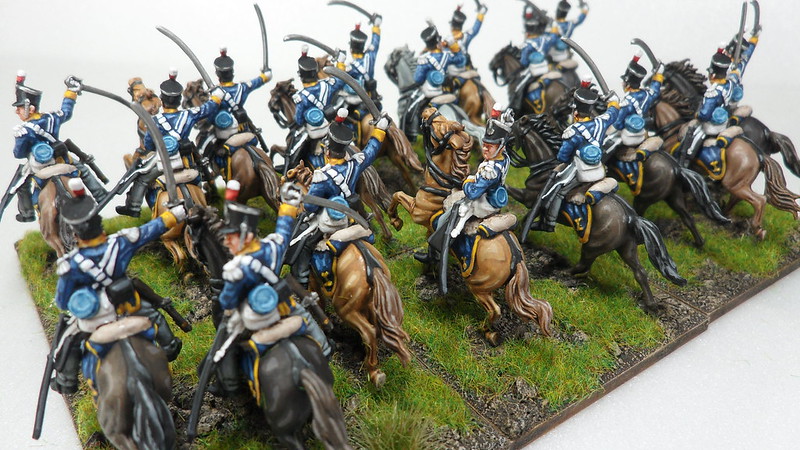
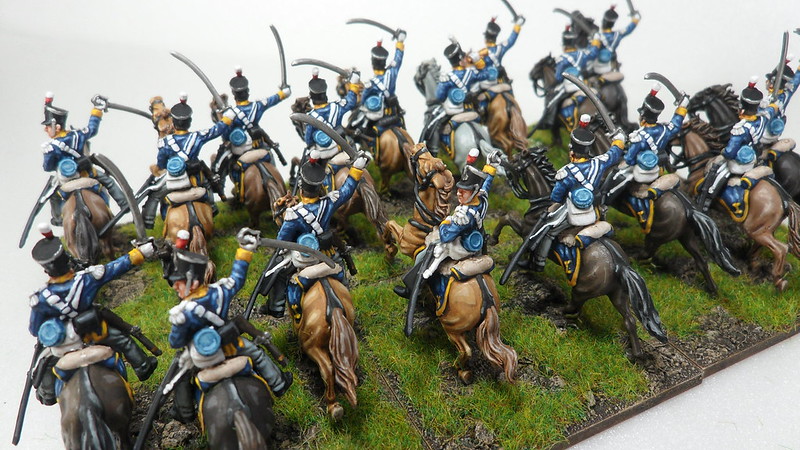
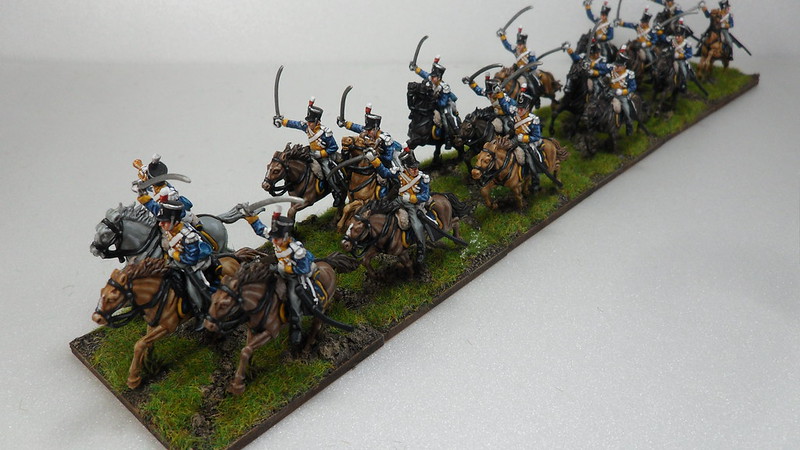
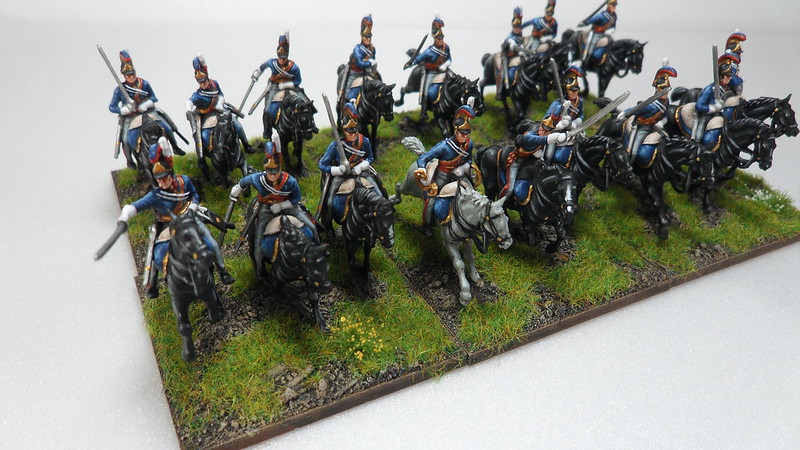
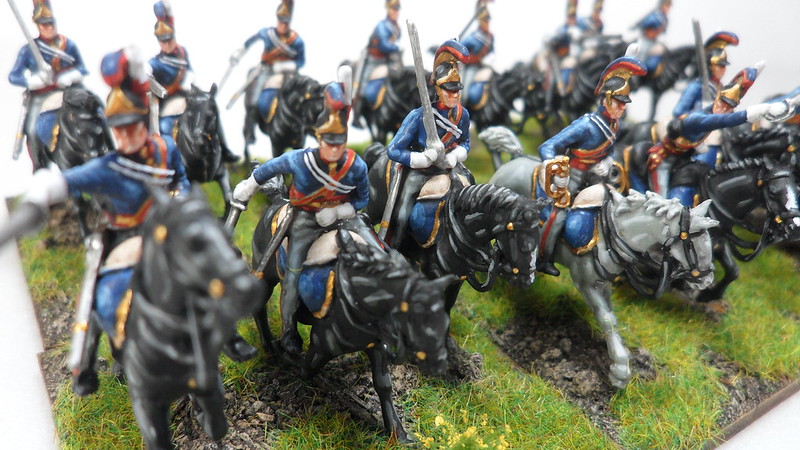
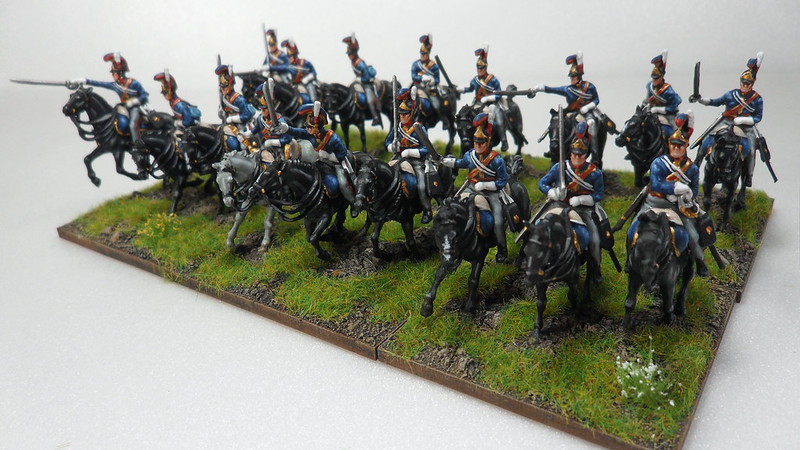
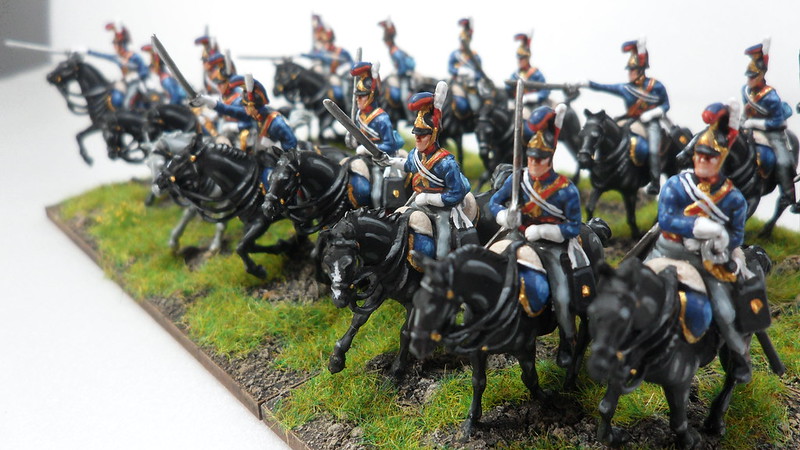
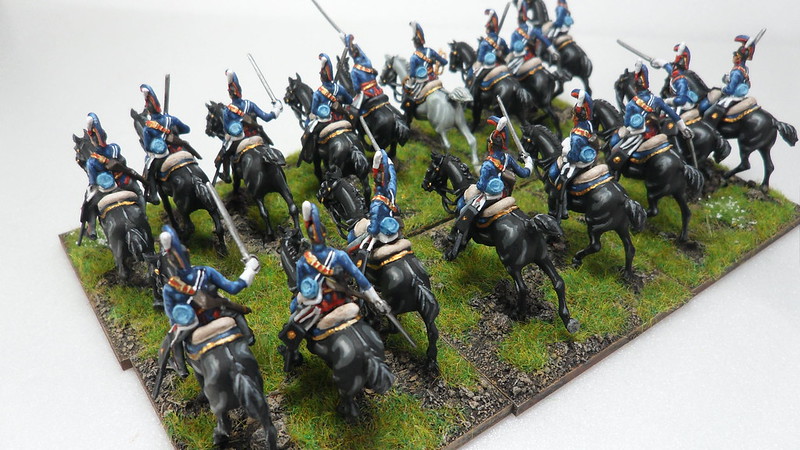
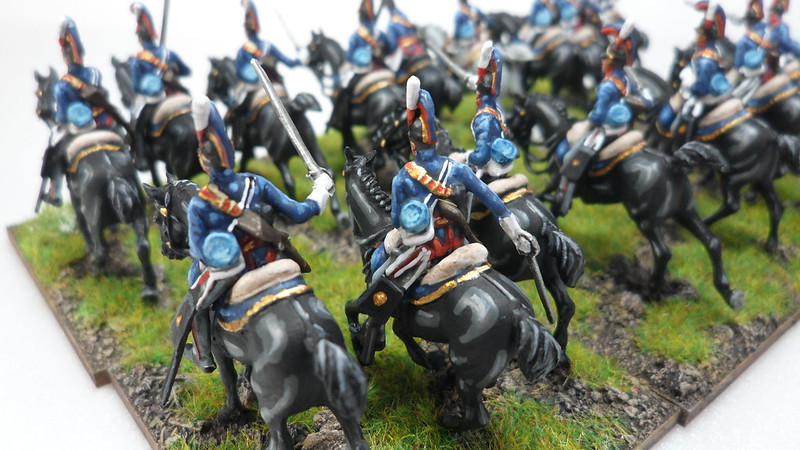
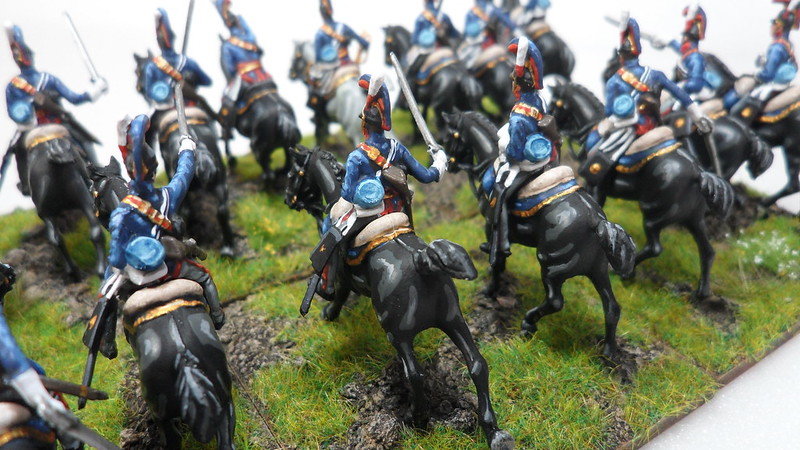
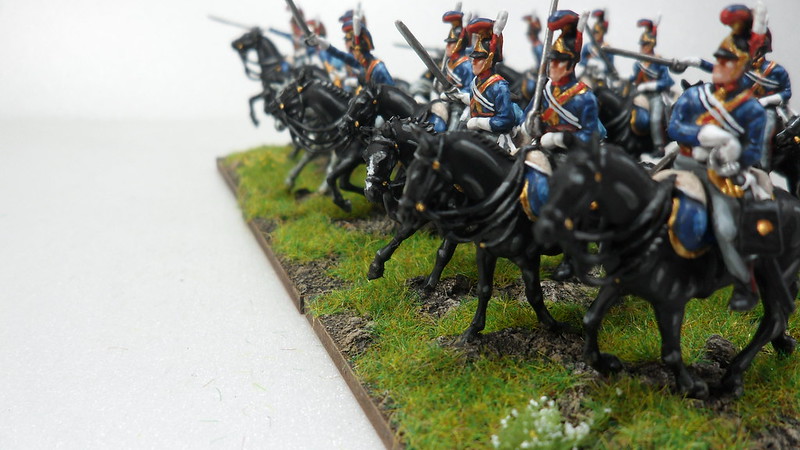
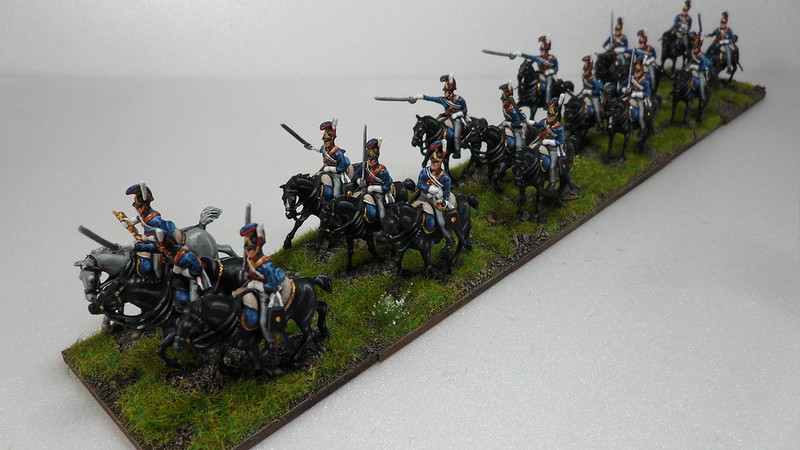
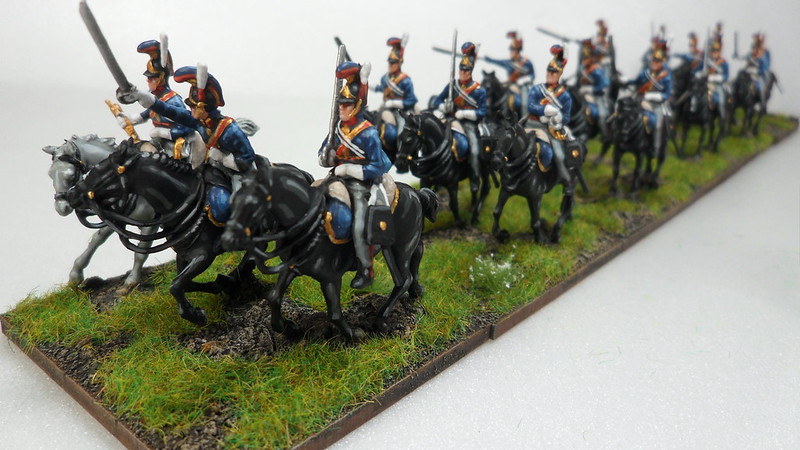
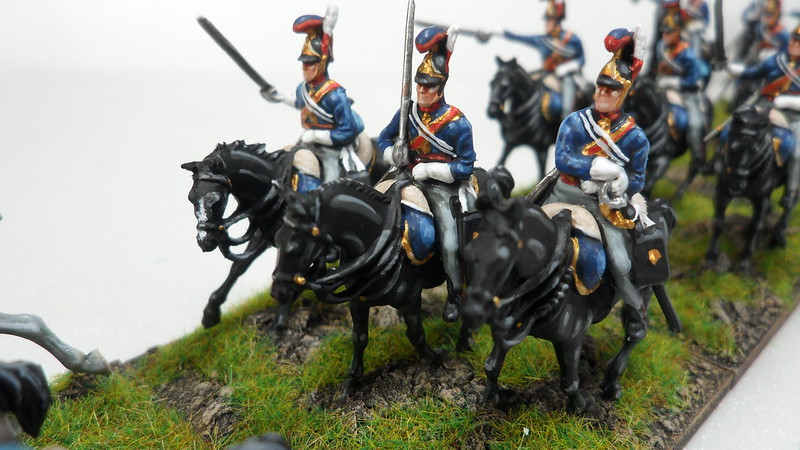
And that's it, 12 evenings of painting, a couple more days to do their basings, and here we have 2 finished cavalry units for my british army.
These guys will be featuring here on the blog soon, in all the glory of properly textured and flocked bases!