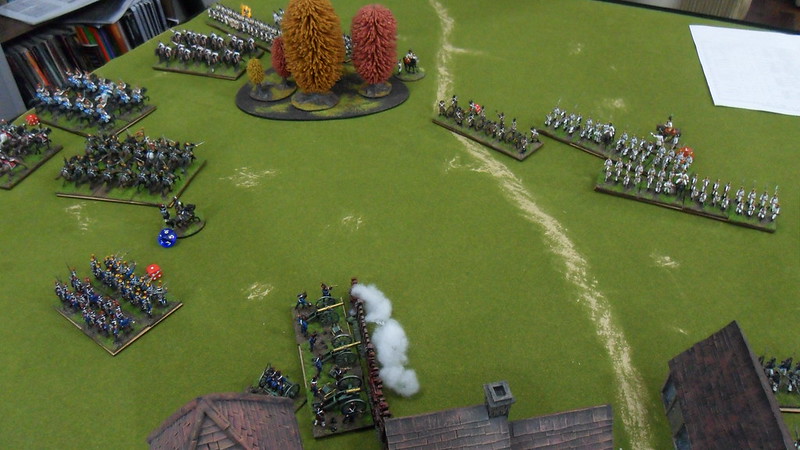
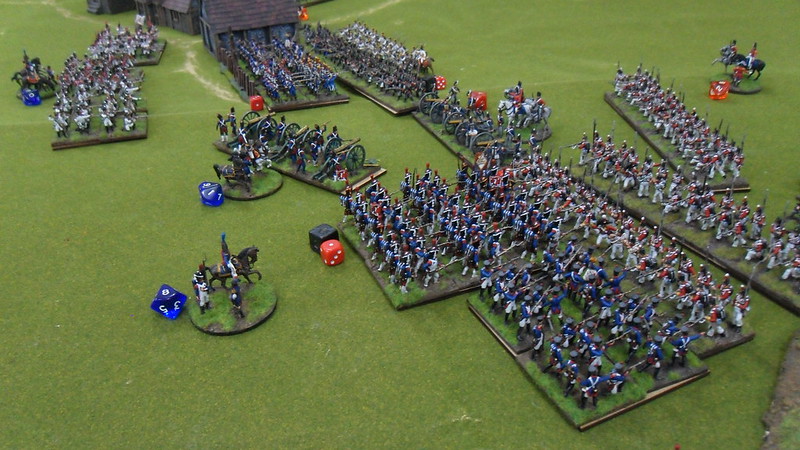
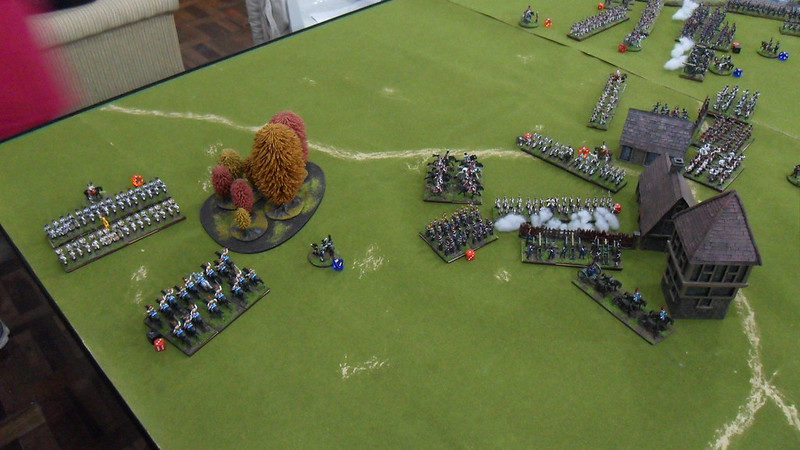
Following on with the battle report of the last post, here we have a lot more pics of the fray. The french columns advance toward the austrian and british lines, while the 4º allied brigade struggles to make it to the battlefield and impact the outcome of this encounter.
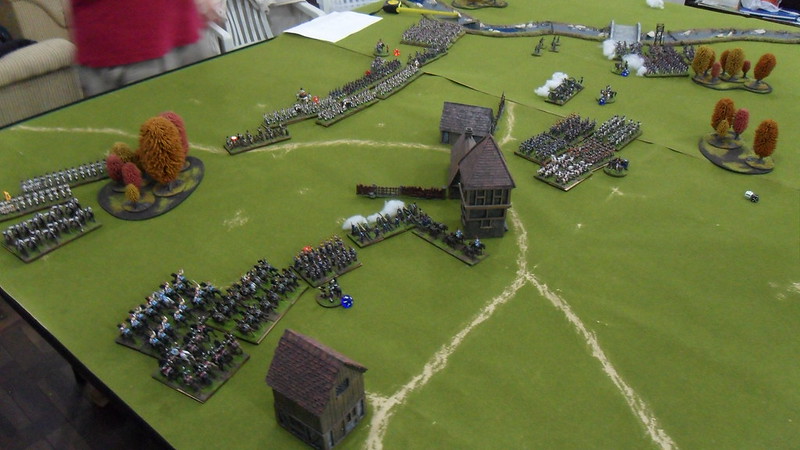

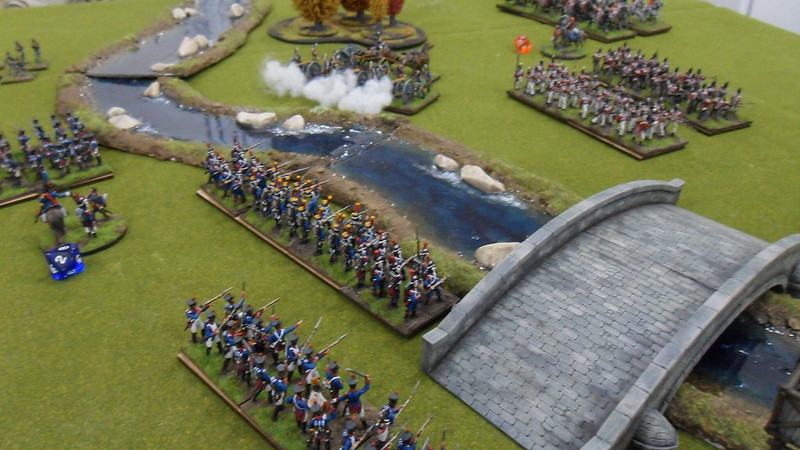
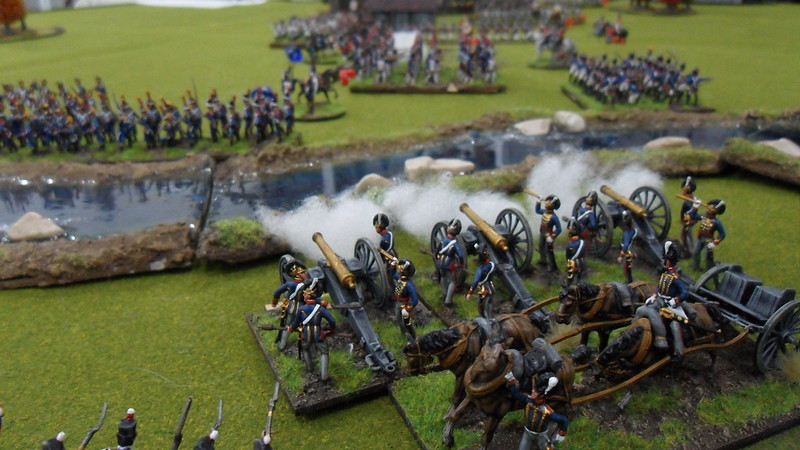
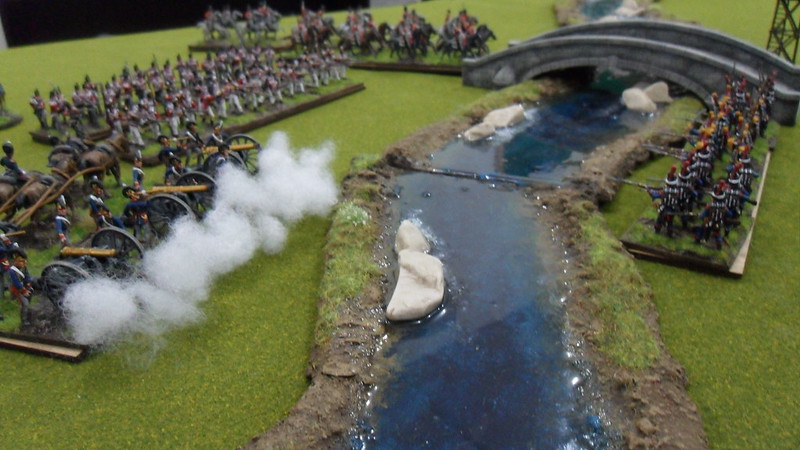
French guns open fire on the advancing allied lines, which are trying to push the french back so to take control of the bridge head.
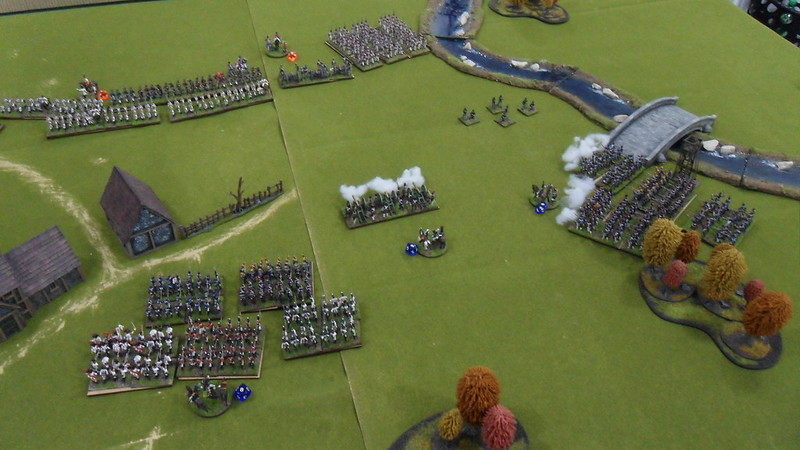
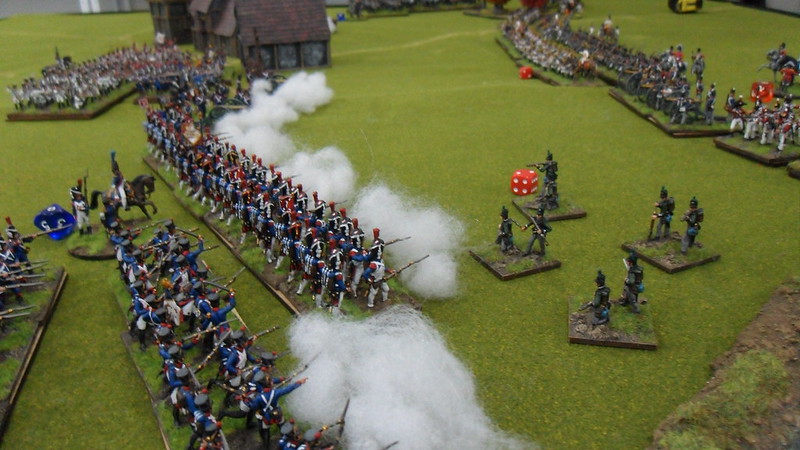
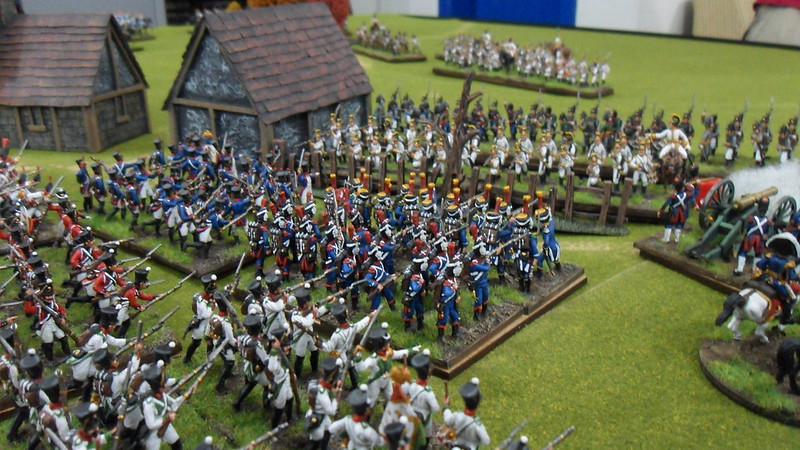
Some french units reform into line and open fire on the marching british, who in turn are screened by their rifle corps.
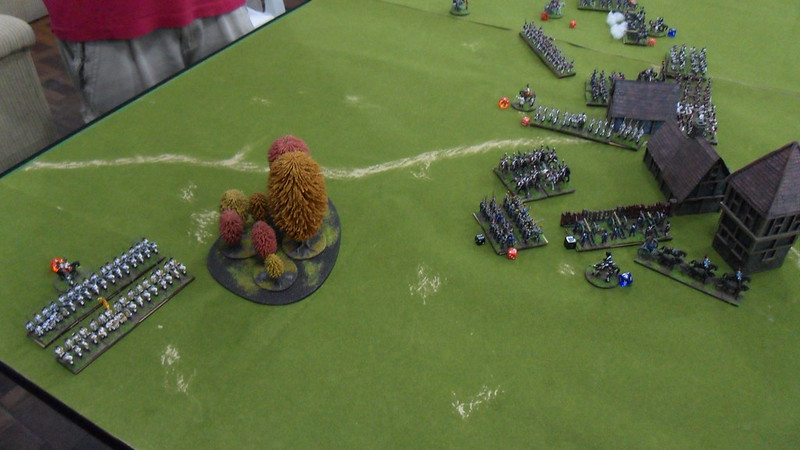
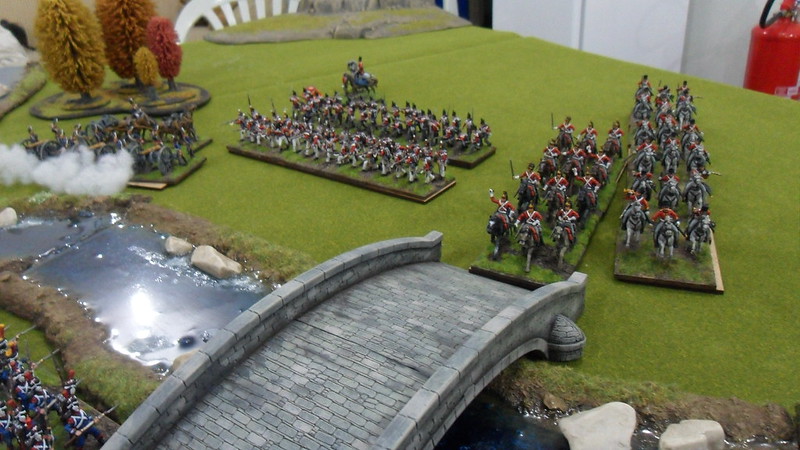
Above, we see the 2º british brigade arriving on the battlefield, on the 4th game turn, desperate to take position to help fight their hatred foes. Meanwhile, the allied forces are suffering heavy casualties from french fire.
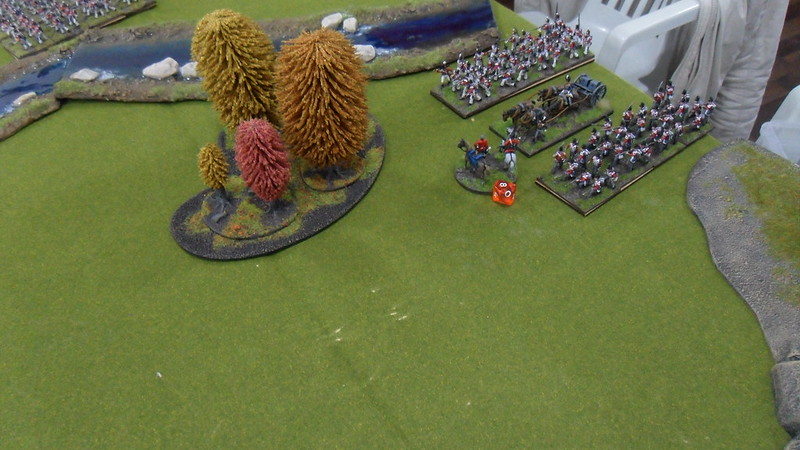
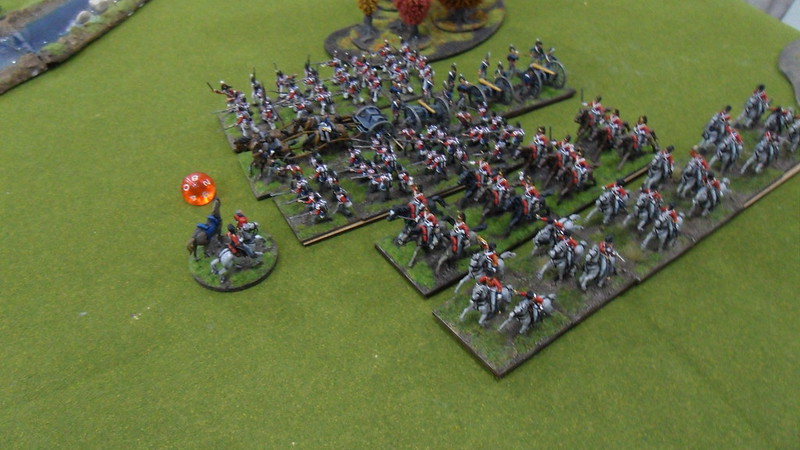
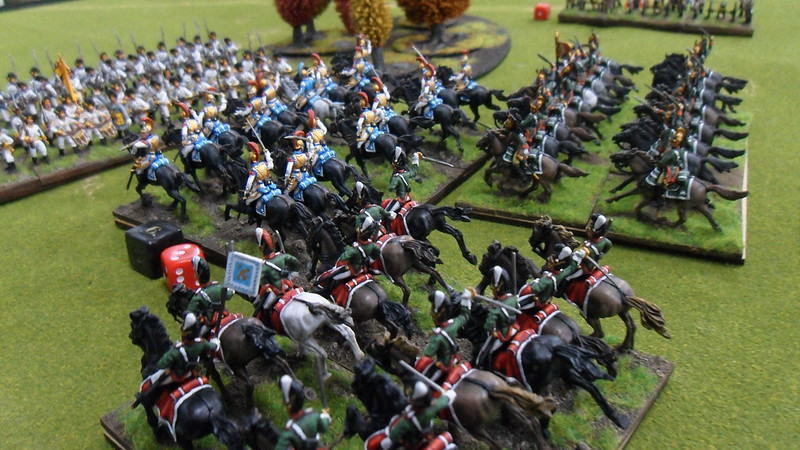
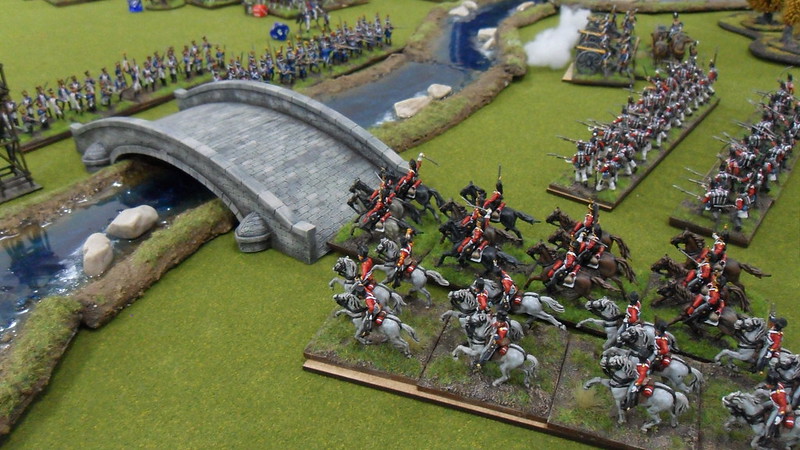
On the far right of the austrian forces, the french are trying to break their flank and envelop the Habsburg army. A single cuirassier regiment is dispatched to fight off 3 french cavalry units. For a while, it manages to avoid disaster, but in a second assault, the cheer number of enemy horses sees off the austrian cavalrymen and clear the path for the infantry to advance. Problem is, 2 regiments of grenadiers are still positioned there, with a single regiment of french light infantry in the area, it doesn't seem the french will succeed at taking that flank anytime soon.

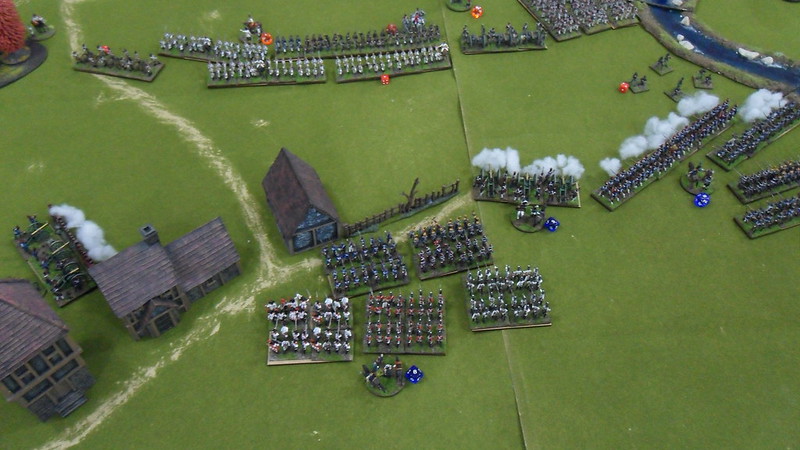
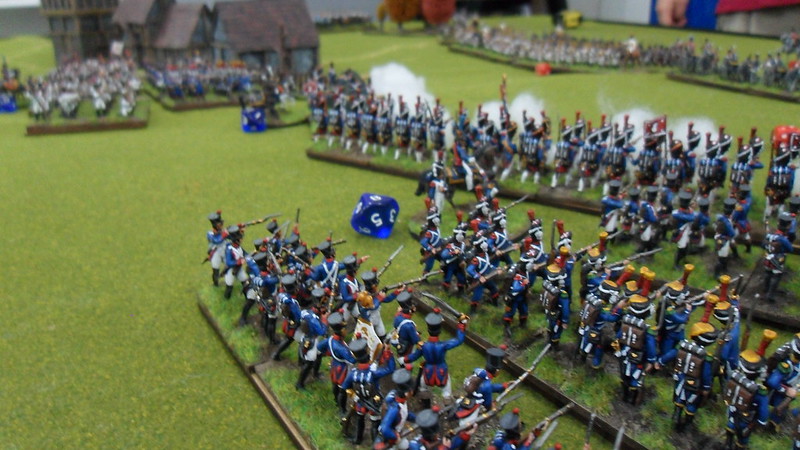
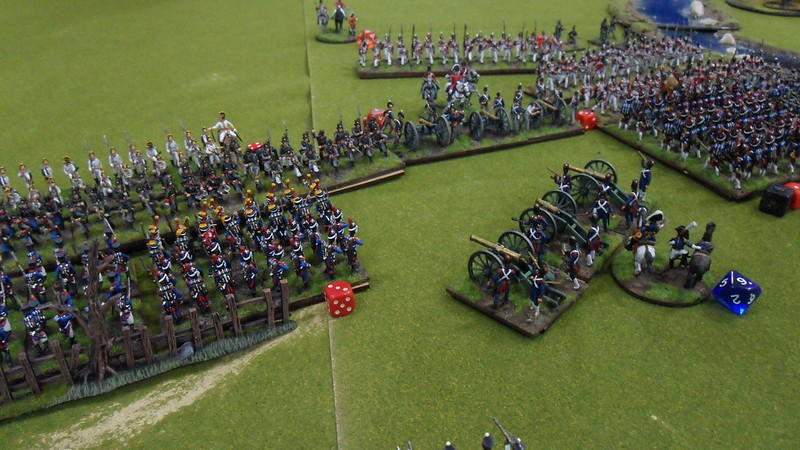
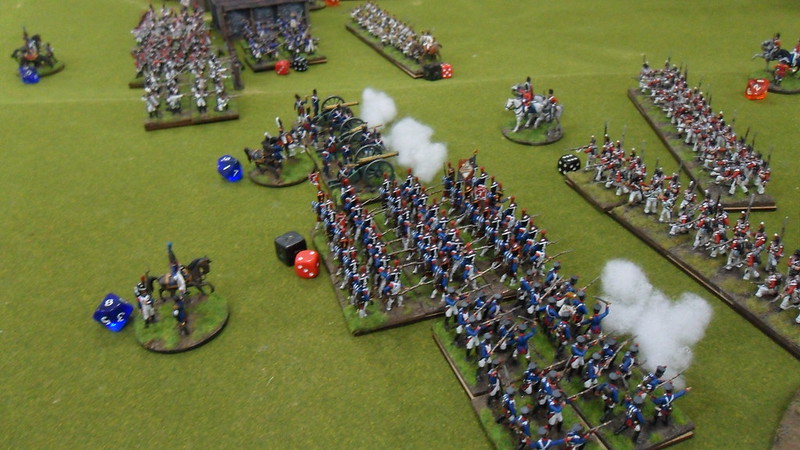
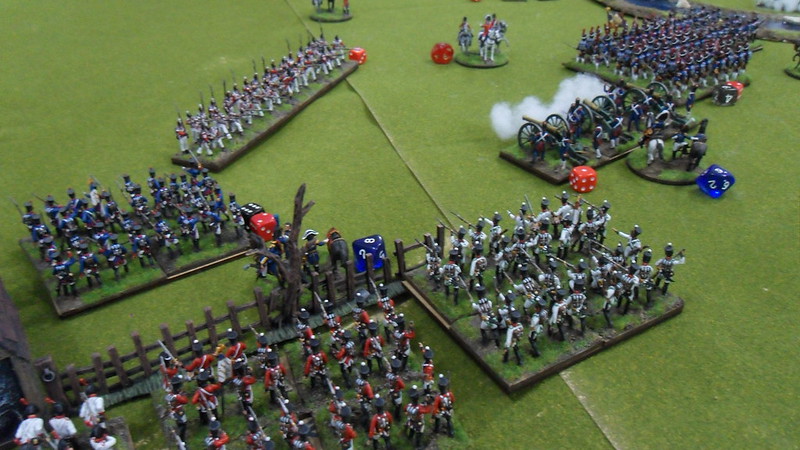
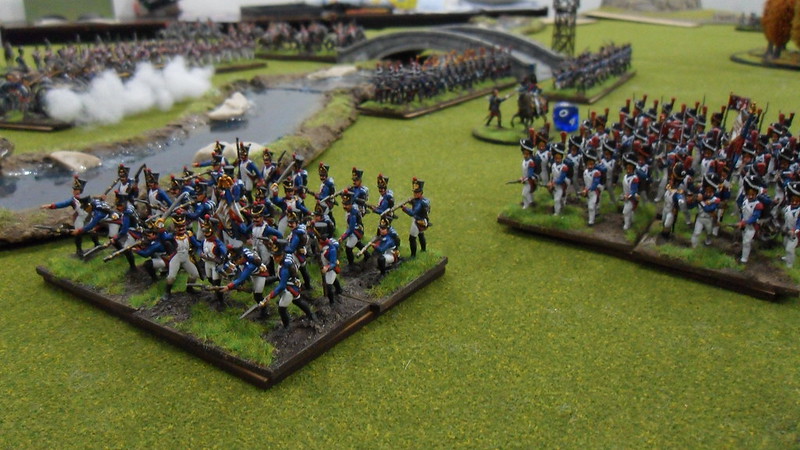
In the middle, austrian lines, supported by landwehr, close in to open fire on the french columns, which keep their relentless advance despite the any casualties and charge home at the austrian formations.
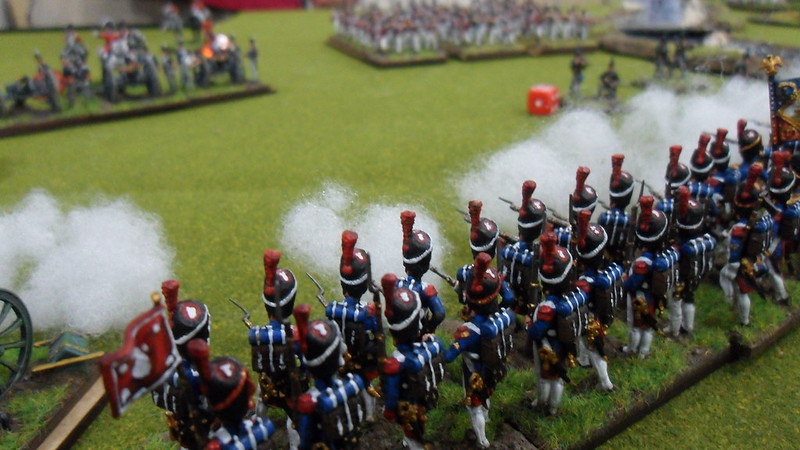
The Imperial Old Guards and other support units close by reform into columns and also charge at their foes, in this case, the 3 regiments of british line infantry, by now deployed in lines and using their fire to try and push the french back.
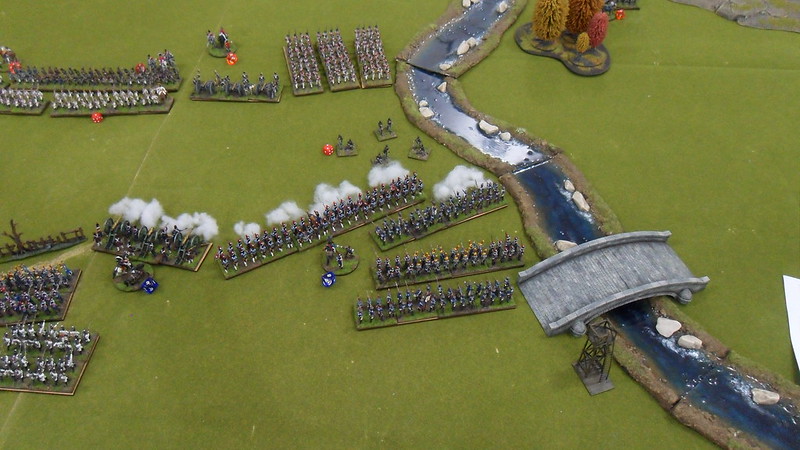
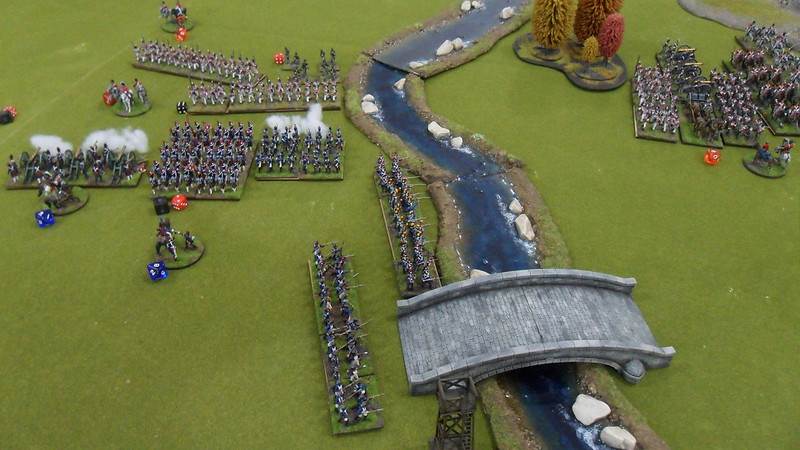
The rear of the french formations dispatch 2 units to keep hold on the bridge, thus preventing the arriving british reinforcements from making the cross.

After the first regiment of austrian line infantry breaks and flees the field, the landwehr is left facing the enemy directly. Up until then, I had fielded that unit 2 times already since I finished painting them, and both times its performance had been humiliating, to say the least. This time, it managed to form a line of fire before being obliterated altogether, so I had hopes it could take a dent on the approaching french columns, and being a large unit, it gets to roll 4 dice instead of 3, so I was expecting to see them justify their presence (and points!) this day. But then, this happened:

The austrian brigades were cleary not doing very well, but the british were only marginally better. Brigade after brigade on the allied side were becoming broken, and the extra forces the british could have had to make a difference in the field were facing serious issues with their command & control, so they were still out of the fight by turn 6.
On the french left flank, the austrian grenadiers secured their position and eliminated any risk of a french outflank on that side. The french cavalry were mostly depleted and fled, but the austrian centre was in even worse shape, and began to retreat. The british formations were also starting to falter, and the general collapse of the allied army was approaching rapidly.
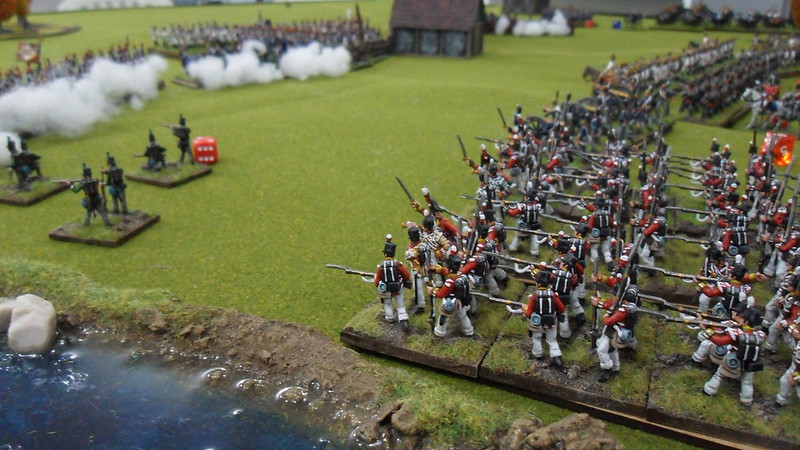
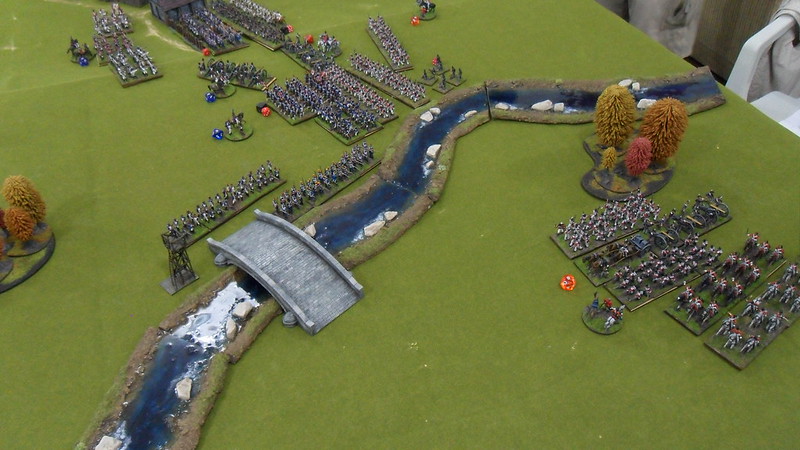
The belated 2º british brigade was finally starting to contribute to the battle, with their guns positioned to fire over the waters down the french columns, but it was too little too late, as the rest of the brigade had no means of crossing the river, without a secured bridge head on the opposite bank.
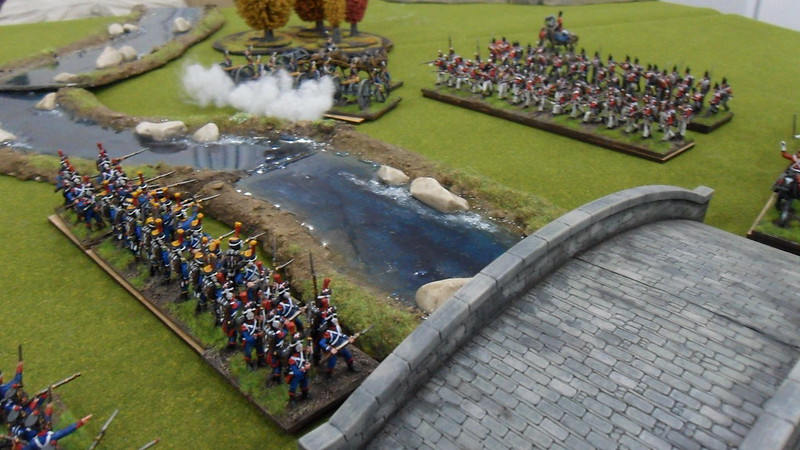
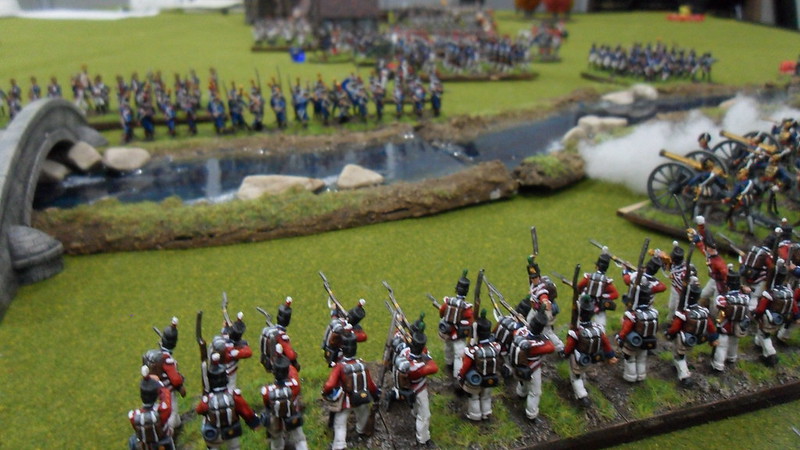
The british line faces off with the french accross the river banks. Out of range of their muskets, the english can only watch as the enemy lay waste to their allied lines on the other side of the waters.
With 3 brigades of 4 on the allied side broken, the arrival of the remaining british brigade is not enough to save the day, and the french take the field. Another victory for the forces of the Empereur, and another fully enjoyable game, very fun and dramatic.
Excellent, some lovely troops and terrain.
ReplyDeleteA very atmospheric game! Thanks for posting the inspiration!
ReplyDeleteMike B
despertaferres.wordpress.com
Very enjoyable read and attractive minis! Interesting scenario. I'll be coming back for more.
ReplyDeleteFantastic photos as always!
ReplyDeleteGreat pictures, great looking game, and an exciting finish. How can you look on stuff like this and not get hooked by Napoleonics? :-)
ReplyDelete