I recently did a few wreck markers to use in wrecked vehicles, and some people have been asking me the how-to, so here is a quick tutorial.
The material used is synthetic fiber (from a pillow), and 3 color of spray: orange, red, and black.
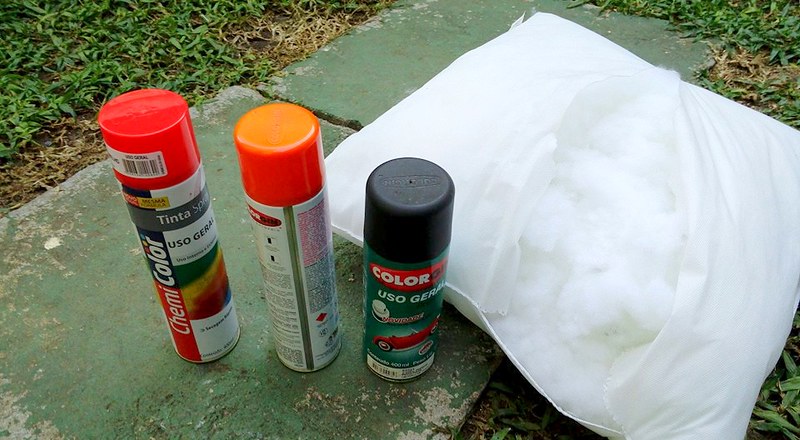
First thing to do is take a handful of the fiber, it doesn't hold together very well at this point, but once you give it a few coats of spray, it develops sufficient structural integrity and doesn't fall apart easily.
The sequence of spray is this:
1 - Abundant orange on the lower half;
2 - (reasonable amount of) red over the orange
3 - Black on the upper half
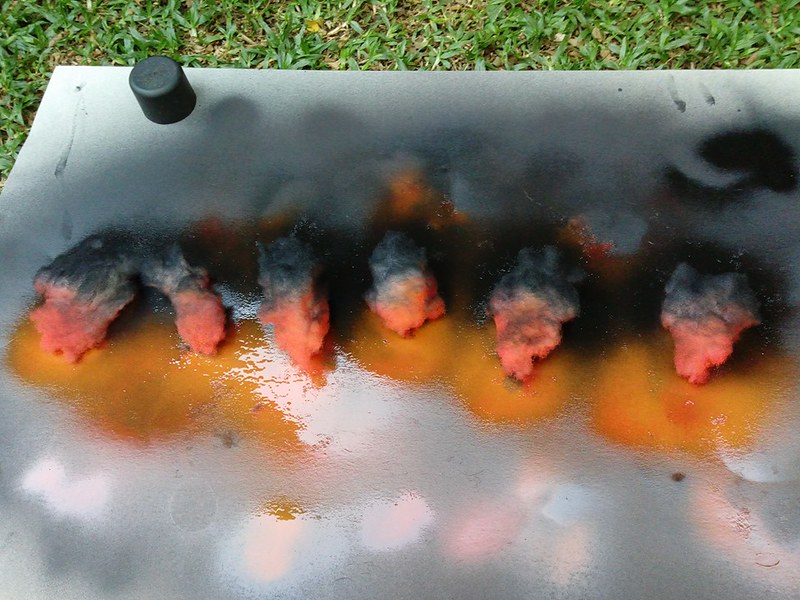
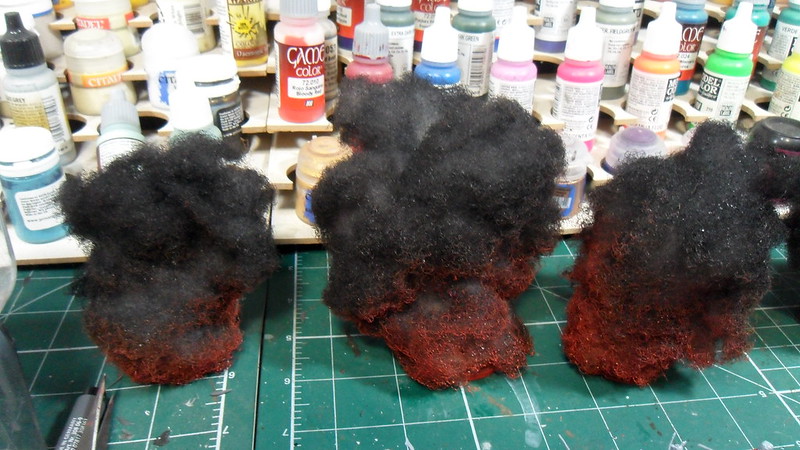
You should give a few minutes between each coat of spray to let it dry a bit. In the lower half, you should not let any white on the fiber showing, but on the upper half, leave the recesses white, to represent the inner layers of smoke, hotter and lighter. Make sure to create a smooth transition between the red/orange and the black above.
Once you finish preaying you'll have this:
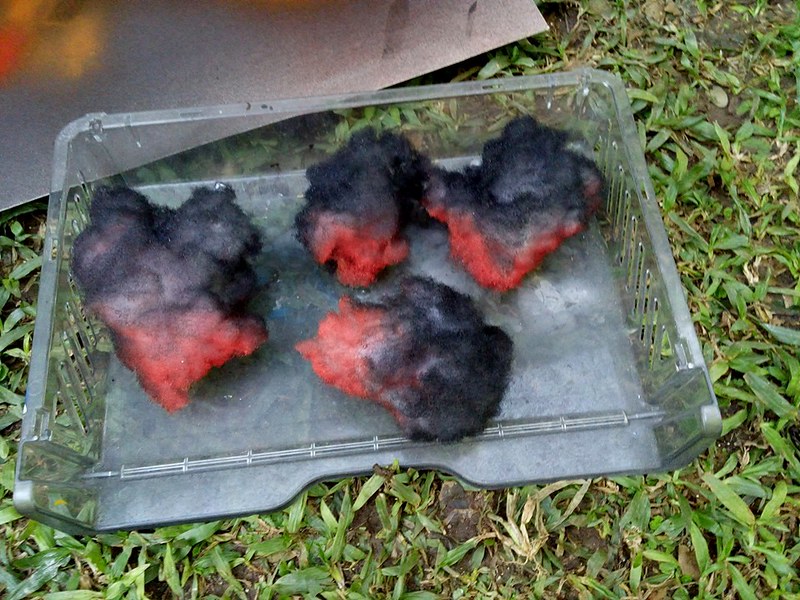
The final step is to glue a base on it, to give it weight and make it stand on the table/model. I used 25mm bases or a bit larger, and added some epoxy to the underside to give extra weight. I used superglue on the base, and then pressed the bottom of my markers against it. Try to cover as much of the base as possible, don't let it too visible. I painted orange over any exposed parts of the bases.
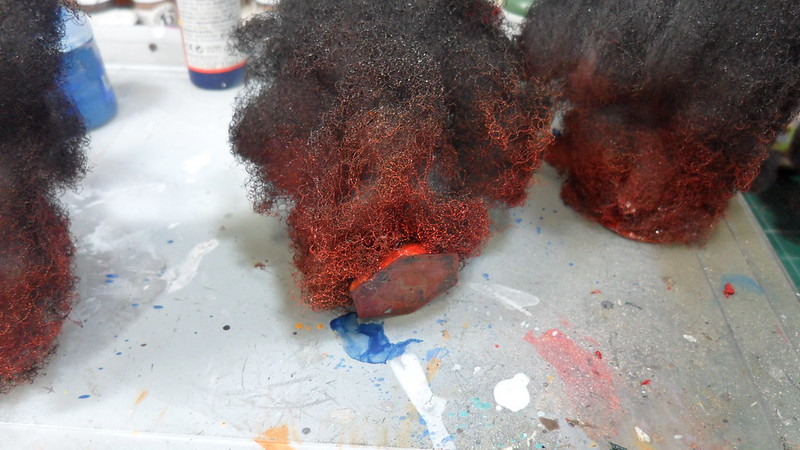
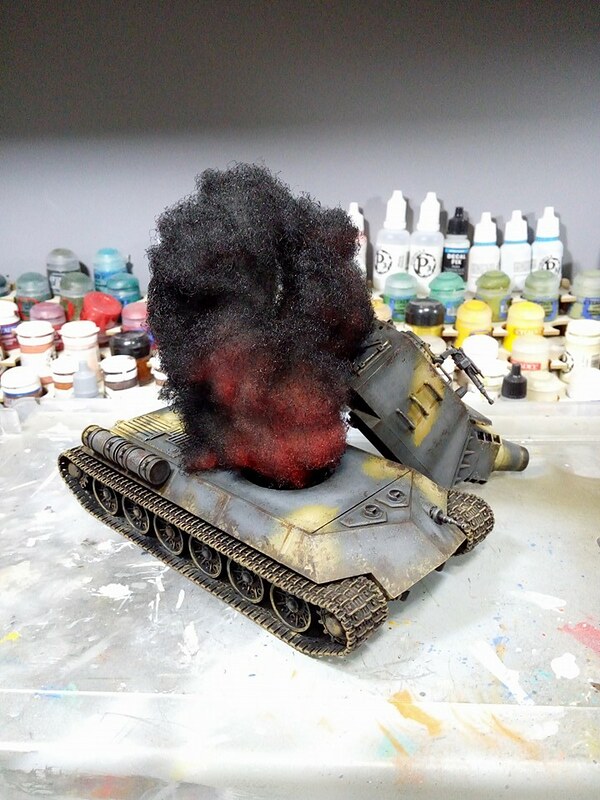
Once your markers are properly glued to some adequate bases, you'll have no trouble leaving them on the vertical on the model.
Here is an example of how they look finished:
Simple but effective. Very helpful. Thanks!
ReplyDelete