We played a game of Pax Stellarum at our club a week ago, featuring a battle between a Romulan task force, reinforced by some Ferengui allies, against a Cardassian fleet.
The Ferengui, troubled by the frequent cardassian incursions to their territory, signed an alliance with the Romulans, always too eager to stablish a foothold on the Alpha Quadrant. A Romulan armada was then dispatched to help secure a particularly hot zone on the Cardassian-Ferengui border, and was promptly met by a considerable Cardassian force.
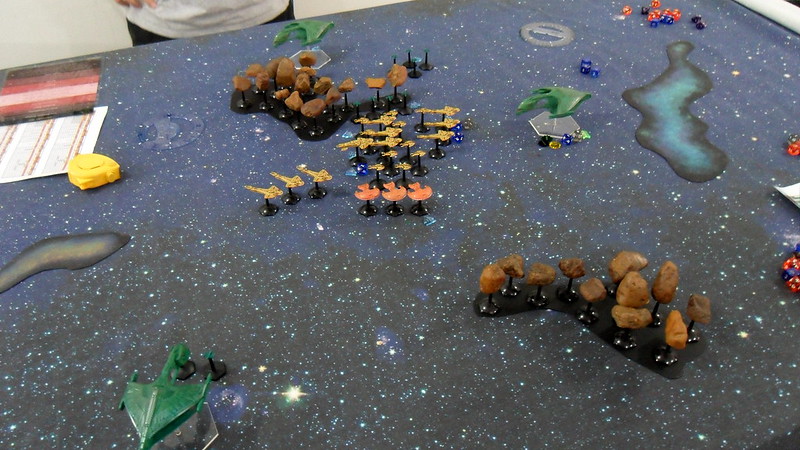
It was a game of about 1800 points per fleet, which played over 6 turns and lasted for a little over 3 hours. The cardassians deployed their ships en masse, while the romulans left some ships in reverse, and maneuvered to flank their enemies.
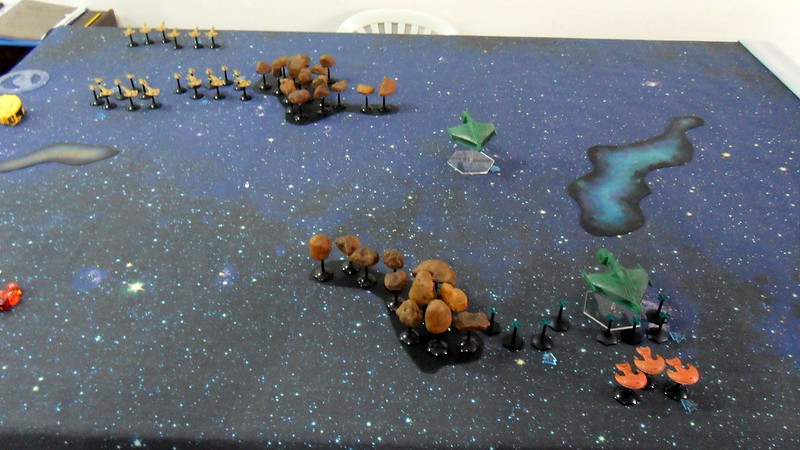
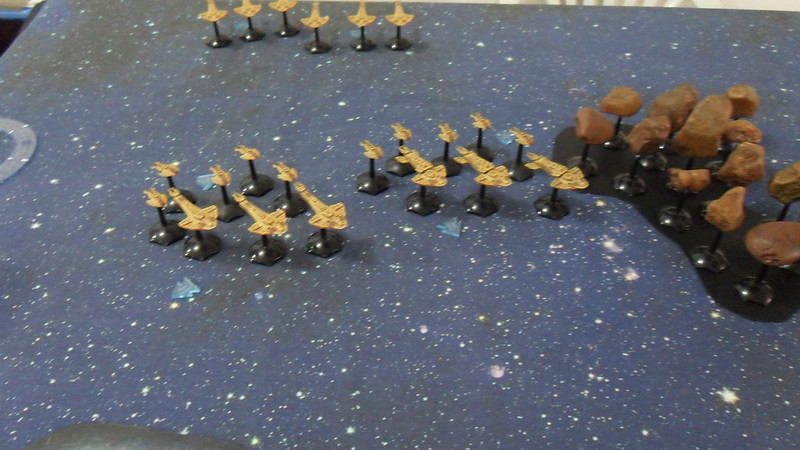
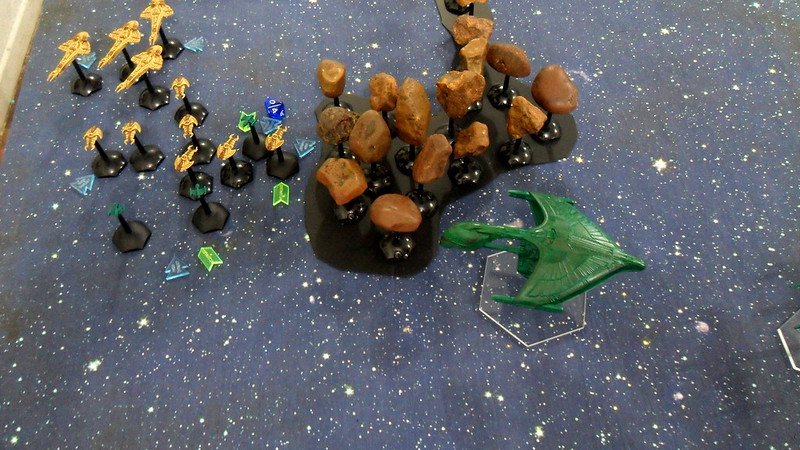
On the pic above, a D'Deridex sprints forward to try and flank the enemy by maneuvering around an asteroid belt. Below, the romulan ships left in reserve:

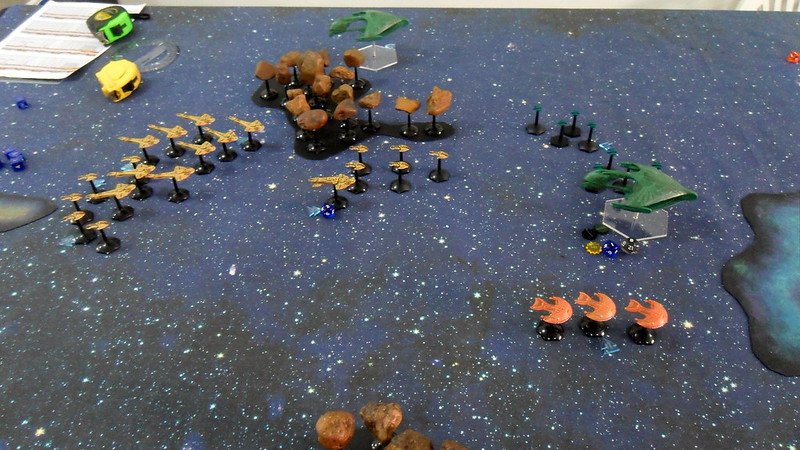
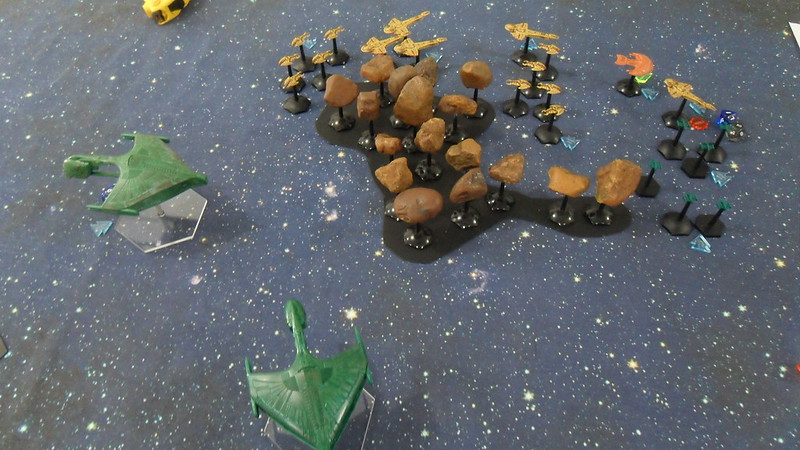
The cardassians set their engines to high thrust and push forward torwards the combined romulan-ferengui forces.
The cardassians get in position to unleash their phaser fire on the romulans and ferengui, while a single warbird moves around the asteroids to fire at the rear of their formations.
The exchanging of disruptor/phaser fire in the centre of the battlefield severely damages the flagship warbird, which ends up being destroyed shortly after. The romulans concentrate their fire against the cardassian Keldons, the enemy's command ships, so to guarantee superiority of Command & Control on the allied side. On the other hand, the forces in reserve are taking too long to arrive, and the lack of guns is taking it's toll on the romulan fleet.
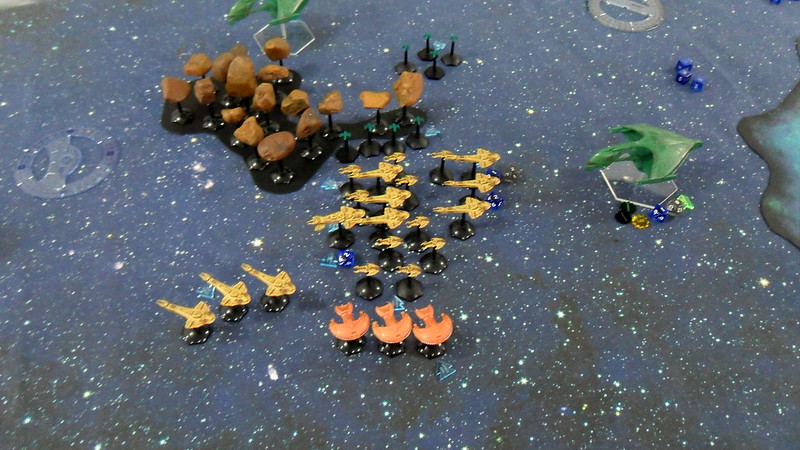
The cardassian armada, like a shoal, gets surrounded by romulan and ferengui forces.
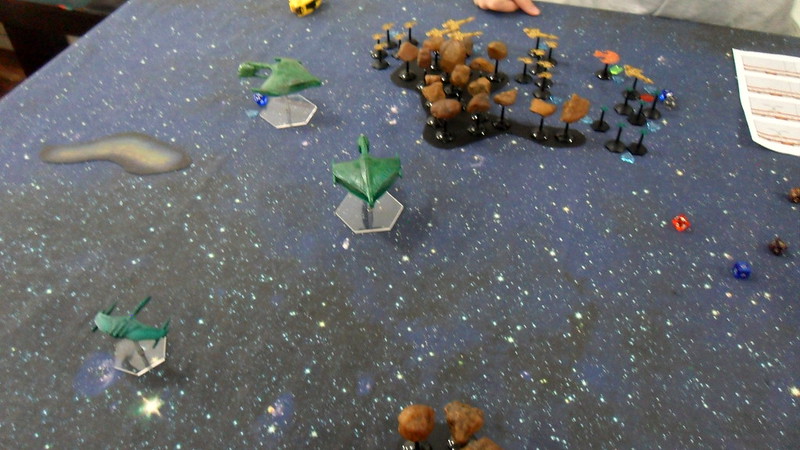
The remaining warbird arrives on the 3º game turn, and dashes torward the enemy formations.
The cardassians are losing ships fast, and push past the romulan lines and around the asteroid belt, chasing the rear of a warbird, while using the asteroids as a shield screen against the recently arrived D'Deridex.
The Valdore enters the battle on the 5º turn, and now the cardassians use their superior maneuverability to turn around and avoid that side of the battlefield, while trying to score some kills on the talons chasing their formations.
The closest warbird receives a critical hit to its Starboard weapons' system, and is now unable to fire to its right. Instead of trying to pivot such behemoth in an area full of faster enemy ships, the romulan captain accelerates into the protection of a nearby nebula cloud, so to maneuver more safely, while leaving the fight to the other remaining warbird and the Valdore.
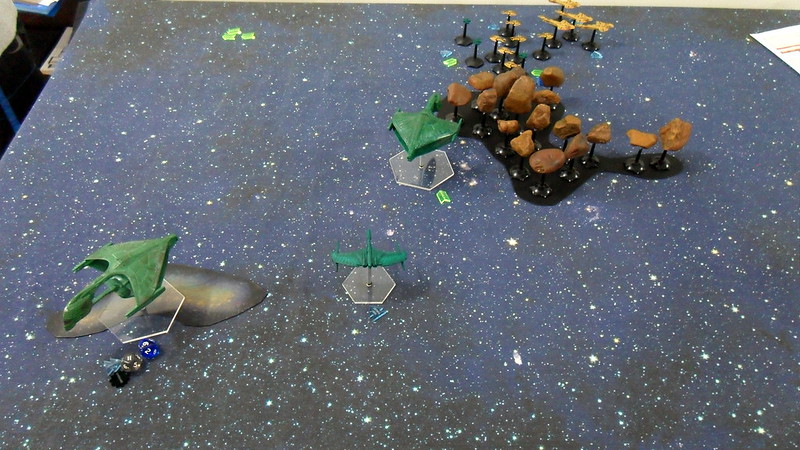

Romulan D'Deridex firing through the asteroid belt at the tiny cardassian Hidekis - not an easy shoot to accomplish!
At the end of the 6° game turn, both fleets had lost more than half their initial hull points and had to take Morale Checks. The Romulans passed and the cardassians failed, which means they leave the field and the romulans claim the victory.
We then realised that we had added up the cardassians' remaining hull points wrong, and that they actually had to take a Morale Check on the turn before, already, but that didn't impact the result of the battle anyway.
In the end, it was a pretty balanced battle, making for a very entertaining game. I was in command of the romulans, and destroying the cardassian command ships early in the game secured me the initiative on every game turn, which helped compensate the late arrival of my reserves.
My opponent realised that his tactics of advancing with all his squadrons in a single block wasn't very productive, and that he didn't make good use of the cardassians superior maneuverability and speed until late in the game.
Very nice battle setup and engagement. I especially like the way your asteroid belt looks. I was thinking how that you could spread the asteroids out into a wider pattern, and then actually have a "micro" chase or battle inside the field!
ReplyDeleteAny way, super nice job, Captain.
It's possible to move and shoot inside the field, though you risk being damage. In the event a ship moves into a cluster, I simply move the individual rocks aside so to make room for it.
DeleteCool!!
Deletekardashians?
ReplyDeleteVery nice Battlereport there. It seems I need to look for the Pax Stellarum rules somewhere to fully understand what happened through the turns. I see a few models there that are familiar to me, like the Diecast D'Deridex Warbird and the Attack Wing Valdore. But where did you get the small Talons(Scout/Sciships. Are they orders from shapeways? The Cardassian and Ferengi ships look a lot as if they were Attack Wing models aswell, but I couldn't tell for sure. Anyhow, it looks awesome seeing a D'Deridex nearly to scale with the rest of the ships. Cheers!
ReplyDelete